Welcome to Killer 101! In this guide, we’ll go over all the basics you need to know in order to get Survivors off of generators and onto hooks.
Dead by Daylight is a game with a relatively simple premise, but a lot of complex moving pieces behind the scenes. The goal with Killer 101 is to outline a strategy that will help new players figure out what they should be doing at any given moment. Experienced players may also find this guide reminds them of some DBD fundamentals, too!
For this guide, we’re assuming you’re comfortable with getting a loadout ready. If you need help figuring out what perks and addons to bring with you to a trial, or even how to do so, check out our Killer Loadout guide or our Beginner Killer Perks guide [coming soon!].
TL;WR
In case you just had a rough game, and want to quickly figure out what to do and go back and try again:
Decide which gens you might be willing to give up, and/or identify a 3-gen.
Don’t spend too long chasing one Survivor — make sure you are pressuring everyone on the map.
Patrol generators, especially central gens, and/or your 3-gen.
Focus on getting 1 or 2 Survivors out of the trial quickly.
The above tips might help you a little. However, if you really want to improve your game, read on.
The Start of the Trial
Every second counts in Dead by Daylight, so you’ll want to start moving immediately when the trial begins. You will almost always spawn in a corner or side of the map that is furthest from where the Survivors spawn, so use that information to pick a direction to head in, and get going!
Instead of heading through the middle of the map, try to be sneakier — approach the first generator you check from the edge of the map, and try to chase the first Survivor you find towards generators you haven’t checked yet (this topic is covered in more detail in our guide on finding Survivors).
3-Gens
As you move, take note of where generators are. In particular, see if you can spot 3 or 4 generators that are close together. You’ll want to focus on protecting those generators above all others, since it will make it much, much harder for Survivors to finish the final generator they need.
Note that proximity isn’t the only thing to look for when choosing your 3-gen; you’ll also want to try and pick generators that have clear lines of sight to each other.
I intentionally chase this Survivor towards my 3-gen, in order to continue applying pressure on them while I try to down her
Mid-Game: Playing the Map
Not every map will have a perfect 3-gen, especially some indoor maps, so don’t worry if you can’t identify one. You don’t necessarily have to play around a 3-gen — but it is a safe strategy in most cases. Even if you don’t end up having a 3-gen, you can still follow the same general principles: Patrol a particular area, rather than the whole map.
Patrolling
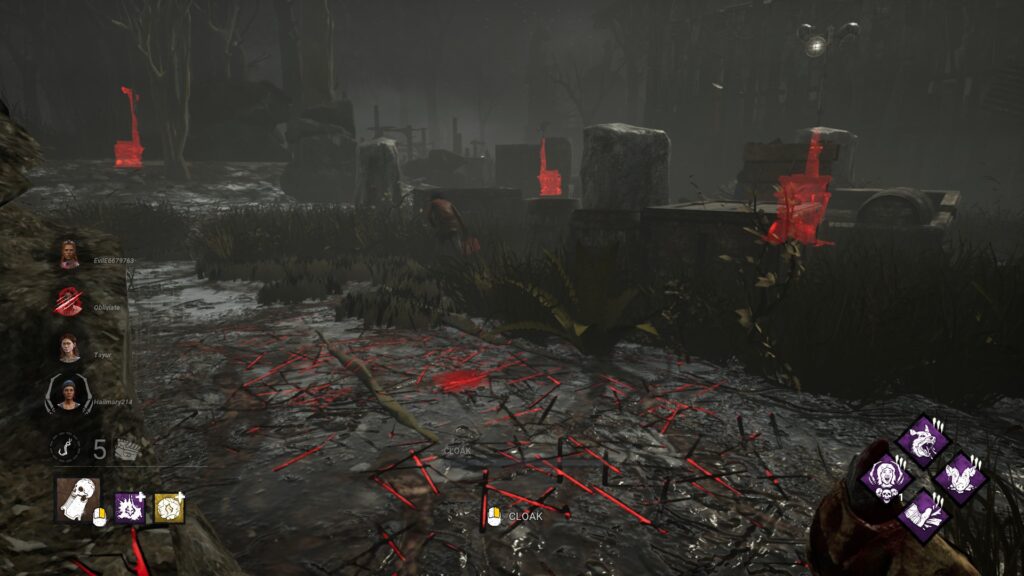
Patrolling refers to moving between generators, looking for Survivors and keeping track of what generators Survivors are attempting to work on. When patrolling, try to be efficient in your movements — don’t walk all the way up to a generator if you can see its pistons from far away. If the pistons on the top of a gen aren’t moving, it’s very unlikely Survivors are nearby.
Try to approach generators in such a way that you have clear line of sight to check the pistons (unless you know Survivors are near and want to sneak up on them, of course)
If there are generators in buildings or behind long walls, use sound to help you patrol. It’s a big waste of time to go all the way around or up the stairs only to discover the gen hasn’t been worked on at all. If you stand close enough to a generator, you can hear its progress, even through walls. The louder and faster the chug-a-chug sound the gen makes, the closer it is to completion.
Protect Central Gens
What you don’t want is a situation where the generators in the middle of the map are completed first, and the remaining gens are spread out and in different corners. With that in mind, you should focus on protecting centrally located generators, only checking outer gens if you can’t find Survivors in the middle of the map.
Of course, if you happen to have a 3-gen in a corner of the map, it’s perfectly OK to prioritize guarding that instead of the middle gens.
Give up Generators
If there are generators way out in corners of the map, it’s good to let those ones go first. While you should still pressure all the Survivors, and there’s no reason not to go and check these gens while patrolling, don’t waste time hiking over to a distant gen if it isn’t convenient. When Survivors finish generators that are on the edges/corners, they make it easier for you to guard the remaining gens.
Throughout the trial, keep an eye on what gens are left and which ones are separate from the rest (though you should try and do it while moving)
Chases
Chasing Survivors is a topic with enough depth that it could use its own guide. Here, we’ll just take a look at how to decide when to chase, and when to give up.
There are a few things to consider once you find a Survivor:
What is the state of the rest of the map?
What resources does the Survivor have nearby?
Have I hooked this Survivor already?
If you know that there aren’t any generators near completion , or at least no generators near completion that you care about protecting, then you’re safe to chase for awhile. However, if you haven’t checked one or more important generators in awhile, you’ll need to end or give up the chase quickly. Injuring a healthy Survivor gives them a big speed boost, so that’s a good time to end the chase if you need to go check on generators.
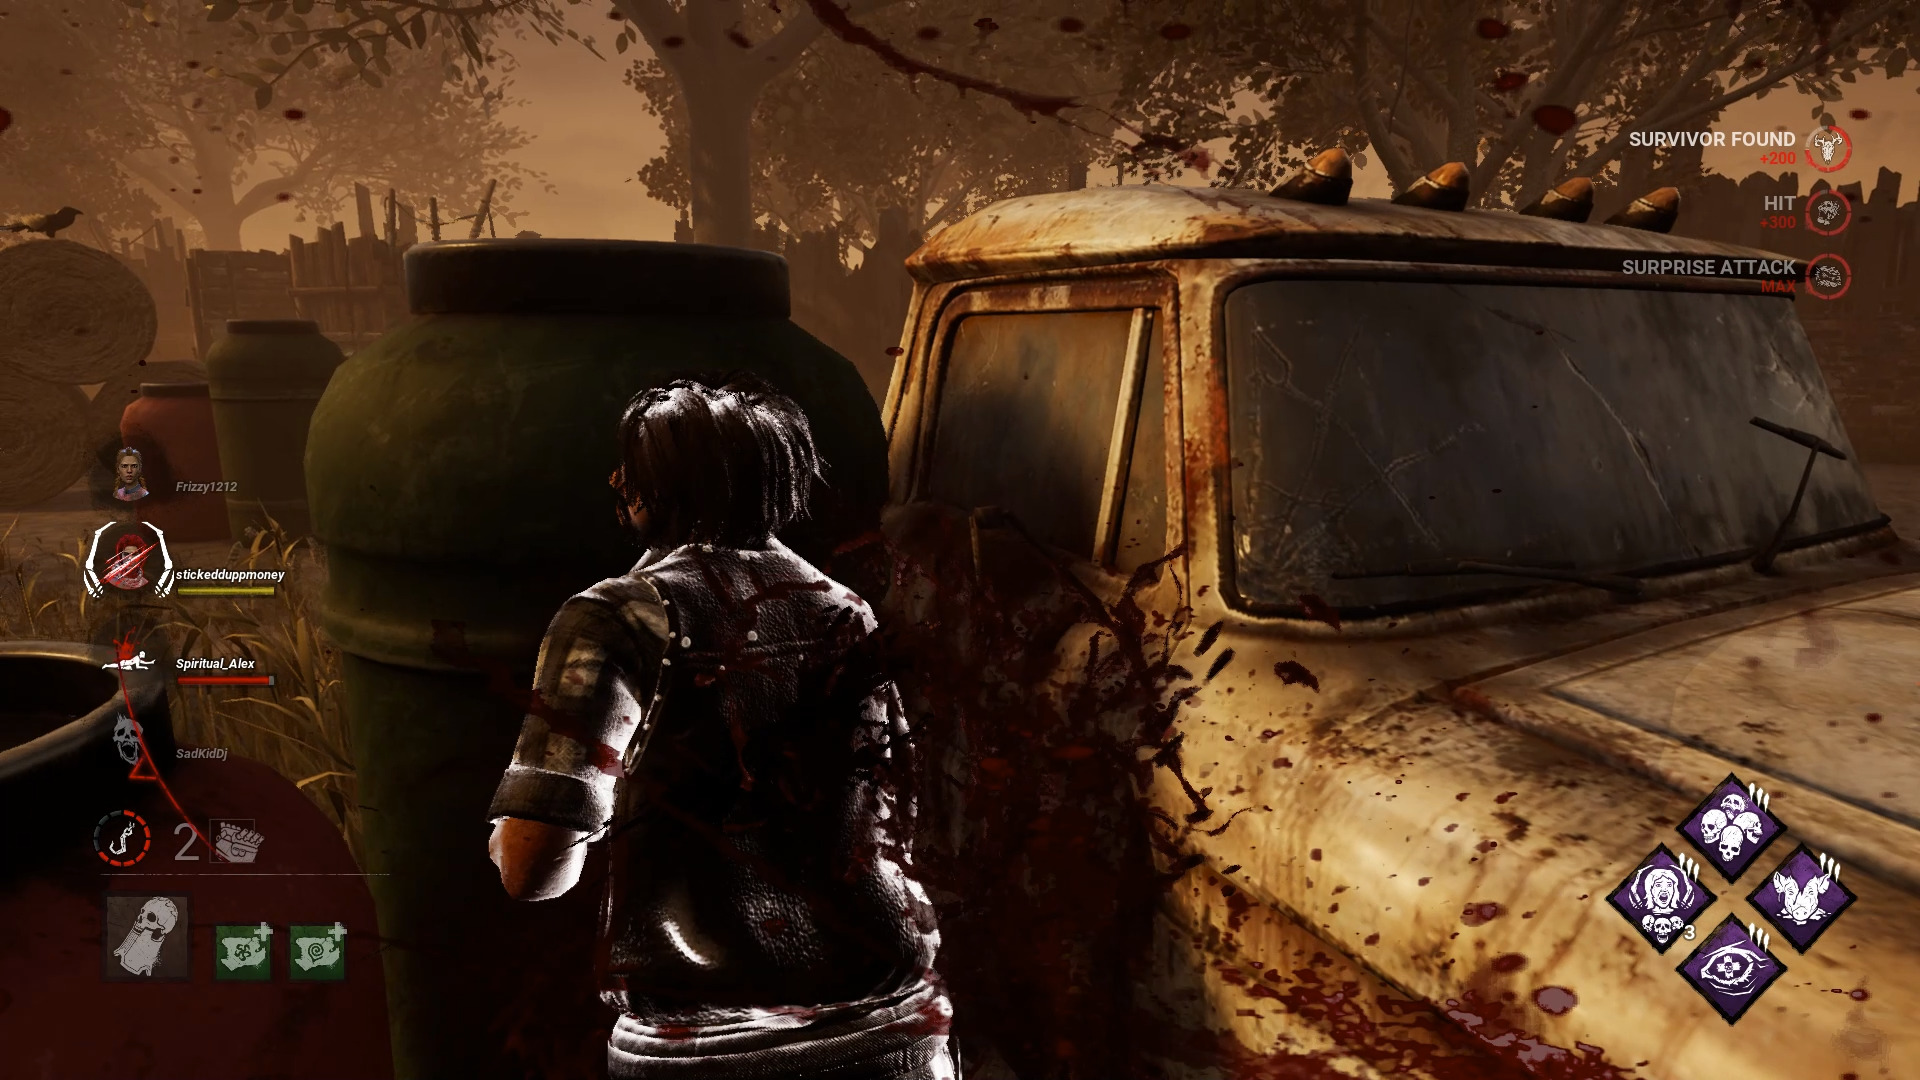
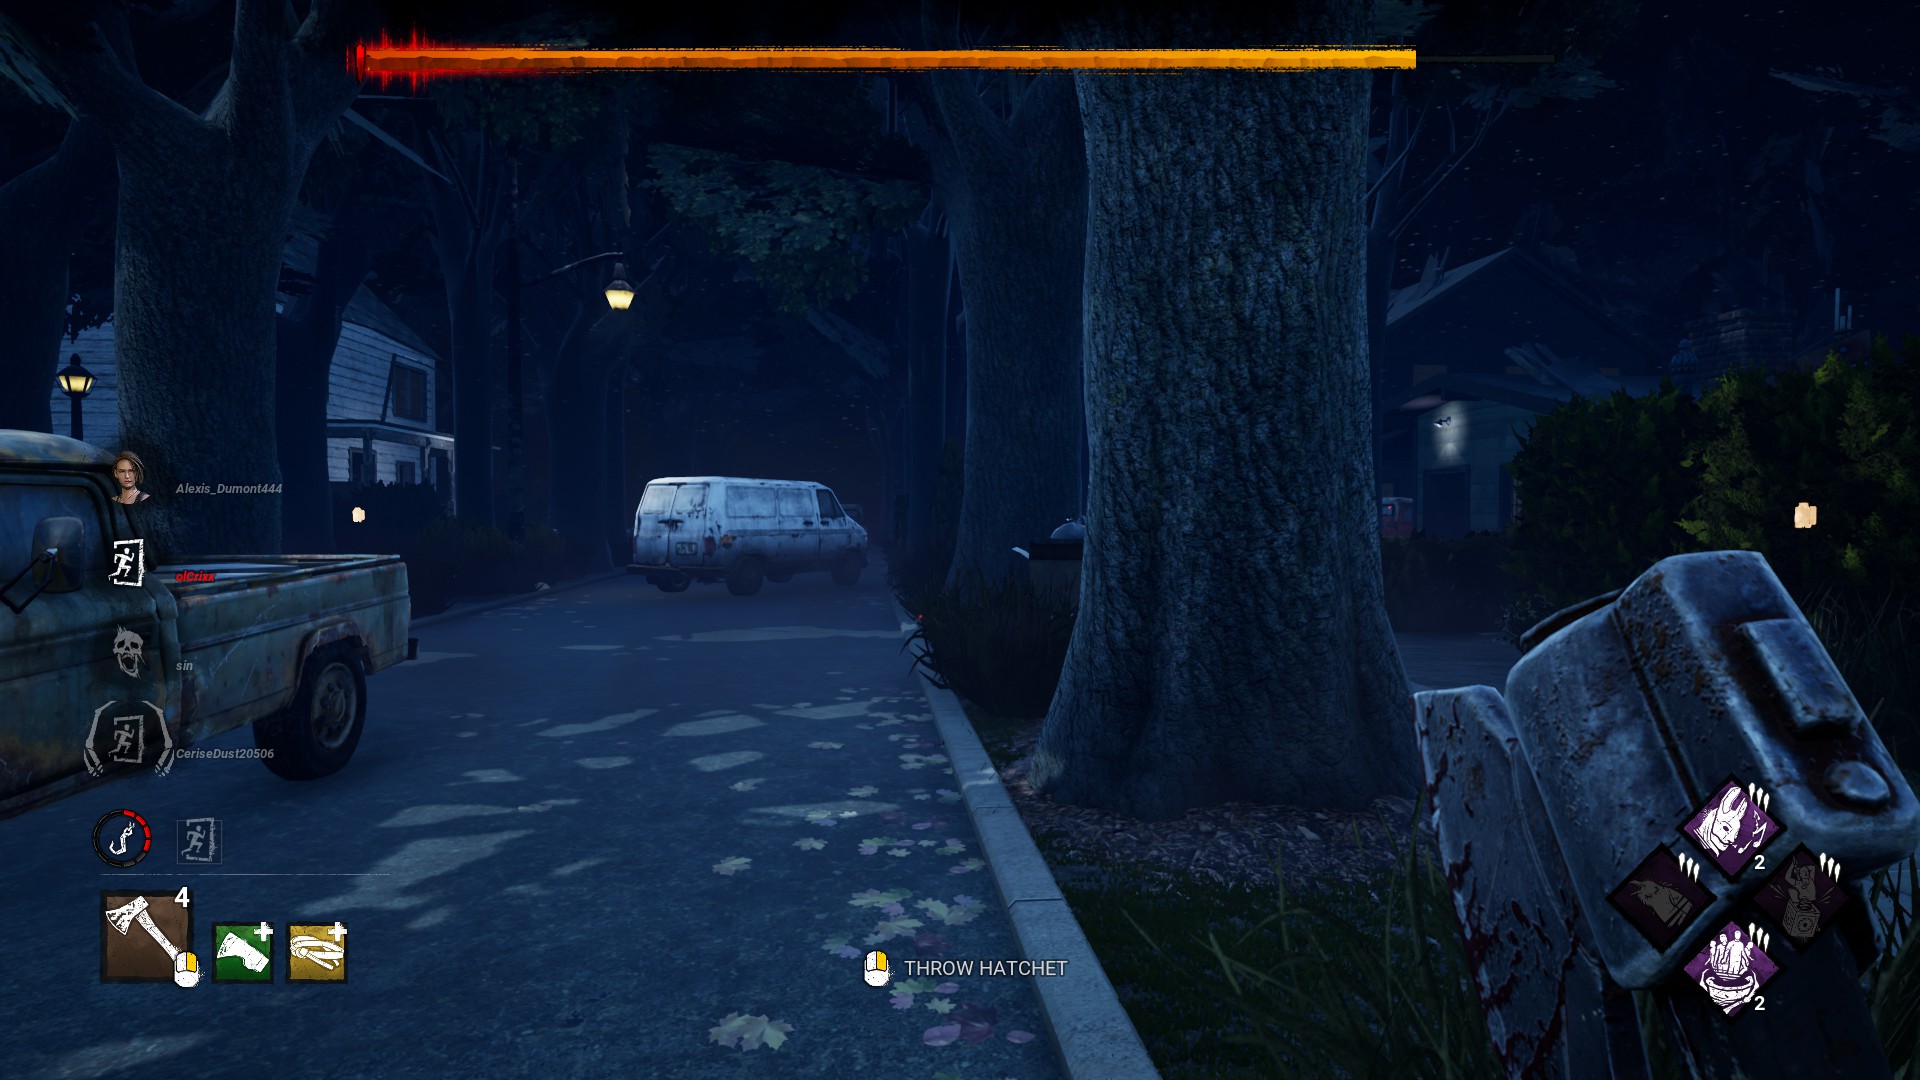
I haven’t checked some of the gens in a while — and the Survivor runs in a direction I know has pallets — so I take my hit and continue patrolling
If you haven’t forced Survivors to use the pallets in the area you’re in, you may not be able to easily catch the Survivor you’ve found. Once you’ve forced the Survivor to drop a few pallets, it’s OK to go back to patrolling gens — just because you don’t down a Survivor doesn’t mean the chase was a failure. If a Survivor is forced to use pallets near the center of the map, or just where there are gens you want to protect, it will make it easier to catch them later.
Conversely, if you begin a chase with a Survivor in an area where you know you’ve destroyed all of the pallets, you can spend a little more time on the chase (assuming you don’t desperately need to protect gens), since it’s much more likely that you’ll be able to end the chase and down the Survivor.
In addition to the pallets, there are also loops that involve a window. If you’re near one of these, it might not be worth initiating the chase, since windows are a reusable resource, and in contrast to the pallets, forcing the Survivor to loop you with a window doesn’t cost their team anything.
I eat the pallet here because it’s a great one to get rid of (the Cow Tree pallet is very strong), and immediately give up the chase because I see her head towards a jungle gym that I know has a window
Despite the above advice about giving up chases if they last too long, you do need to put Survivors on hooks to win, so you’ll eventually have to commit to a chase. The best case scenario is finding an already injured Survivor, since they won’t be able to benefit from the speed boost they get from being hit by the Killer — chases with injured Survivors are much easier to end quickly. With that in mind, it’s OK to try and injure all the Survivors first, and only then commit to chases. If they heal one another, that’s time lost, which gives you more time to find and kill them.
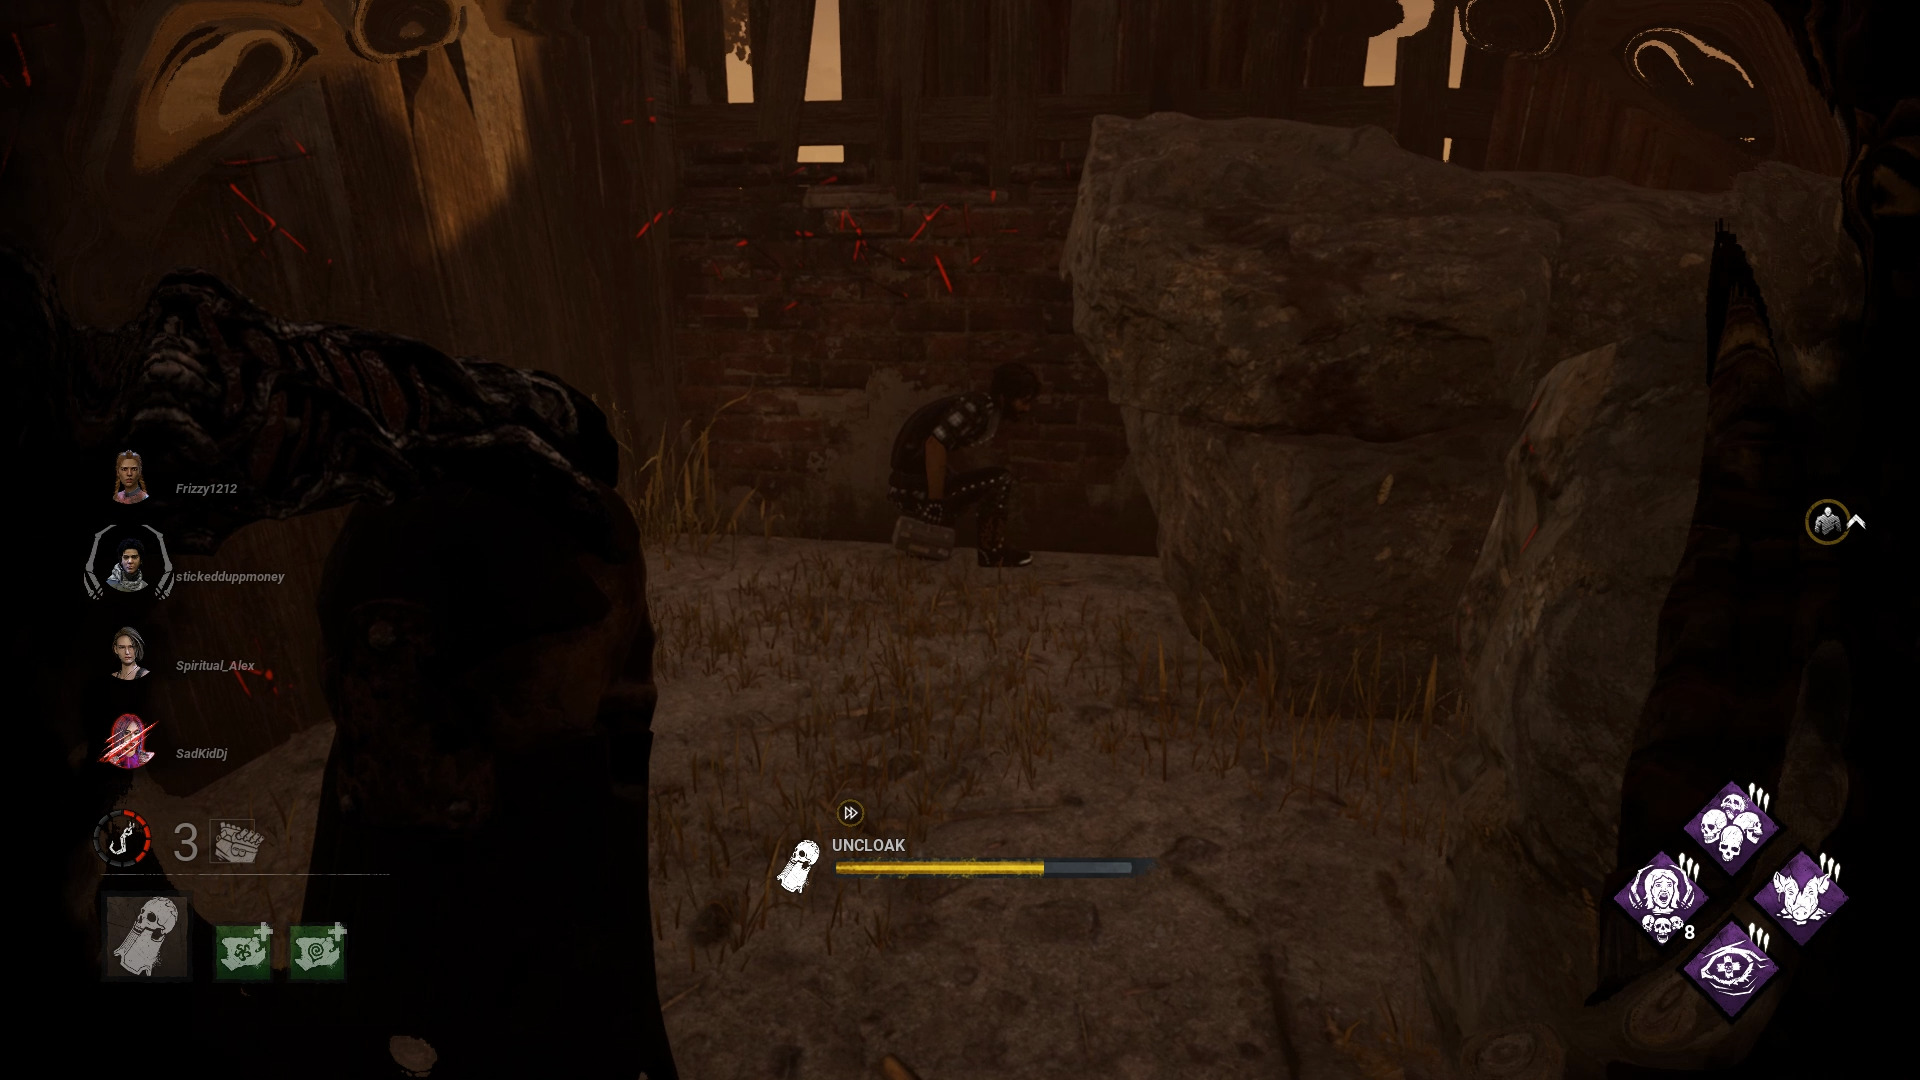
If you haven’t hooked anyone yet, you should try to identify the Surviors that seem slower or worse at looping, and focus on hooking them first. Once you’ve hooked one or two survivors, you should prioritize chasing them over the other Survivors in the game, if you have the option. People might complain about “tunneling” in the post-game chat, but it’s the correct way to play if you want to win. Catching and hooking all four Survivors takes a long time; if you want to stop them from escaping, the best way to do so is by eliminating Survivors from the trial as quickly as possible.
If you ever find someone hiding like this, it’s safe to assume they’ll be easy prey
Guarding the Hook
As with the advice on eliminating Survivors as quickly as possible, guarding the hook will get people pretty upset with you in post-game chat. Also like the advice on eliminating Survivors, it’s a really strong strategy that you should utilize if you want to win.
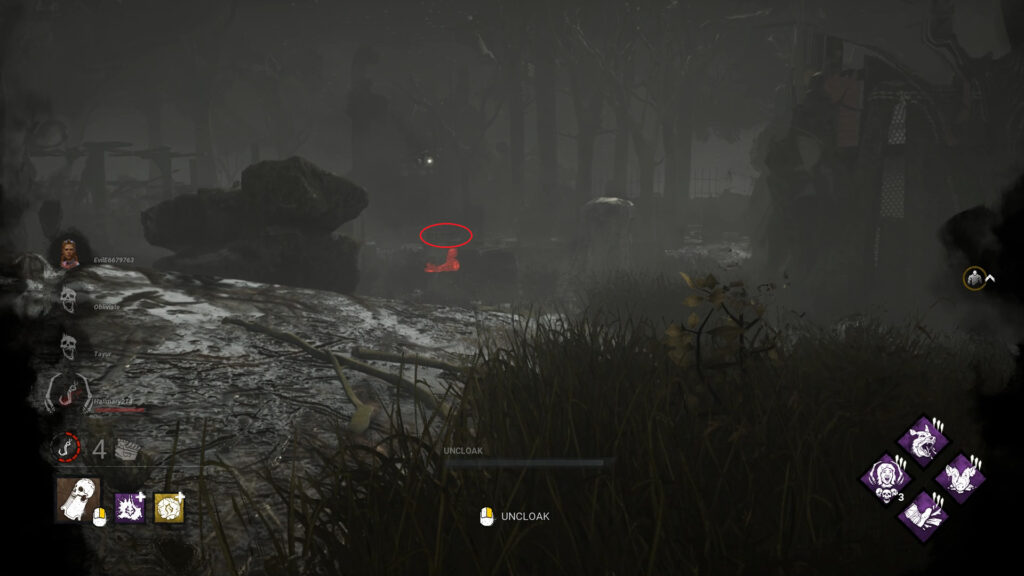
When you down a Survivor, take a look around before you even pick them up and see if you can identify any nearby hooks. Ideally, you want to hook the Survivor as close as possible to the center of the map, and as close as possible to the generators you want to guard. Once you’ve hooked the Survivor, you don’t want to camp (just standing nearby and waiting for Survivors to show up). Instead, add the hook to your patrol route, and keep an eye on likely approaches to the hook as you check on generators.
Rather than standing by the hook, it’s better to loop around and try and catch Survivors on natural approaches to the hook — they’ll try and use the edges of the map whenever possible
If you know that a generator is near completion, you should wait to hook the Survivor you’ve downed until you’ve gone and chased any other Survivors away from said generator. If there’s a generator that needs attention, it’s also OK to hook a downed Survivor at the nearest hook in the direction of the gen you want to check (rather than the hook closest to the center of the map).
If you do see a Survivor running towards the hook, head back to the hook yourself and attempt to start a chase with the would-be unhooker. If they manage to unhook their friend, the strongest play is to re-down the person who was unhooked.
Sometimes, you won’t be able to instantly re-down the unhooked Survivor: the Survivor perkBorrowed Time gives 8/10/12 seconds of Endurance (the ability to take an extra hit) to the unhooked Survivor. It’s usually still worth trying if you don’t know whether or not Survivors are running Borrowed Time.
Survivors will be highlighted white if you hit them while they have Endurance — note the yellow Deep Wound bar under Jake’s name on the left of the HUD as well
It’s also a really good idea to go back and check on hooked Survivors right before they hit phase 2, and/or right before they die on the hook (this is also called being sacrificed). It’s very likely someone will come and try to save them at these points, so you’ll be able to either prevent them from being saved, or at least find another Survivor to chase. You can determine how close to Phase 2 or death a Survivor is by looking at the meter below their name on the left side of your HUD. A Survivor nearly sacrificed
A Survivor nearly at phase 2 (halfway line added for clarity) A Survivor nearly sacrificed
The End Game
In this guide, the end game will refer to the point in the trial when 5 generators are complete, and the exit gates are powered. How you play the end game depends a lot on how many Survivors are left, and if any of them are injured or not. Exit gates spawn fairly randomly, and can be across the map from each other, or very close; where the gates spawn also affects how you can play the end game.
If the Survivors manage to get all 5 gens done, and there are 4 Survivors left alive, you’ve probably already lost (assuming you aren’t running the perk Hex: No One Escapes Death, or other end game perks). In this situation, the best you can hope for is getting a single kill, unless your Killer has the ability to down Survivors in one hit — the time it will take to catch a Survivor and hit them twice is more than long enough for the other Survivors to open an Exit Gate.
When the exit gates are this far apart, it’s impossible to guard them bothif you aren’t a highly mobile Killer
If you do manage to hook a Survivor, it’s best to simply camp the hook, or at least hide somewhere nearby. If you leave the hook to check the gates, it’s very unlikely you’ll be able to catch another Survivor, and you give the other Survivors an opportunity to unhook their friend.
If there are 3 or fewer Survivors, it can be possible to pressure the gates and start injuring Survivors, then eventually commit to a chase and down one. You shouldn’t pick up a Survivor and hook them at this stage of the game unless you’re certain no one is opening an exit gate. Instead, leave Survivors slugged (on the ground dying) and focus on keeping the exit gates closed.
The Hatch
The hatch becomes visible, and automatically opens, once there is only one Survivor left in the trial. While the Hatch is open, the remaining Survivor can escape the Trial through it. The hatch can be closed by the Killer — this is done by standing on top of it and using your interact button. Survivors can open a closed hatch with a key, so you’ll need to make sure you eliminate any Survivors you see carrying a key ASAP.
The hatch (closed)
Denying the Hatch to the Last Survivor
If you hook the 3rd Survivor, and they die on the hook, the hatch will open shortly thereafter. If you haven’t yet found the hatch, it’s 50/50 that you or the final Survivor will find it first. If you want to deny the hatch to the last Survivor, you should slug the 2nd-to-last Survivor instead of hooking them. You can then either hide near the slugged Survivor (using them as bait) or go hunting for the last Survivor.
This is also referred to as “slugging for the 4K“. While it’s what the kids call a “try-hard” or “sweaty” move, and it isn’t very fun for the Survivors, if they’ve been T-bagging or flashlight clicking at you all game, this can be a nice tactic to have in your back pocket.
Giving the Hatch
If the final Survivor wasn’t actively obnoxious with t-bagging or flashlight clicking, and/or you feel they played well, it can be a nice gesture to give them the hatch. Traditionally, this involves carrying them to the hatch and then putting them down (it’s the R key by default on PC, Circle on PlayStation, and B on XBox). Back in the day, the rule was you only give the hatch if the Survivor doesn’t wiggle on your shoulder, but no one seems to know that now, so do as you like. I personally would encourage you to do this often — it’s hard to argue that the online PvP community as a whole couldn’t use more positivity and kindness.
You should now know all the basic tactics and strategies required to kill all the Survivors in Dead by Daylight! We hope this guide was helpful. If you have any questions, comments, or just want to complain about Killers slugging you, let us know in the comments!
Share this article:
DanielD
Unabashed FromSoftware fanboy still learning to take his time with games (and everything else, really). The time he doesn't spend on games is spent on music, books, or occasionally going outside.


Thank you for this really nice guide. It helps me a lot as a killer!!☠ï¸ðŸ’€