As a Killer, your only objective in Dead by Daylight is to kill all the Survivors before they can escape. Naturally, in order to kill them, you’ll have to find them first. The Survivors have to do generators to escape, so you can frequently find them simply by patrolling, but some Survivors can be pretty sneaky. With that in mind, we’ve compiled a list of all the best perks that can help you find even the most ninja-like Survivors.
You should generally only be taking one or two of these perks in your build.
Note that this list only includes viable perks — there are other perks that technically help you find Survivors, but are generally not useful and therefore not listed. Because most players won’t have access to every Perk, lots of Perks are listed here despite some clearly being stronger than others.
Unique Perks: Some of the recommended perks here will require you to either purchase/unlock specific Killers, or else find the perk in the Shrine of Secrets. You can go to our guide on Perks and Loadouts for more information on Unique Perks and the Shrine.
A Nurse’s Calling
The Nurse Perk
A Nurse’s Calling reveals the aura of any survivor healing or being healed within 20/24/28 meters of you.
28 meters isn’t incredibly far, but it’s far enough, especially for Killers that can move around the map quickly. If you’re going to use A Nurse’s Calling, make sure you actually use it: make a point of hunting down wounded Survivors if you suspect they are trying to heal.
Synergizes well with Sloppy Butcher, Thanatophobia, and Killers with high mobility.
Awakened Awareness
The Mastermind Perk
While carrying a Survivor, the auras of all other survivors within 16/18/20 meters of you are revealed.
This perk threatens survivors who travel too closely together, especially those who try to follow the Killer for a quick Survivor unhook. For maximum effect, make sure you are looking around at much as possible whenever carrying survivors; if you have time, do a quick glance in any obvious directions right before hooking the Survivor you are carrying.
Pairs well with Thrilling Tremors.
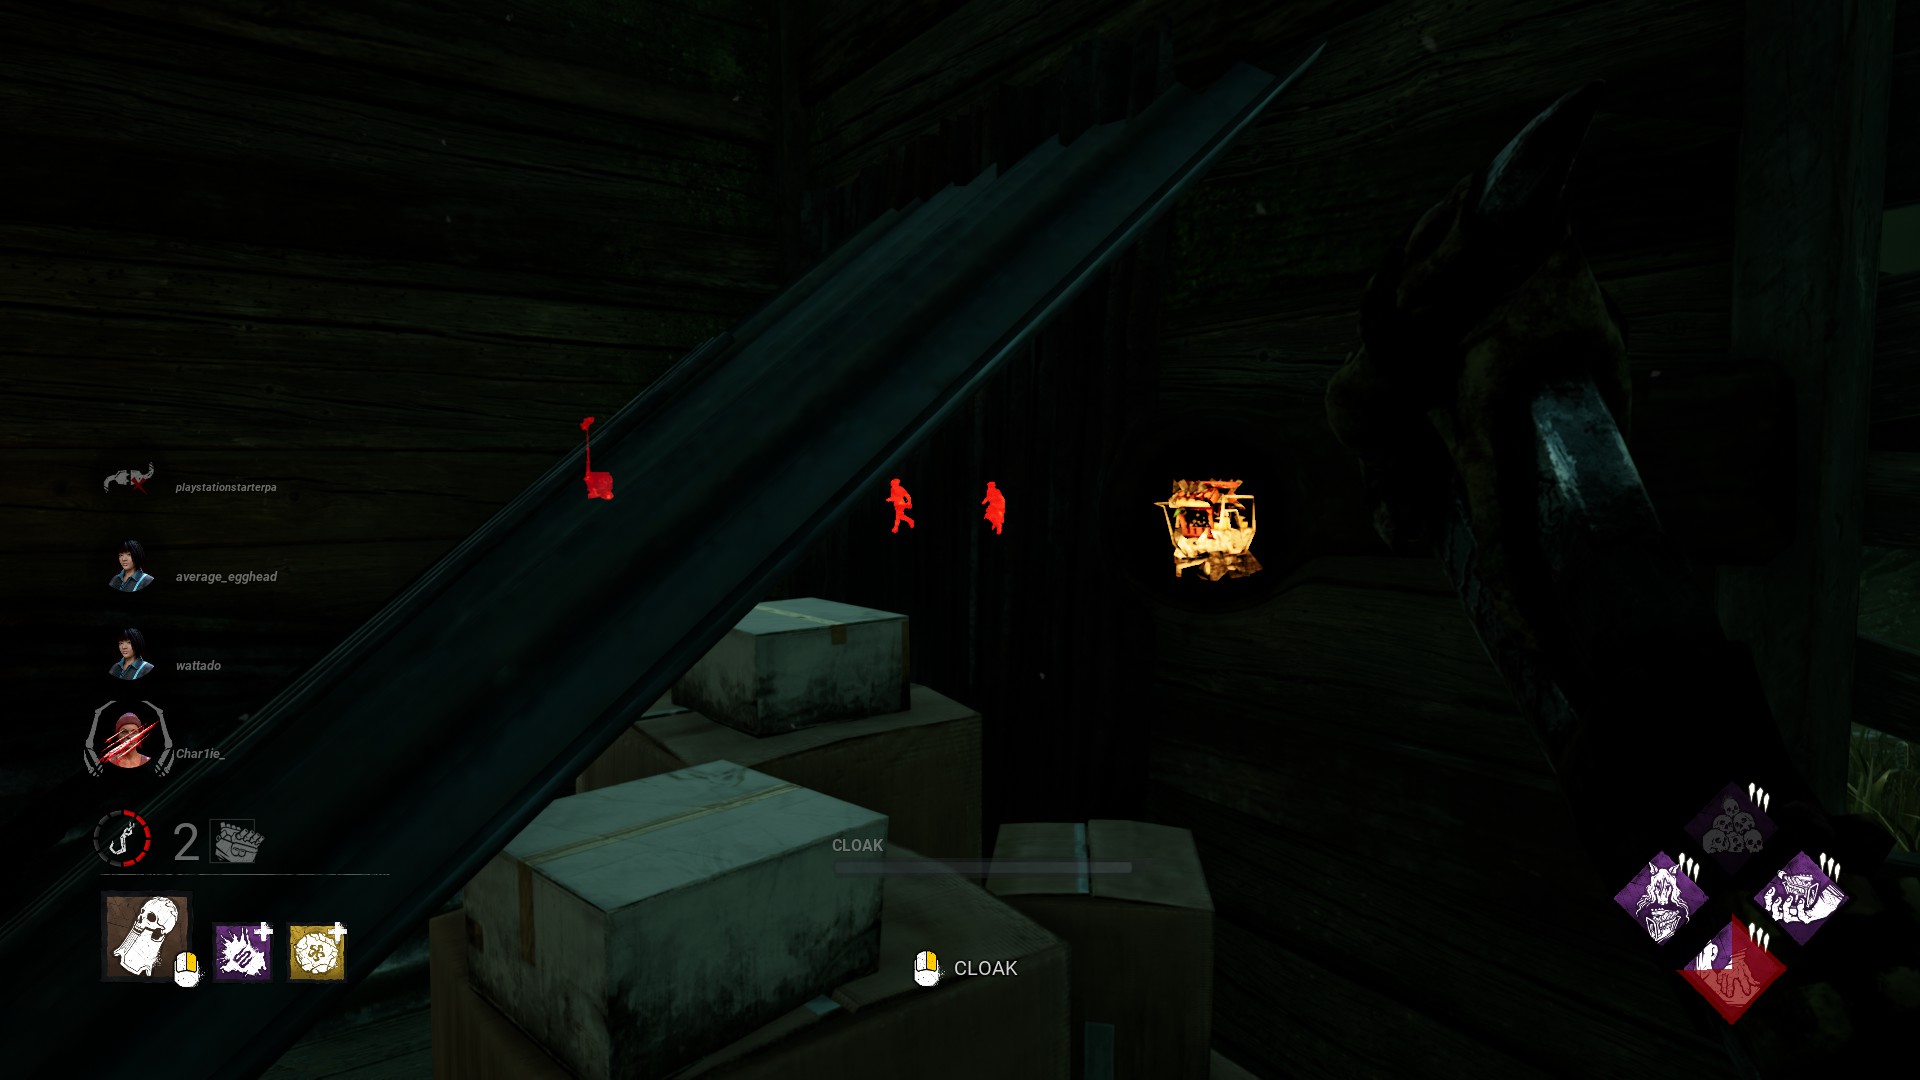
Barbecue & Chili
The Cannibal Perk
Barbecue & Chili activates each time you hook a Survivor. While this perk is active, the auras of Survivors further than 40 meters from the hook will be revealed to you for 4 seconds.
Being able to potentially track the 3 other Survivors right after you hook someone can be very powerful. However, this perk loses effectiveness the more experienced the Survivors are, since it is relatively easy to avoid having one’s aura read by BBQ — if Survivors get into a locker, or position a gen between themselves and you, you won’t be able to see their aura.
Pairs well with high mobility Killers.
Bitter Murmer
Available to All Killers
Each time Survivors complete a generator, the auras of all Survivors within 16 meters of the completed gen are revealed to you for 5 seconds. When the last generator is completed, the auras of all Survivors are revealed to you for 5/7/10 seconds.
As with A Nurse’s calling, this is a Perk best utilized by the more mobile Killers. Otherwise, if you’re across the map when a generator is finished, the information Bitter Murmer gives you won’t be particularly useful. The 10-second reveal of all Survivors when the last generator is done can be useful no matter what, however, and is especially strong if you’re running Hex: No One Escapes Death.
Pairs well with Hex: No One Escapes Death.
Bitter Murmer can give you a clear idea of where Survivors are headed
Darkness Revealed
The Dredge Teachable
When you search a Locker, the auras of all Survivors within 8 meters of any locker are revealed for 3/4/5 seconds. It has a cooldown of 30 seconds.
Many Trials are packed with Lockers, or have Lockers which are very close to objectives like Generators, Crates, or Exits. Darkness revealed allows you to exploit that fact from anywhere on the map, revealing Survivors near any locker. It should be noted that it will not show the auras of Survivors in lockers, though, so it shouldn’t be relied upon to figure out whether Survivors actually using the lockers.
Pairs well with Trials that have many lockers.
Deadlock
The Dredge Teachable
Whenever a Generator is completed, the Entity blocks the Gen with the most progress for 20/25/30 seconds. The aura of the blocked Generator is highlighted in White.
Seeing a Generator go white thanks to Deadlock tells you where Survivors are working on Gens. While theoretically this could fail to show you where Survivors are, it’s pretty consistent that when this activates, you’ve stopped someone who was actively working on a generator.
Universally useful Perk.
Dead Man’s Switch
The Dredge Teachable
After hooking the Obsession, Dead Man’s Switch activates for the next 20/25/30 seconds. While active, any Survivor that stops repairing a Gen before it’s fully repaired causes the Entity to block the Generator until Dead Man’s Switch ends. Affected Generators are highlighted in White.
Seeing a Generator go white thanks to Dead Man’s Switch tells you exactly where a Survivor is — it also tells you where a Generator with progress is. This is an especially strong Perk because if ONE Survivor gets off of a generator, it blocks it for everyone, making it very difficult to rush gens as a Survivor team while also going for hook rescues.
Universally useful Perk.
Discordance
The Legion Perk
If 2 or more Survivors are working on the same generator within 64/96/128 meters of you, you receive a Loud Noise Notification and the generator is marked by a yellow aura while 2+ Survivors remain on the generator.
At rank 3, this perk essentially covers the entire map, and will immediately let you know if Survivors are teaming up on a gen. This lets you know where at least 2 survivors are, and gives you a pretty obvious place to go and hunt for your next victim(s).
Pairs well with Hex: Ruin.
Hex: Retribution
The Deathslinger Perk
Survivors who are cleansing a Dull Totem suffer from the Oblivious status effect (unable to hear Terror Radius) for 35/40/45 seconds. After a Survivor cleanses a Hex Totem, the auras of all Survivors are revealed to you for 15 seconds.
This perk only really works in two specific builds. The first is where you pair Hex: Retribution with Hex: Haunted Ground (and perhaps Hex: Ruin as well). Otherwise, chances are high that someone will cleanse it while you already know where a Survivor is, making it a wasted perk. The other build is where you run Hex: Retribution and Hex: Undying (see below).
Synergizes well with The Nurse, Hex: Haunted Ground and Hex: Ruin, or Hex: Undying.
Hex: Undying
The Blight Perk
Reveals the aura of any Survivor within 2/3/4 meters of a Dull Totem. When another Hex Totem is cleansed, that Hex is transferred to Hex: Undying (including any tokens), and Hex: Undying is disabled.
Running Hex: Undying makes playing with Hex: Ruin much less of a gamble, since Survivors will have to find 2 hex totems before they can cleanse Ruin. As mentioned above, this can also be used in conjunction with Hex: Retribution to easily catch Survivors who cleanse Dull Totems.
Syngergizes well with Hex: Ruin and Hex: Retribution.
These lil’ guys are pretty vulnerable without Hex: Undying to give them a secondlife
Hoarder
The Twins Perk
Triggers a Loud Noise Notification for 4 seconds whenever a Survivor unlocks a chest or picks up an item within 32/48/64 meters. It also spawns two additional chests.
While difficult to justify when compared to perks which help you locate Survivors on Generators, since Survivors both must work on Generators, and will work on more of them than they will open chests, this perk can still give you valuable information, both on where Survivors are, and on which ones might have an item to take into account.
Pairs very well with Discordance and BitterMurmur.
I’m All Ears
The Ghostface Perk
Any Survivor performing a rushed action within 48 meters of you has their aura revealed for 6 seconds (60/50/40 second cooldown).
Rushed actions usually give a Loud Noise Notification, making this perk pointless in most situations. However, in a chase, I’m All Ears makes it possible to outplay and surprise Survivors after they’ve fast vaulted a window, since you’ll have 6 very long seconds in which you can see exactly where they are.
Pairs well with high walls.
Lethal Pursuer
The Nemesis Teachable
At the start of the trial, the auras of all Survivors are revealed to you for 7/8/9 seconds.
It’s only worth taking this if you truly struggle to find Survivors at the start of the match, or if you’re a Killer with high movement speed. That being said, it’s such a reliable way to start your first chase that it’s worth listing, even if it tends to be outclassed by other choices.
Pairs well with high-mobility Killers.
Nowhere to Hide
The Knight Perk
Damaging a generator reveals the Auras of all Survivors within 24 meters of your position for 3/4/5 seconds.
Finding the nearby Survivors lets you start a chase faster. Survivors will often hide nearby, making this Perk incredibly useful in the majority of games.
Pairs well with Pop and other Perks that encourage gen-kicking.
Scourge Hook: Floods of Rage
The Onryo
When the Trial begins, 4 random Hooks become Scourge Hooks. If a Survivor is unhooked from one of these, the aura of all other Survivors are revealed for 5/6/7seconds.
This perk is excellent for Killers who expect Survivors to unhook each other, and go on the hunt immediately after hooking someone. It turns the action of unhooking someone into a dangerous one for Survivors, forcing them to deal with giving intel whenever you hook someone. It can also show you where the unhooking Survivor goes immediately after – this can be especially useful if you can see them immediately healing the unhooked Survivor.
Pairs well with killers who have high mobility, and with other Scourge Hook perks.
Scourge Hook: Pain Resonance
The Artist Perk
At the start of the Trial, 4 random Hooks are changed into Scourge Hooks:. The Auras of Scourge Hooks are revealed to you in white. Start the trial with 4 tokens. Each time a Survivor is hooked on a Scourge Hook, 1 token is consumed and the Gen with the most Progression explodes and instantly regresses by 15/20/25% of max progression. All Survivors repairing the generator will scream, but not reveal their location.
This perk helps you find Survivors in the most useful way possible: you’ll know which Generator they are working on, and which one is the closest to being finished. This allows you to make good choices about where to go next after hooking a Survivor.
Synergizes well with other slowdown Perks.
Spies from the Shadows
Available to All Killers
Crows startled by Survivors within 20/28/36 meters cause a Loud Noise Notification.
Since crows are so littered around many Trials, this perk is useful for pinpointing Survivors if you can first track them down to a specific area. They are almost sure to bump into a crow while sneaking or running away from you.
Pairs well with outdoor Trials.
Surveillance
The Pig Perk
The aura of any regressing generator is highlighted by a white aura. If regression is halted on a generator, it will be highlighted by a yellow aura for 8/12/16 seconds. Surveillance also increases the range at which you can hear generator repair noises by 8 meters.
This perk helps you find Survivors in a roundabout kind of way: you’ll know if any generators stop regressing, and the only way for that to happen is if a Survivor starts repairing them. It’s advisable to run some kind of perk that helps you regress generators; Hex: Ruin is the obvious choice, but something like Oppression or Surge can work as well. If you aren’t doing so, make extra certain you’re kicking generators whenever possible.
Synergizes well with Hex: Ruin, Oppression, or Surge.
Seeing a regressing gen turn yellow via Surveillance informs you that a Survivor has started repairing it (or that it has hit 0%)
Thrilling Tremors
The Ghost Face Perk
After you pick up a Survivor, all generators not currently being worked on by Survivors will be blocked for 16 seconds. The auras of blocked generators are highlighted by white auras. 100/80/60 second cooldown.
As you can see, any generator that isn’t blocked when you pick up a Survivor must have someone on it, and so this perk immediately lets you know which gens are currently being worked on when you pick up a Survivor. It’s best to look around as you carry the Survivor to the hook, but 16 seconds is long enough that you should have plenty of time to glance around and figure out which gens are being worked on.
Pairs well with being able to down Survivors.
Tinkerer
The Hillbilly Perk
Triggers a Loud Noise notification whenever a Generator is repaired to 70%, and grants you Undetectable for 12/14/16 seconds. Can only be triggered once on each generator.
This perk is good for locating which Generators the Survivors are working on, and then having a brief window to get the drop on them. You need to be able to get over to the Generator fast enough to stop the Survivors from finishing it, and preferably while you still have Undetectable.
Pairs well with high-mobility Killers.
Rancor
The Spirit Perk
You become Obsessed with one Survivor. Each time a generator is completed, your aura is revealed to the Obsession for5/4/3 seconds, and all survivor’s auras are revealed to you for 3 seconds. Once all 5 generators are completed, the Obsession suffers from the Exposed status effect (downable in one basic attack), and you can kill the Obsession by your own hand (kill them without hooking them).
This is similar to Bitter Murmer (it provides better info but for less time) until the last gen is powered, when it also becomes a discount Hex: No One Escapes Death. It makes getting at least one kill much easier, and the vision you get when a generator is completed is fairly useful as well. Since you can only see the Survivors for 3 seconds, faster Killers will find this more useful than the slower ones.
Pairs well with high-mobility killers.
Ultimate Weapon
Xenomorph Perk
This Perk activates whenever you open a locker. For 30 seconds, Survivors that enter your Terror Radius will scream and reveal their location, and they’ll suffer from the Blindness status effect for 30 seconds. Ultimate Weapon has a 40/35/30 second cooldown.
It’s pretty easy to get Survivors to enter your Terror Radius while moving around the map. This Perk prevents you from wasting your time looking for Survivors — all you have to do is open a Locker and then move towards an area you’re pretty confident has Survivors.
Pairs well with wanting to find Survivors (and high mobility Killers, like most of these Perks).
Whispers
Available to All Killers
You will sometimes hear the whispers of The Entity when a Survivor is within 48/40/32 meters. More importantly, this perk will go from dull to lit when a Survivor is within the perk’s range.
While not as accurate as Spies from the Shadows, it works even if Survivors are hiding in lockers or crouch-walking around the edges of the map. While not my favorite perk, some people swear by it, and it’s extremely helpful if the last few Survivors insist on hiding and attempting to wait for everyone else to die.
Keeping an eye on Whispers will let you know if a Survivor is in the area
We hope this guide was helpful! If you have questions, comments, or feel we missed a great perk, just use the comments section below to let us know.
Share this article:
DanielD
Unabashed FromSoftware fanboy still learning to take his time with games (and everything else, really). The time he doesn't spend on games is spent on music, books, or occasionally going outside.
what is the fun if killers can know all the positon of survivors?
and how difficulty being a solo survivor in this game to play with and what is the fun?


Hex: Undying is a Blight perk, not a Deathslinger perk
Thank you for the correction!
what is the fun if killers can know all the positon of survivors?
and how difficulty being a solo survivor in this game to play with and what is the fun?