Boon Totems and Perks were introduced to Dead by Daylight in October 2021 with the Hour of the Witch chapter, and have been one of the most interesting mechanics introduced in the last year. The long-awaited counterparts to the several Killer “Hex” Perks, Boon Perks allow Survivors to “Bless” Totems in order to receive buffs while they remain within their radius. In this guide, we’ll explain exactly how Boon Totems operate, go over the complete list of Boon Perks, and give some basic tips for their use.
What are Boon Perks/Totems
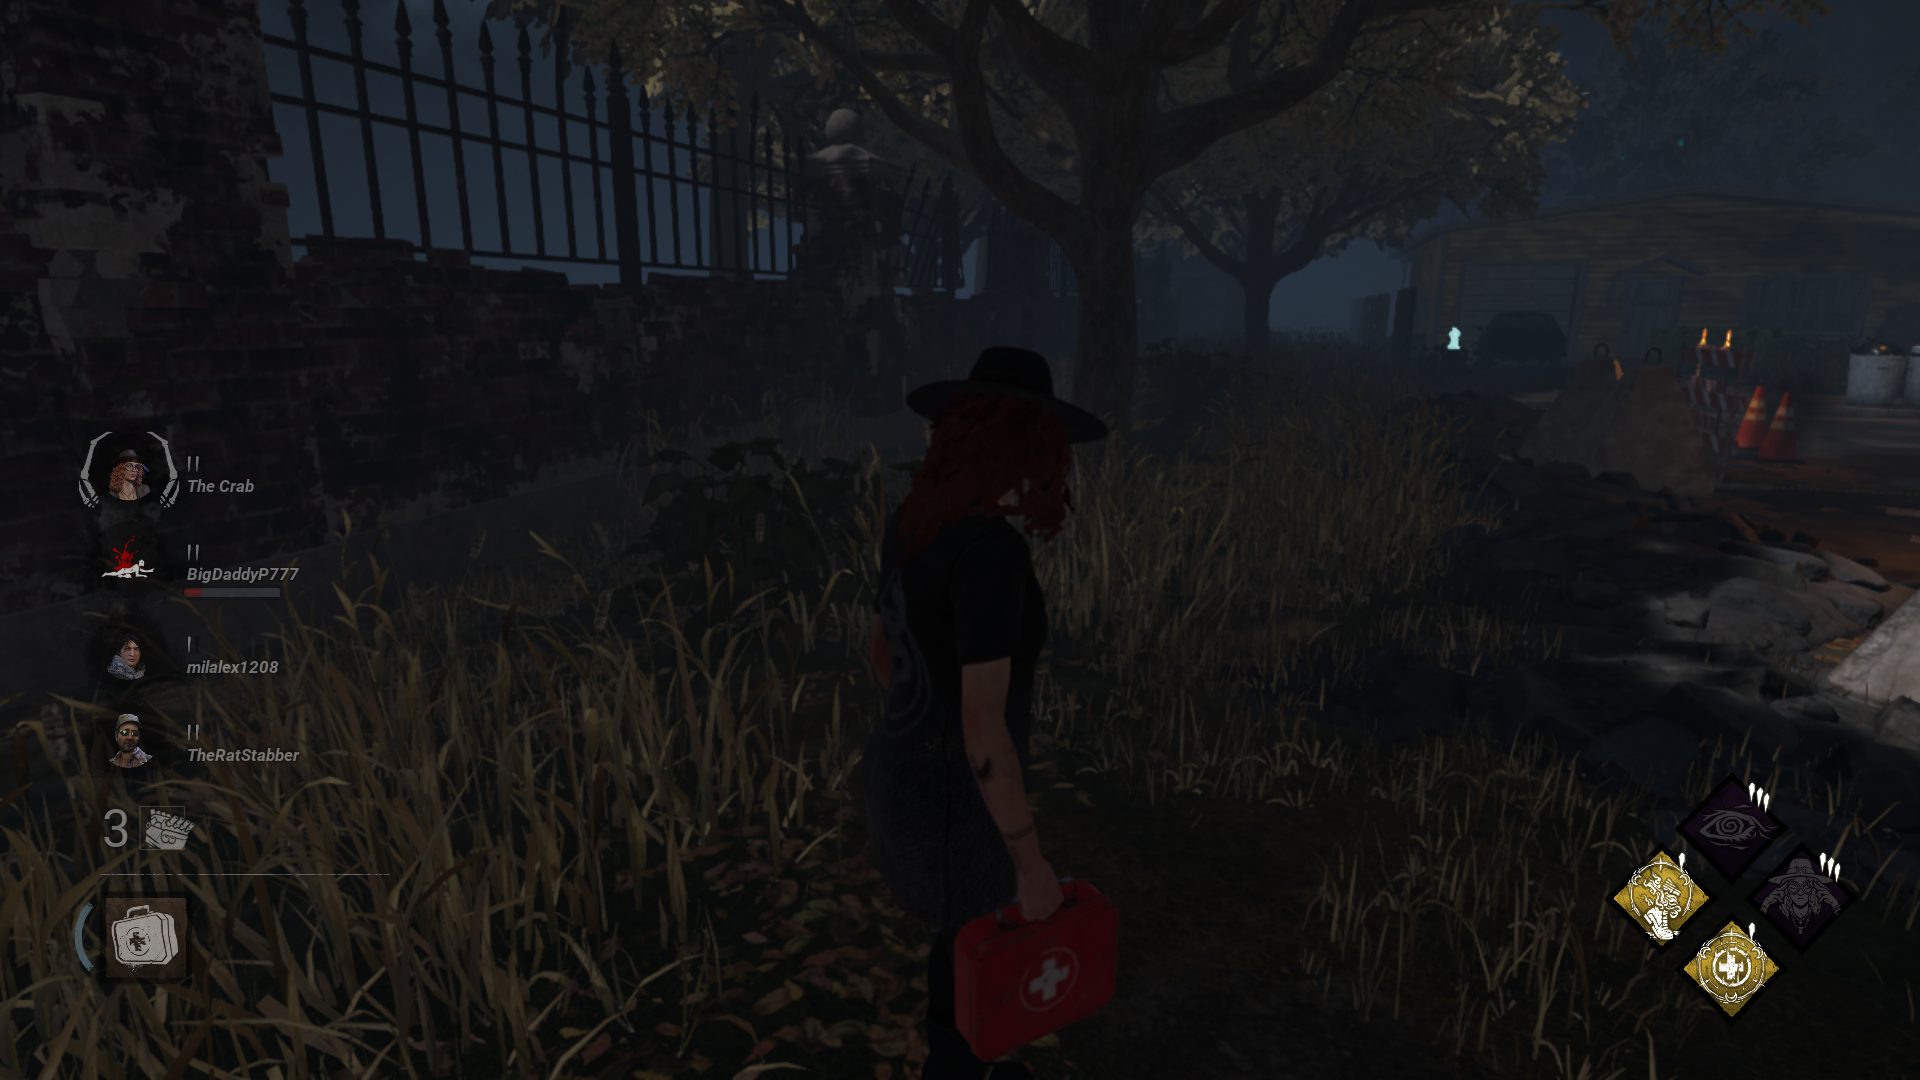
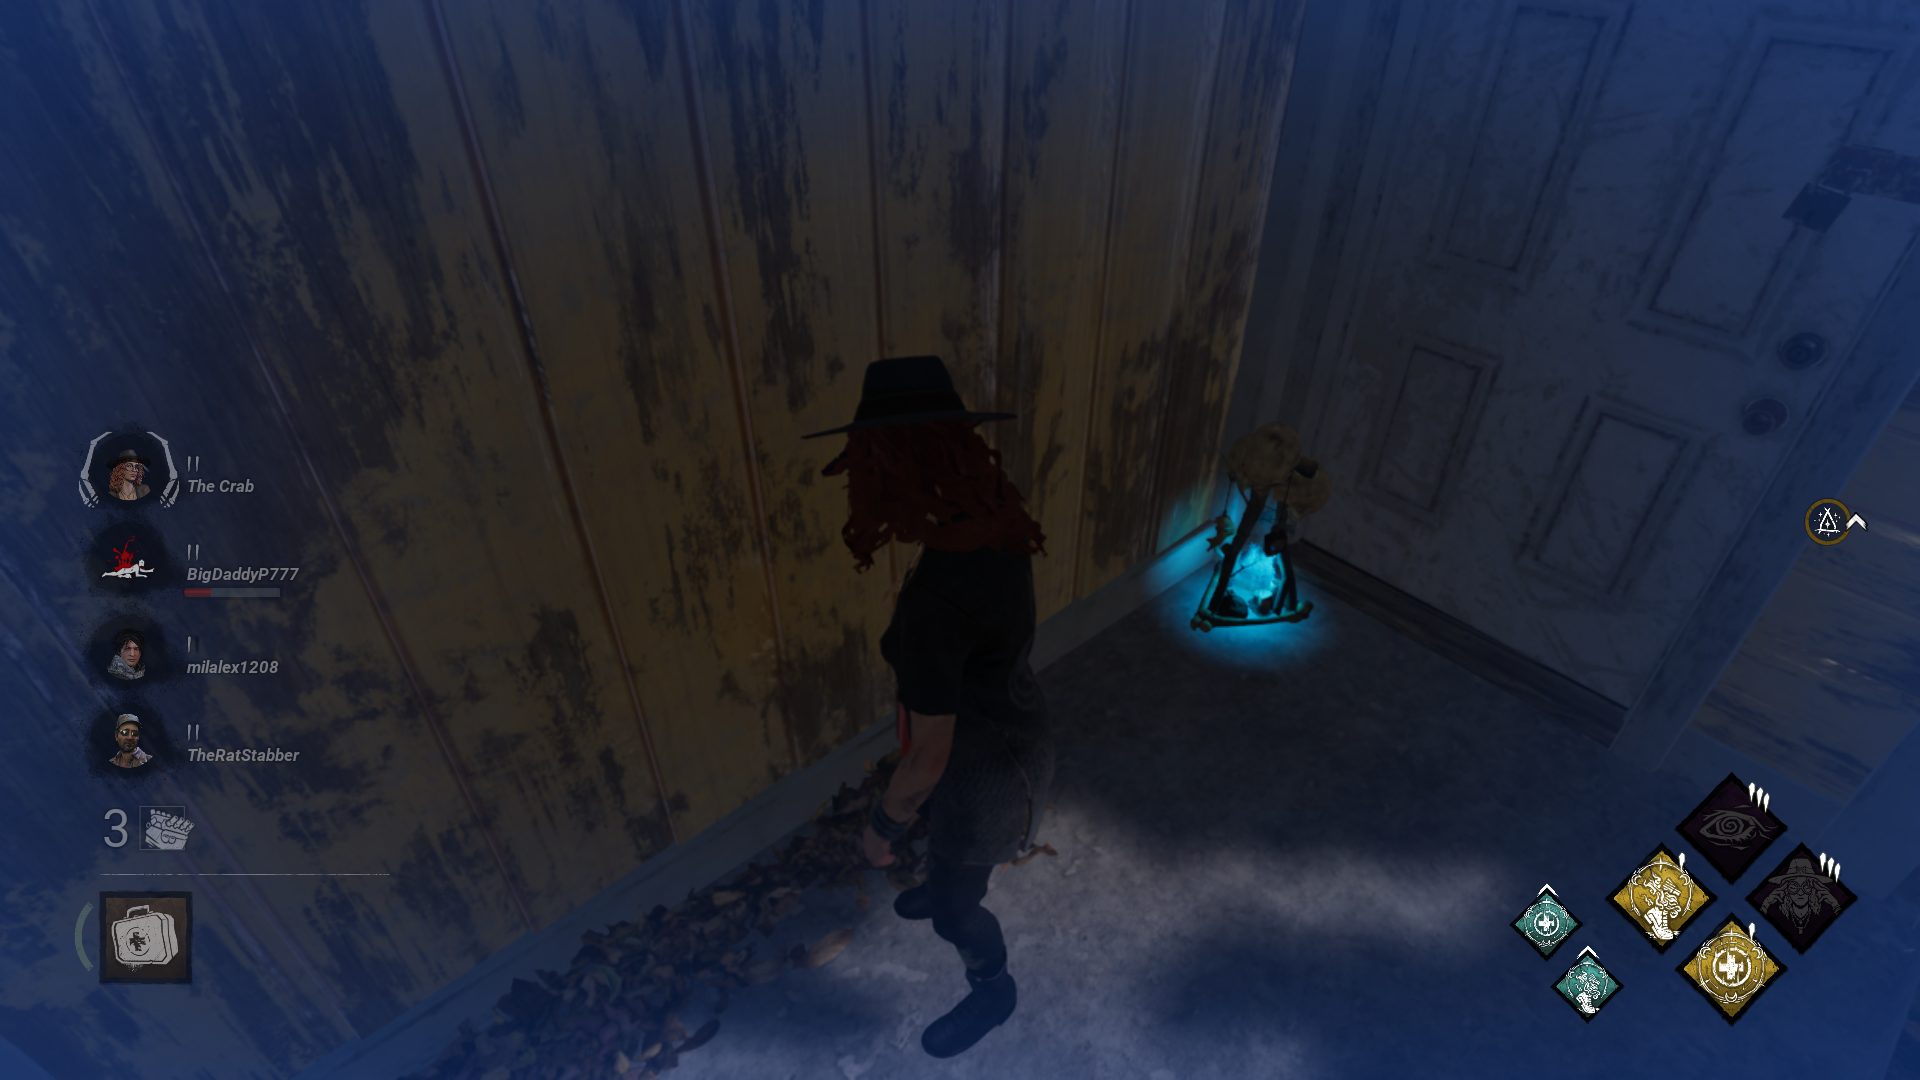
Boon Perks allow Survivors to Bless Totems (creating Boon Totems), which affect all of the survivors within a radius of 24 meters around said Totem. In order to do this, a Survivor with at least one Boon Perk equipped can interact with a Dull Totem (taking 14 seconds) or Hex Totem (taking 28 seconds) to bless it. A Boon Totem will have the effects of all of the Boon Perks that the Survivor who blessed it had equipped. Any Survivors within the radius of a Boon Totem will hear windchimes and have a blue vignette filter applied to the edges of their screen.
The Killer, meanwhile, is able to snuff out these Boon Totems with only a short interaction. However (unlike Cleansing a Hex Totem), this interaction does not destroy the Totem, which can be relit by the Survivors indefinitely, unless the Killer is using the Shattered Hope perk. The Killer can hear a sound when near a Boon Totem.
Each Survivor can only have one Boon Totem active at a time, but multiple Boon Totems (blessed by different Survivors) can sometimes have overlapping radiuses, though the effects of any Boon Perks cannot stack with other instances of itself.
There are currently 4 Boon Perks in Dead by Daylight. All of them are Survivor teachable (2 coming from the same Survivor, Mikaela Reid).
Survivors can always see the Aura of a Boon Totem
Boon Perks List
The effects of all boon perks cover a 24-foot radius around the Blessed totem, and each Survivor can only have one active Boon Totem at a time, though it will have the effects of every Boon Perk the Survivor has equipped.
Boon: Circle of Healing
Mikaela ReidTeachable
A Totem Blessed with this Boon increases the altruistic (healing others) healing speed of Survivors in its radius by 50%/75%/100%. It also reveals the aura of any injured Survivor within the Boons area of effect. While not as strong as when it allowed for healing without a Medkit, this Boon can still have niche uses in healing-centric builds.
Boon: Dark Theory
Yoichi Asakawa Teachable
A Totem Blessed with this Boon increases the Haste of Survivors in its radius by 2% while in range, and for 2/3/4 seconds after leaving it. This speed boost is so minor (the lowest Haste boost in the game) as to make this Boon useless in almost all circumstances.
Boon: Exponential
Jonah Vasquez Teachable
A Totem Blessed with this Boon increases the Recovery Speed of downed Survivors in its radius by 90%/95%/100%. It also unlocks the Self-Recovery ability for Downed Survivors, allowing them to Recover without assistance. While this effect is situationally useful, it requires you to find yourself downed by the Killer but not carried, limiting its viability significantly.
Boon: Illumination
Alan Wake Teachable
A Totem Blessed with this Boon allows Survivors in its radius to see the auras of all Generators and Chests in blue. The perk also increases the user’s action speeds for blessing and cleansing by 6%/8%/10%while they have a lit boon totem. This perk is limited in strength at higher levels (where players won’t have much trouble finding and keeping track of gen locations), but it’s certainly a nice feature for newer players, who often spend a lot of their time wandering aimlessly, unable to find gens. Being able to find chests is a nice bonus, though simply bringing an item into the trial with you is usually a better option.
Boon: Shadow Step
Mikaela Reid Teachable
A Totem Blessed with this Boon suppresses the Scratch Marks and hides the Auras of Survivors in its radius, and for 2/3/4 seconds after leaving it. This makes it quite powerful against Killers with abilities and perks that highlight Auras — it can also be effective on any map where it’s easy to break line of sight (particularly indoor maps).
Killer Perk: Shattered Hope
In order to combat Boon Totems more effectively, subverting the advantages they provide, Killers have access to the General Perk “Shattered Hope.” This Perk lets Killers permanently destroy Boon Totems instead of merely snuffing them out, and reveals any Survivors who were in the radius for 6/7/8 seconds. This perk is very situational, only being useful if the Survivors have Boon Perks. Even then, there is not much utility in destroying Boon Totems when snuffing them out is instantaneous. Still, it can be an option if you want to shut down a team optimized for their use.
Tips for Using Boon Totems
While Boons can be factored into a variety of builds and more complicated techniques, there are some simple tips that any Survivor using Boon Perks should keep in mind:
Boon Perks are designed for teamwork. Because Boon Perks provide benefits to all Survivors in a range, they are best used with a team who knows to take advantage of those benefits. If you do not know that your team will make use of the Boon Totems you make, then it is usually best to run more powerful, individual perks in their place.
Stack Boon perks. Because all Boon Perks you have equipped will apply to any Totems you Bless, running with multiple Boon Perks allows you to get more out of the single mechanic.
Don’t hover around Boon Totems, but approach them as needed. Since you still need to complete gens and otherwise loop around the Trial, you shouldn’t attach yourself to a Boon Totem, but rather keep in mind where one is so you can make use of its effect as needed. For example, if you are being chased, being near a Circle of Healing Boon Totem won’t do anything for you (but it might allow the Killer to find it and snuff it out). But after a chase, if you need to heal yourself, that would be the time to return to that Totem and make use of its effect.
If you are running the same Boon Perk as another Survivor, avoid overlapping Totem Effects. Since Boon Totem effects don’t stack, blessing two Totems with the same Perk so that their areas overlap is inefficient. In this case, it is better to have Boon Totems on opposite ends of the Trial.
With these tips, alongside the list of Boon Perks and explanations before, we hope that you have a better idea of what Boon Perks and Totems are, how to use them, and what they are capable of. If you have any questions or comments, we look forward to hearing from you below!
Share this article:
Graves
Graves is an avid writer, web designer, and gamer, with more ideas than he could hope to achieve in a lifetime. But, armed with a mug of coffee and an overactive imagination, he'll try. When he isn't working on a creative project, he is painting miniatures, reading cheesy sci-fi novels, or making music.