In this guide, we will be exploring the Sewer Branch monument. This guide contains the general strategy and meta for the monument, a map with Crate spawn locations, and callouts so you can more easily navigate the monument
For info on how to read the map and some more general information about the guide, please refer to the Map Key in the Main Guide.
General Info
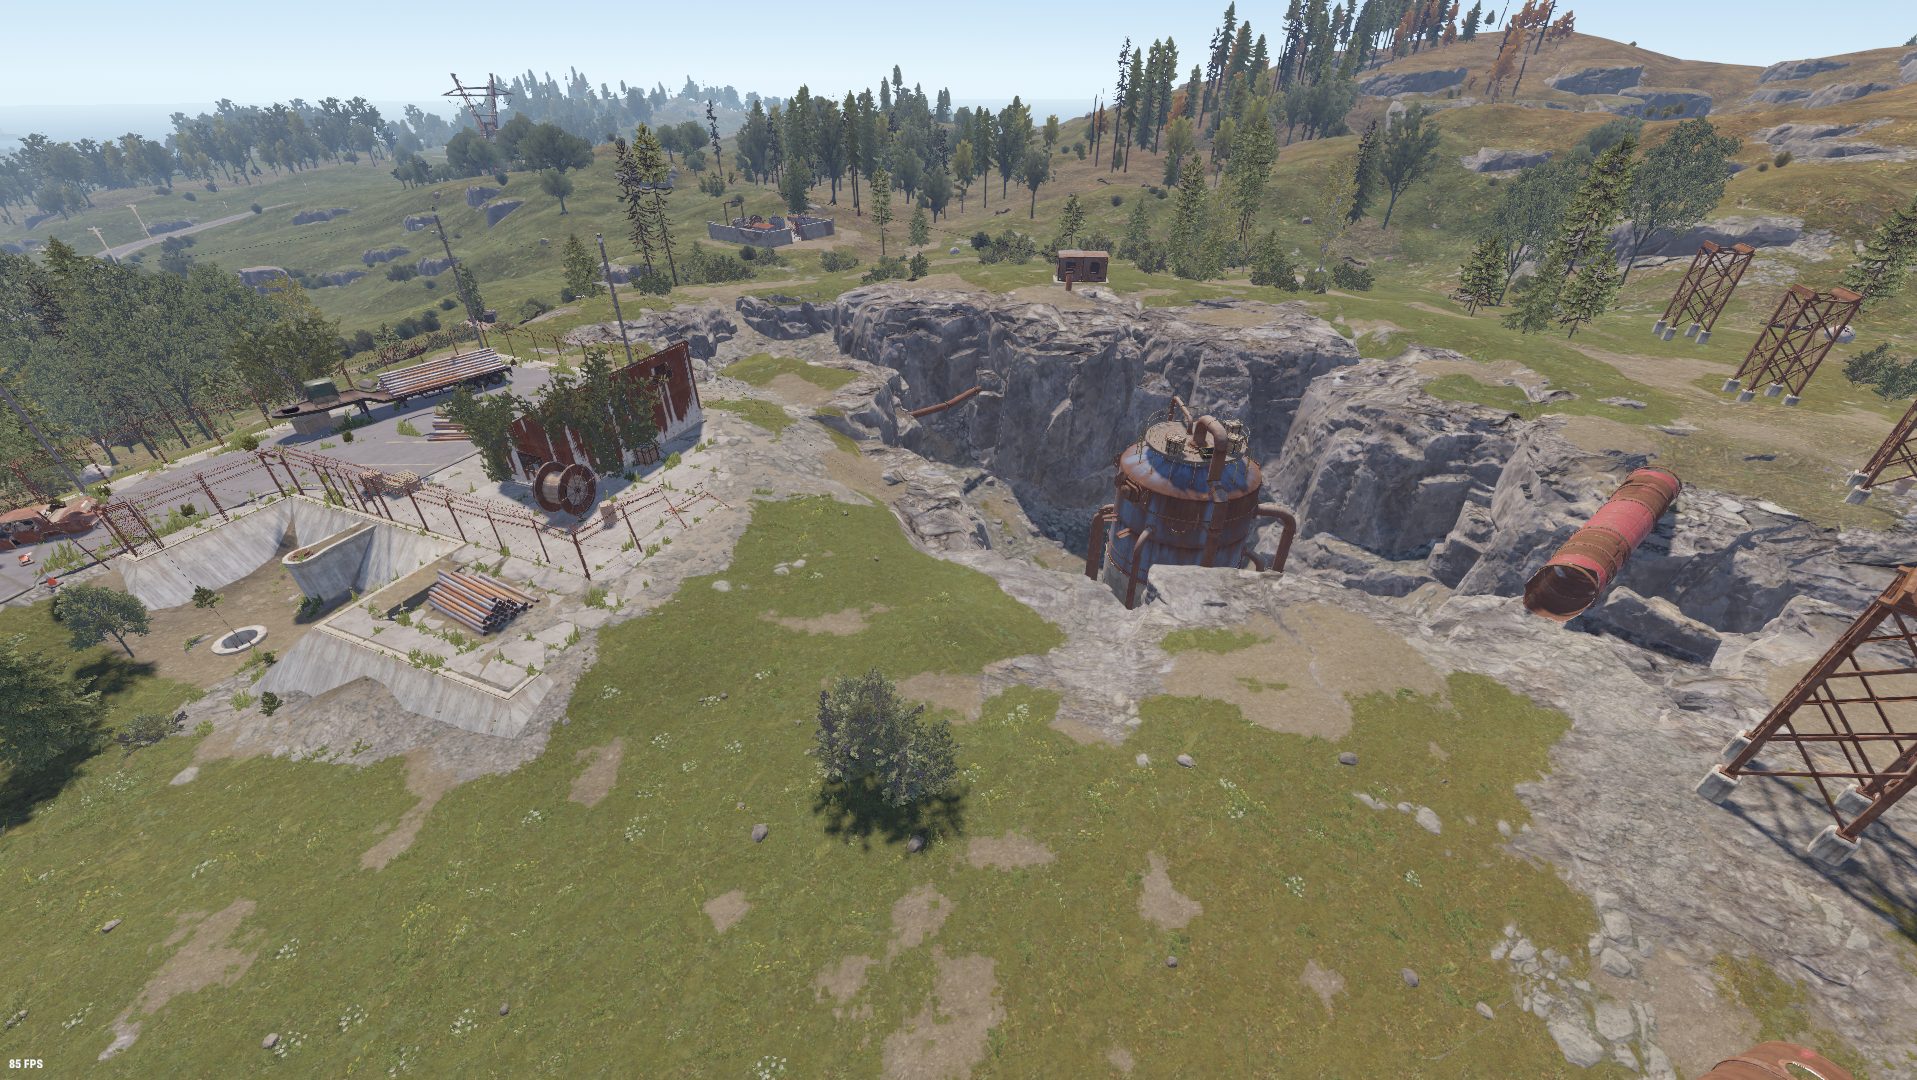
Sewer Branch is one of the best of the Tier-2 monuments. It features dozens of Crates, and has a very easy-to-complete parkour puzzle. This is a must-visit monument for any wipe.
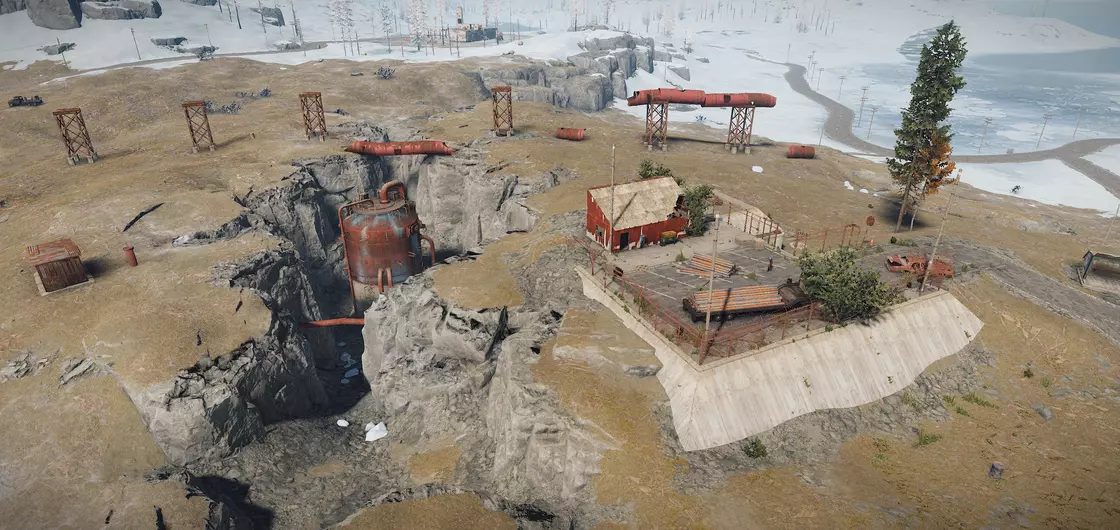
Sewer Branch
Strategy and Meta
There are a few key elements to remember to ensure success in this Sewer Branch. The first, and most important, is remembering that elevation is everything. This is more true here than almost any other monument – and that’s saying something!
The sewer branch essentially exists on three main levels: the “Ultimate High Ground”, the “Midground” and the “Ultimate Low Ground” These areas have their own characteristics and advantages that can be used for their specific benefits.
Ultimate High Ground
This area’s best feature, aside from being located on the high ground, is the Recycler building and its surrounding area. This area is probably the strongest of the three zones, but it does come with some drawbacks. Outside of the Recycler building, the Ultimate High Ground is fairly exposed, leaving you open to attack from many different directions. It can be easy for enemies to flank you here, no matter how advantageous your elevation is.
Midground
This section consists of an area leading into the crevasse, a pipe that overlooks the same crevasse, and a jumping puzzle. While it lacks the height advantage, it does provide excellent cover from the High Ground, allowing you to head glitch and get good angles on them. However, positioning is everything here; effectively using cover from a lower elevation requires a good sense of what angles are and aren’t protected from above
Low Ground
This section includes the bottom of the crevasse and anywhere inside the sewer branch sewers. The advantage of this area is that it is very easy to “rat” here, easily allowing you to move from cover to cover without being seen. Because of this, you can frequently camp out in a corner, especially if you can get down the tunnels, forcing enemies who want to take you out to come to you. However, if you are spotted from above without cover, you will be easy to pick off. Fighting back against the higher levels is, usually, going to end poorly for you.
Loot
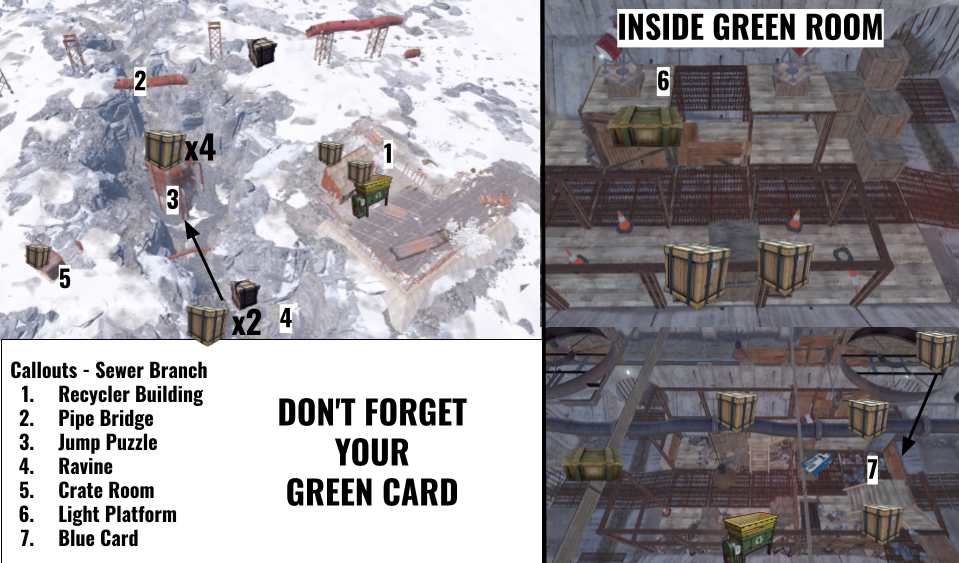
The loot inside Sewer Branch is some of the best in the game, for the Tier it is. Every single Brown Crate spawn has the chance to be a Military Crate instead, meaning that it only takes a little luck to walk out as a very rich survivor. Even just looting the high ground yields 8 Crates outside the puzzle room, going up to 16 if you count the crates actually inside it. That is to say nothing of the Crates inside the crevasse and sewer system itself.
Speaking of loot, it is important to note that you should come carrying a Green Card and a Fuse, in order to access the well-worthwhile Green Room, which yields not only the 8 aforementioned Crates, but also a Blue Card and Recycler.
Crates and Callouts
Take a trip to Sewer Branch and get yourself all the loot you could wish for in your next wipe! Afterward, check out our other Monument Guides for information on the other monuments.
Share this article:
Ate
An avid Rust player with 4000 hours in the game. My hobbies include cooking, baking, and camping!