In this guide, we will be exploring the Dome monument. This guide contains the general strategy and meta for the monument, a map with Crate spawn locations, and callouts so you can more easily navigate the monument.
For info on how to read the map and some more general information about the guide, please refer to the Map Key in the Main Guide.
General Info
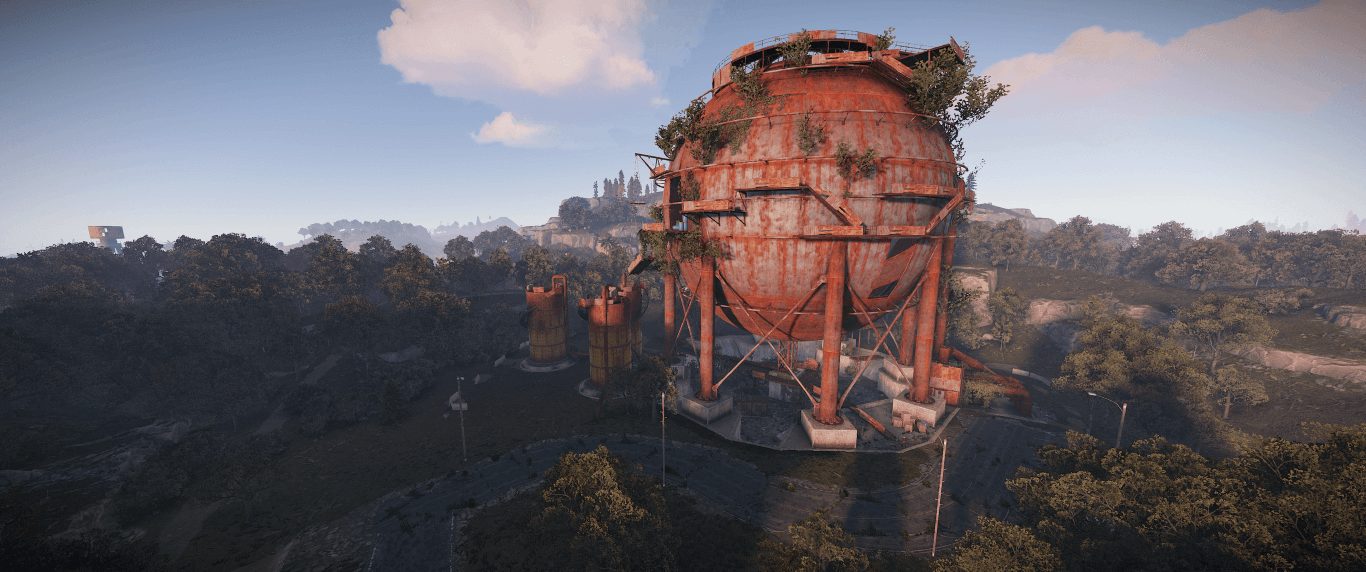
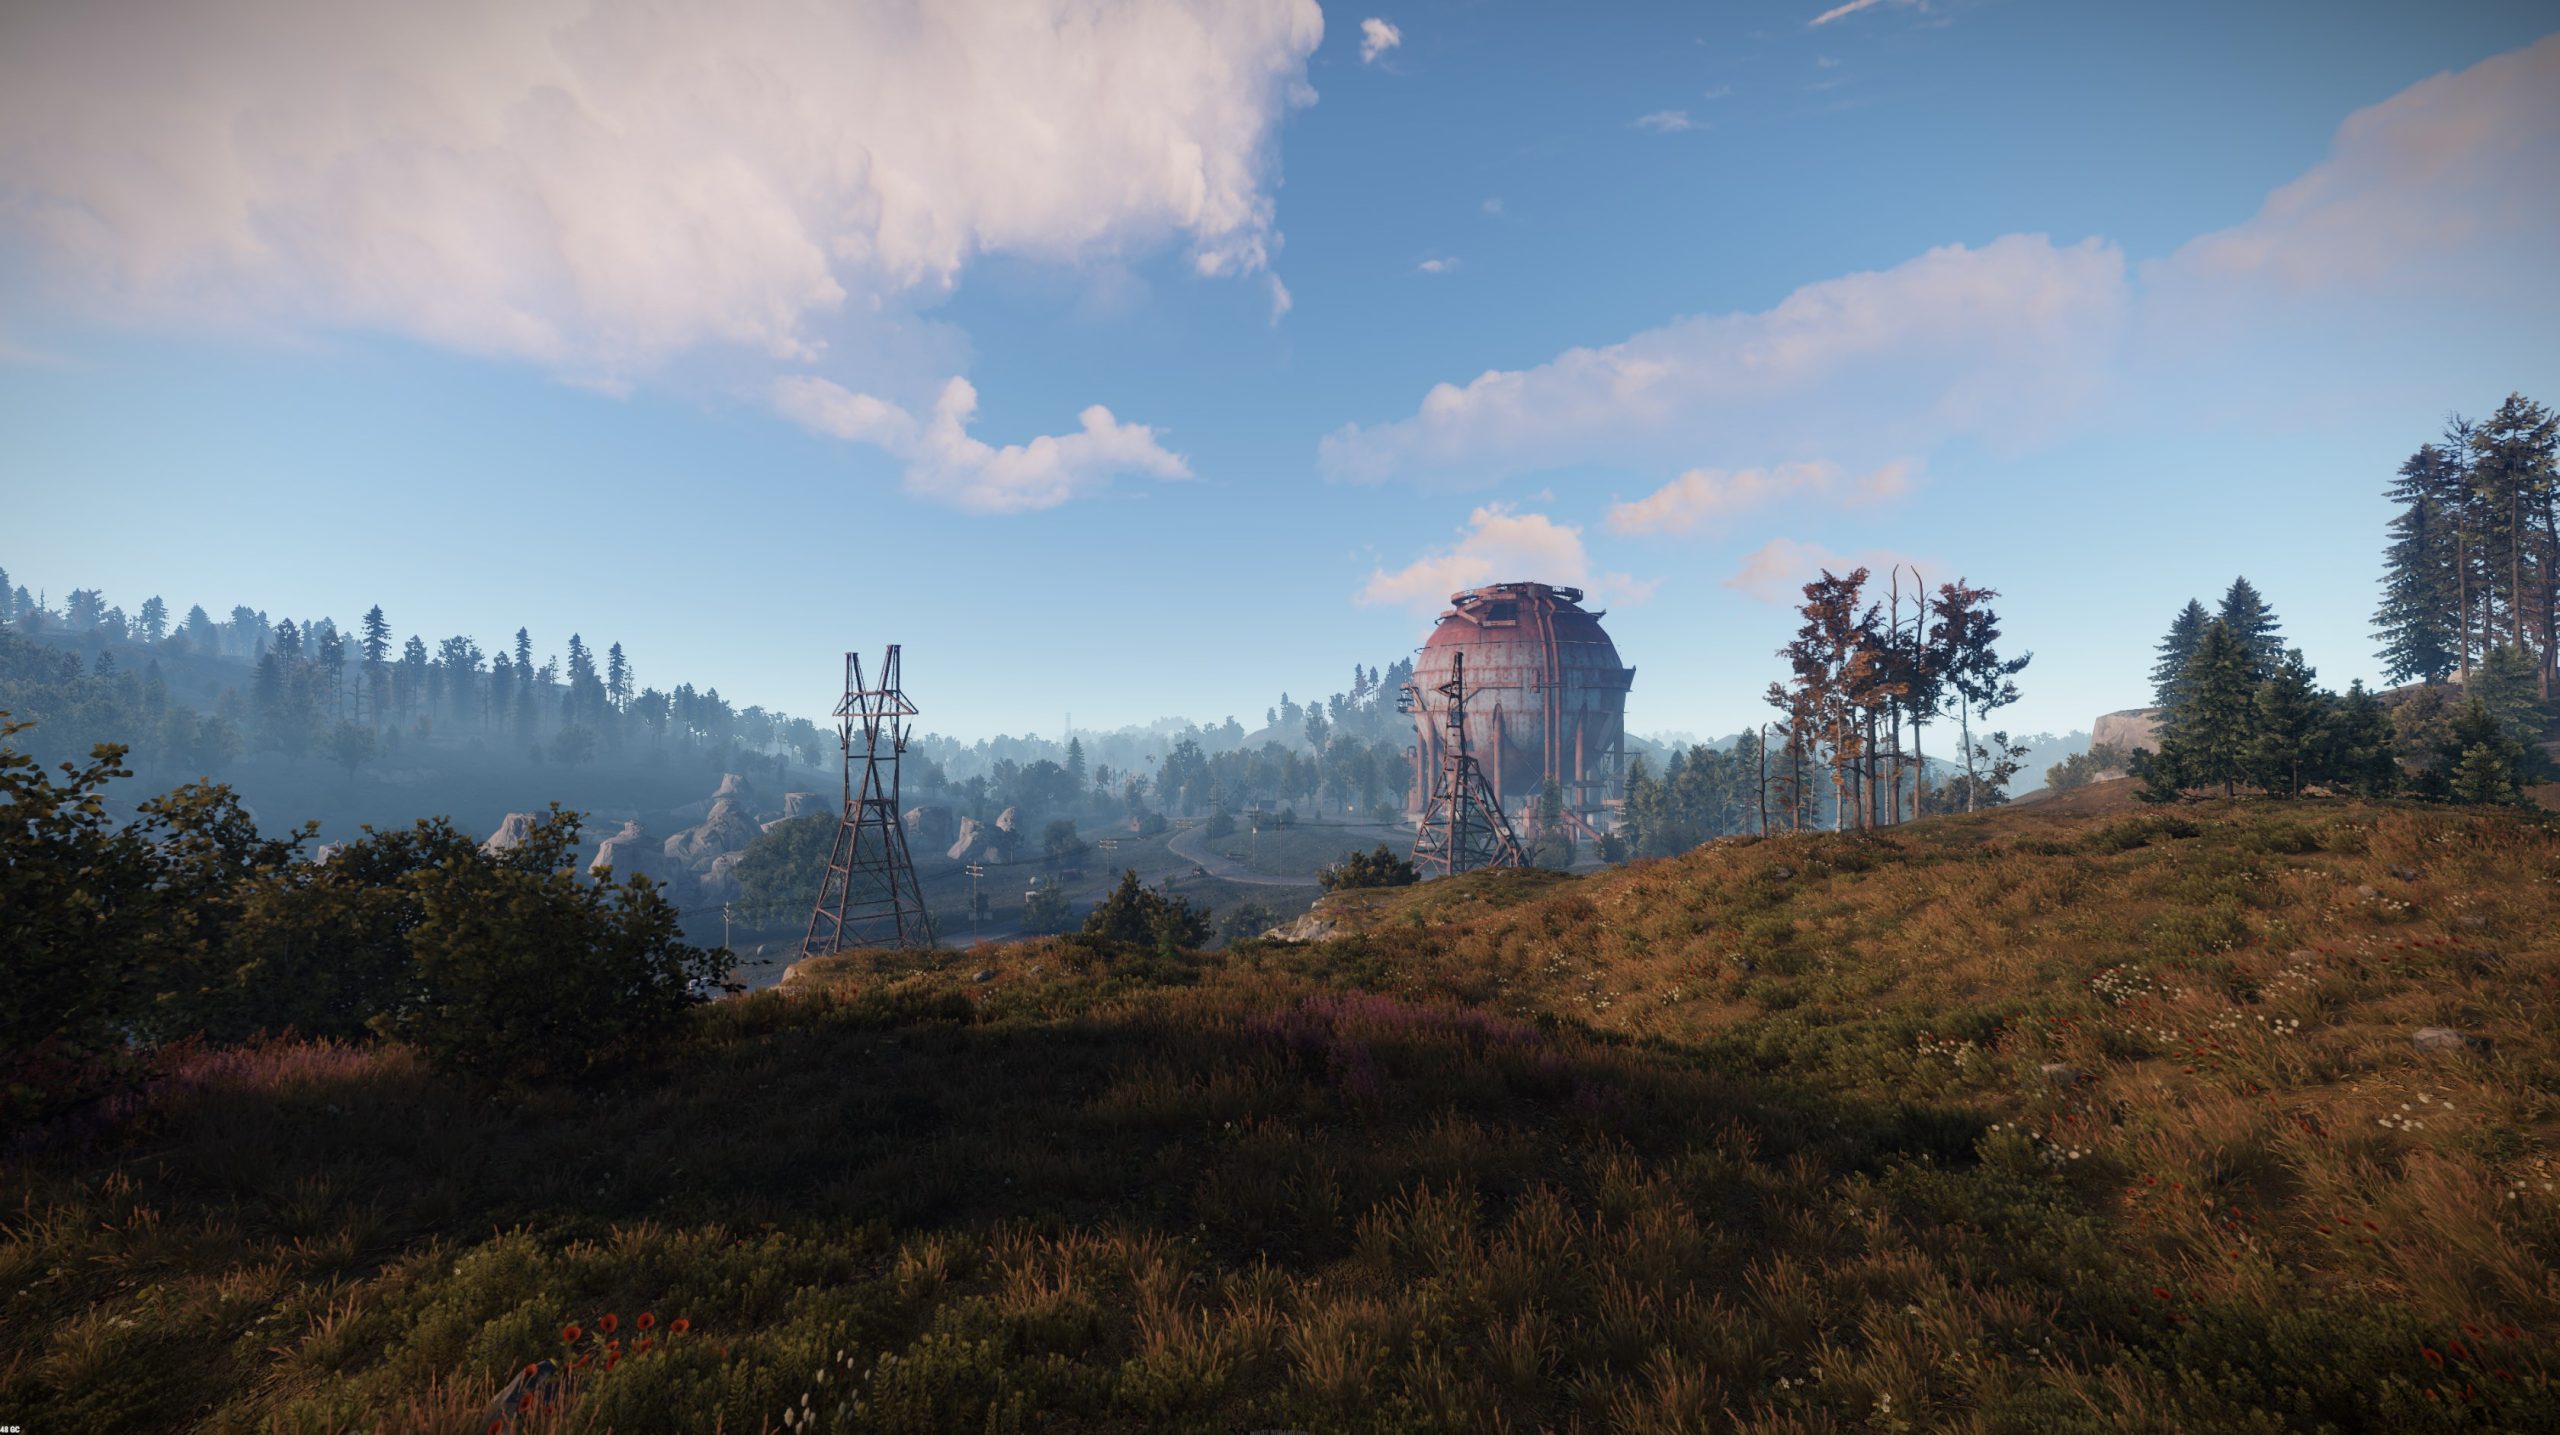
The Dome is the “Red Giant” that looks out over the world of Rust. Standing beside it are two red towers that once held fuel, but have now been empty for some time. But that doesn’t mean the Dome itself is lacking loot: it contains the highest amount of guaranteed non-locked Military Crates in the game. If you need to stock up on Tier-2 supplies, this is the place to be.
The Dome
Strategy and Meta
In addition to its look, this monument stands out for one main reason: the Dome is very easy to hold. It consists of 3 critical chokepoints that can be easily held from above. This makes it easy for a small group (or even a solo player) to control this monument, even against floods of well-armed players. Because of this, defending the Dome will come down to simply using cover and maintaining the high ground. Dome works essentially like a funnel, with one path to the top, and so all of your attackers will have to move along that path. And, presumably, straight into your line of fire. The best place to do this is the Old Jump Spot (#2 on the map below), where you will have good, elevated cover to peak from.
It is also useful to keep in mind that you shouldn’t overstay your welcome while defending Dome. The sooner you are in and out, the fewer meds you will burn through, and the less chance an enemy will have to plant themselves at the entrance to camp your one escape route. Simply grab the Military Crates, Diesel, and Lowgrade, and then get out. If you do decide to use the refineries here to cook Crude into Lowgrade, despite its time-consuming nature, you should place a Bubbler outside of the room, which will mask your sound and bait attention from any attackers.
Of course, the ease required to defend the Dome means that attacking it is incredibly difficult, and your options will be limited. Trying to use the funnel-like path is going to be a death sentence in most cases. In order to take back the advantage, you should not try to push the monument. Instead, camp outside and watch the entrance: the defenders will have to leave eventually, using the one exit available to them. By watching the entrance, you will turn their biggest advantage into their demise.
If you have to push the monument, you will have to use clever tactics to even have a chance. Use cover in order to not only avoid fire but also to have a chance to heal. On the other side of that, you can push up while the enemy is healing. Don’t forget to bring flash grenades if you have to push the Dome; their blinding effect can really help mitigate the defenders’ advantage.
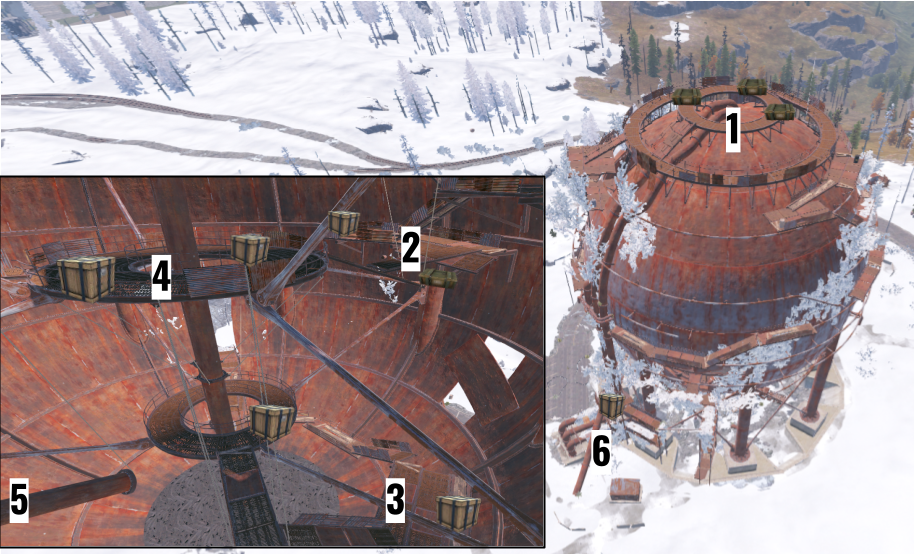
Crates and Callouts
The Dome Monument Map
The following callouts correspond to the numbers on the image above:
Top
Old Jump Spot
The Low Crate
Top Ring
Nothing Pipe
Entrance
In addition to these, it can be worth it to come up with other callouts for this monument for the refinery rooms, or for the parkour spots outside (Names like “Little Pipe Jumps,” “the Ladder,” and “Ramp Up” work well).
When you take a trip to the Dome on your next wipe, make sure to hold the top (or camp the bottom). When you’re done, make sure to check out our other Monument Guides for information on the other monuments.
Share this article:
Ate
An avid Rust player with 4000 hours in the game. My hobbies include cooking, baking, and camping!