This quest is one of the steps necessary to complete A Virtuous Man, which gets Galerius to run for Magistrate. We’ll need to find a cure for rheumatism, which someone in the city has. Letting Galerius give them the cure to that person will cause them to vote for him — but first we have to actually figure out the cure, and then get it from Lucretia in the Shrine of Apollo.
There are two ways to complete this quest, the easy way and the hard way. However, the hard way gets you the Golden Bow, which allows access to a number of secrets and puzzle solutions. Note that both of these options are also present in our walkthrough of this section of the game.
Getting the Cure the Easy Way
From the market, go into the 4-way arch, and take a right to head to the apartments. Stick to the main paved path, and you’ll come to the entrance to the apartments right before the stairs that lead to the shrine you arrived in. If you’re starting from the beginning of the time loop, just go down the stairs to the left and you’ll find the entrance to the apartments.
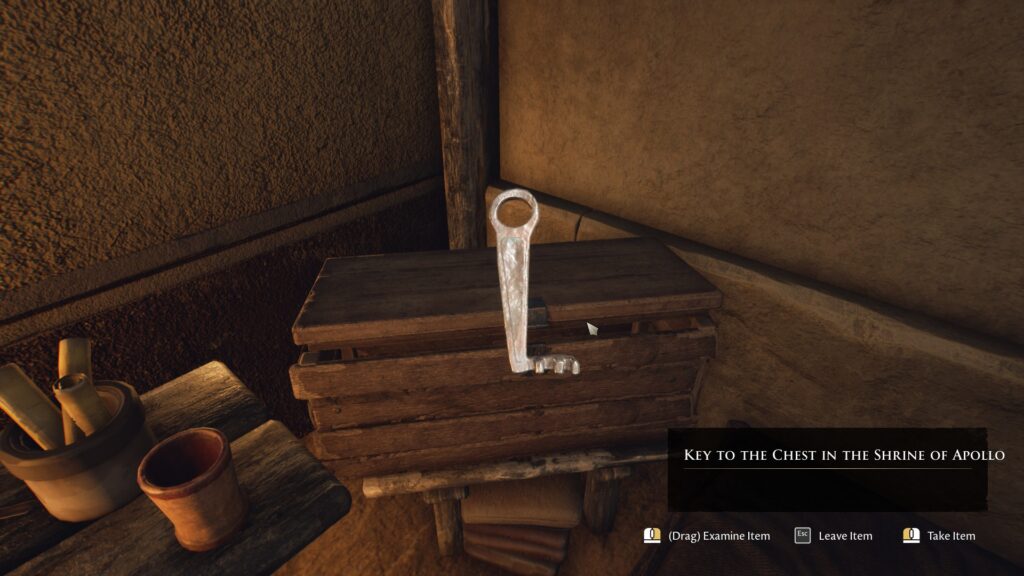
Go through the doorway pictured above, and then head straight and then up the staircase on your left (1). At the top of the stairs, turn left and head straight into the room there, and open Naevia’s chest (2). Take the Key to the Chest in the Shrine of Apollo, then go all the way back to the 4-way arch.
1
2
Turn left once in the arch to enter the market, and go into the first building on your left – the Shrine of Apollo. Speak with Lucretia there, and ask her “What’s your story?” and then “Tell me more about Naevia”. She’ll tell you about a patient, reply “Who?” or “Go on.” Then to tell her you’ve figured out the cure for rheumatism, and take the willow bark from her.
Getting the Cure the Hard Way
You’ll need to acquire a bow, which you can do by killing the assassin that comes out of the baths. You’ll first have to enter the market and walk through it until you see a woman in a yellow dress. After a conversation with her, she’ll run into the nearby shrine, which will collapse on her. Reset the time loop, then return to where you met her.
Tell her you’ll help her, then when she says she’s going to hide in the shrine, tell her “Do not go in there!” and then say “Just trust me”. Then continue towards the baths to where the assassin appears. When the assassin asks you where Quinctius is, tell him the (Lie), that you saw him worshipping in the shrine. Follow the assassin, point and laugh when he dies, then grab the bow, the arrows, and the bounty notice from his corpse.
Turn around from the shrine, and head left and down the stairs into the market. Once you approach Desius’ stall with the bow in your inventory, he’ll come and propose a “Joint business venture”. Tell him to “Go on”, and accept his offer once he explains it. Take the “Fake” Golden Bow from him, then head to the Shrine of Diana, which you should have a quest marker for (if you don’t, start tracking “The Gilding” in your quest log).
The shrine of Diana
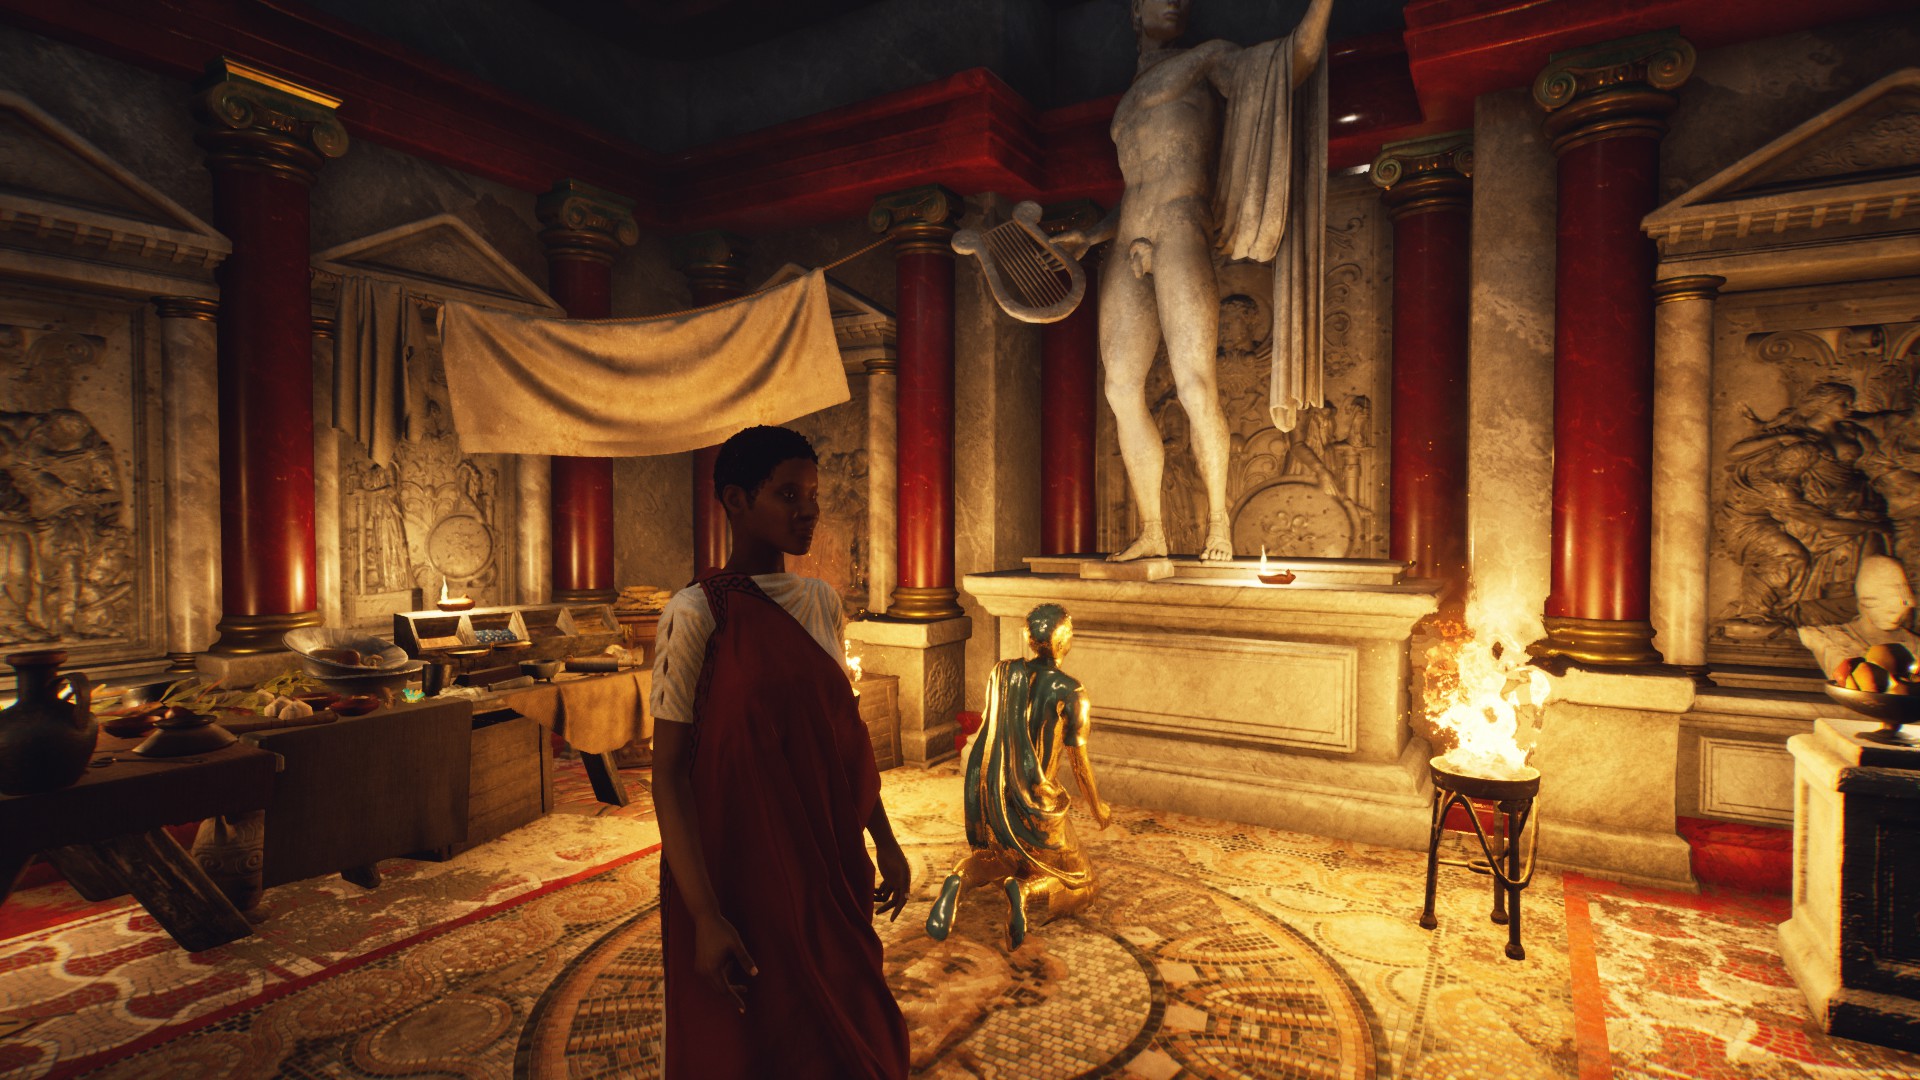
Head inside the shrine, and extinguish both braziers and take the quiver from the base of the statue. Then aim at the bow in the statue’s hands, and you should get a prompt to exchange the fake bow with the real one. Do so, and the braziers will light again. Try to leave through the doors, and you’ll discover Desius has done you dirty (big surprise).
After you get done talking to Desius, you should be already looking at the hornet’s nest on the ceiling, and your bow should be out (equip it with mouse wheel down if it isn’t). Take aim by holding [Mouse 1], then shoot the nest with your bow. It will turn to gold and fall to the floor, busting a hole that you can enter. Do so, then grab the arrows in the nearby chest. Jump down a few more times until you reach a tiny body of water with a skeleton and chest nearby.
Grab the arrows from the chest, then shoot the algae across the water with your bow. It will turn to gold, and you can climb onto it (hold [SPACE] and [W], then climb up to the rocks and continue forward. You’ll need to crouch with [C] to go through the small tunnel. When you exit, you can uncrouch, then read the nearby scroll entitled “Naevia’s Journal Vol. 1”.
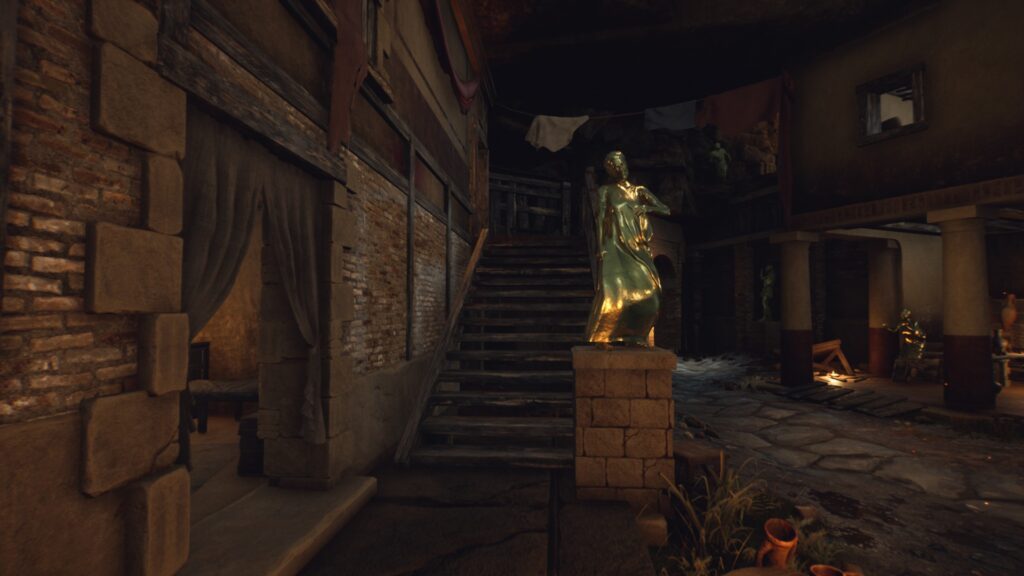
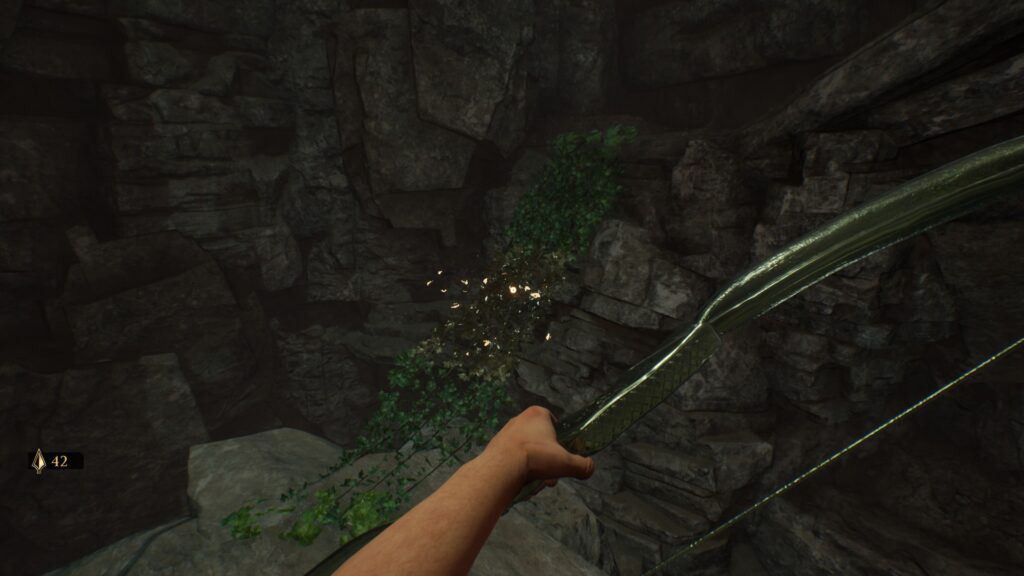
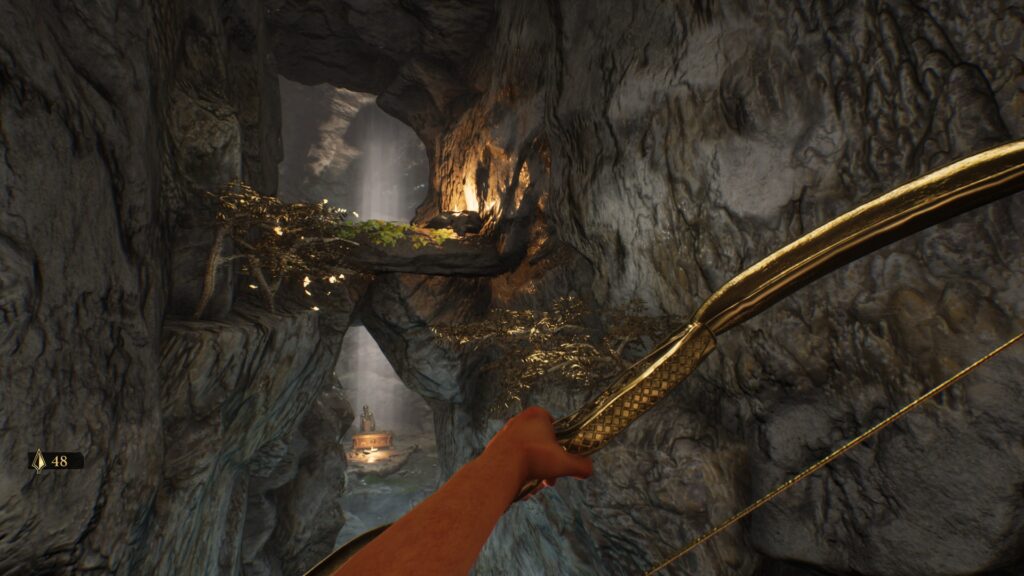
Climb up the nearby ledges with ropes draped over them, then do a running jump past the golden statue toward the lit candle to cross the gap. Continue up the path, using [SPACE] + [W] where needed, and you’ll reach an amphora of arrows and some ivy. Grab the arrows, then use your bow on the ivy to create a golden bridge.
Cross the bridge you’ve made, then continue forward a bit and do the same to the next ivy bridge. Cross that one and you’ll find some ivy growing on a wall — use your bow on it to turn it into a ladder, then climb it by simply walking into it, then looking up while holding [W] to climb. Climb up a few more rocks to enter the palace. You’ll enter a large room — cross it and grab the arrows from the chest on a table at the far end, then continue through the hallway to the right of the chest.
Once you round the corner, you’ll encounter your first enemy. They can be managed with the bow: one arrow to the head will turn them to gold, or two to any other body part. The easiest thing is to aim for the chest, since one shot will stun them, and then you can fully statueify (that’s a word now) them with a second shot. If they end up statuefied in such a way that they block your path, you can use [E] to kick them out of the way.
You can also kick them if they get too close, even while drawing your bow! The best strategy when you encounter an enemy that doesn’t have a clear environmental trap nearby is to simply turn around and sprint for a few seconds. Then turn around and calmly deliver two arrows to their chest.
Continue past the statue you made through the hallways (there’s only one way forward, and you’ll find a doorway where the doors are lying on the ground and form a ramp. There will be 2 enemies in the next room, so be ready. The first one will charge you once you come through the doorway, but you can actually hit the second one from range before they aggro. Grab the arrows from the amphora in this room, then head out the doorway that leads outside.
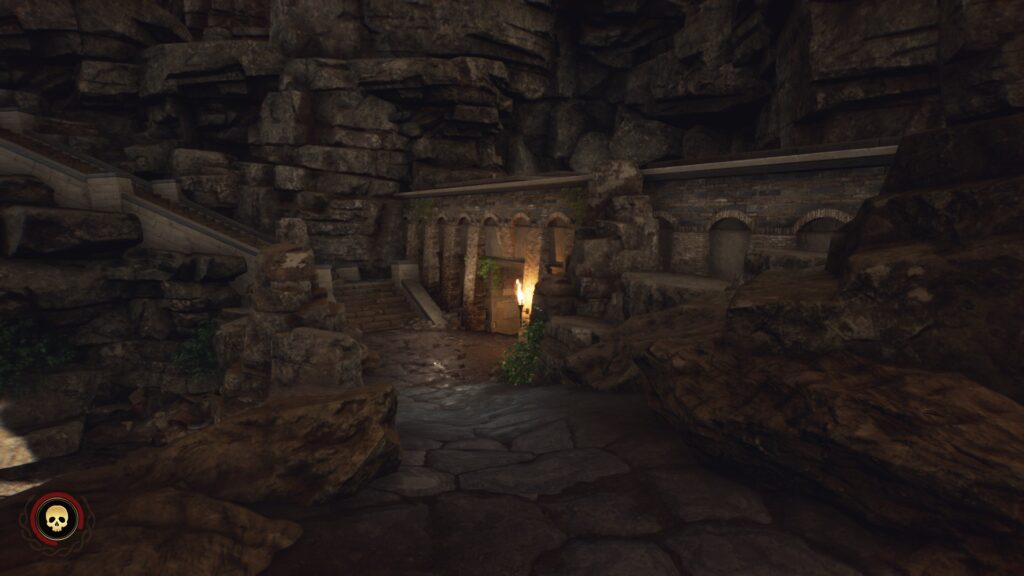
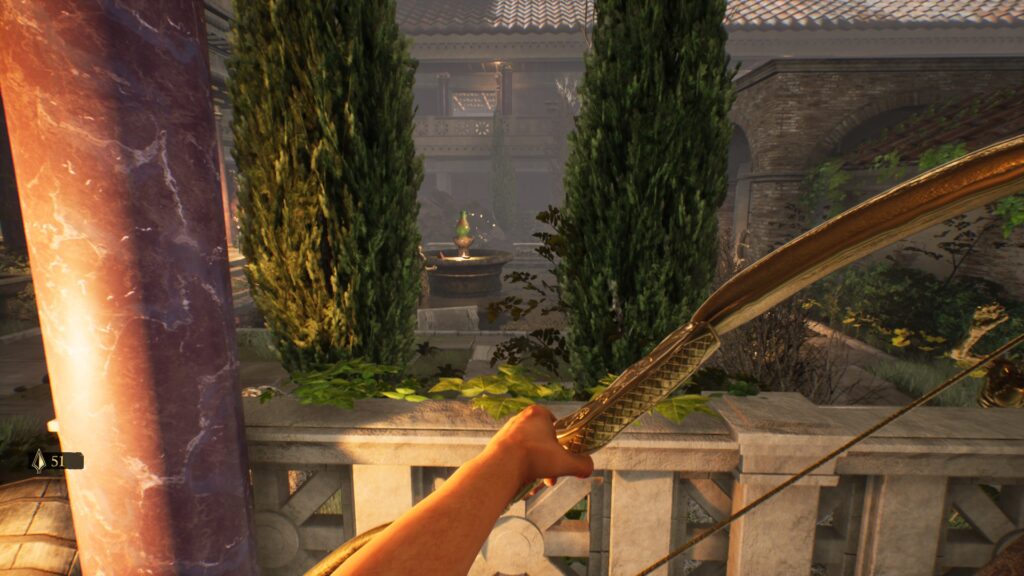
Read this whole paragraph before you progress. Head down the stairs and into the courtyard, and Naevia will speak to you briefly from a balcony. Then, enemies will rise from the three nearby pools of water (easily spotted by the golden butterflies flying above them). If you quickly shoot the pools of water, the enemies will be statuefied before they can leave the water and attack you.
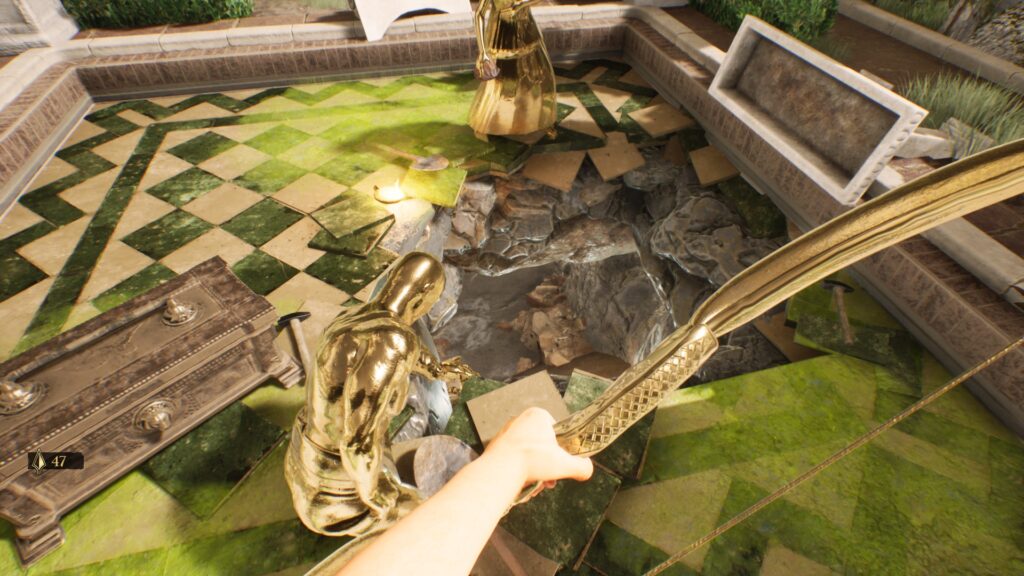
Read this whole paragraph before you progress. Once you’ve handled the enemies, head to the 4th pool, which has been drained because of a hole in it (1). Grab the arrows from the chest, then draw your bow (don’t release yet!) and jump down the hole. Immediately shoot the algae on one side of the water, then shoot another arrow into the algae on the other side (2). If you’re fast enough, you should statueify all the enemies with just two shots.
1
2
Clean up anyone that didn’t get caught in the algae, then continue forward through the water, then through the tunnel beyond. Draw your arrow as soon as you see the chest, and shoot the algae in the water just past the chest to statueify the enemy there. Jump up to grab the arrows on the other side of the water from the chest, then continue down the water-filled tunnel. There are two more enemies in the distance here, but you should be able to get ’em golden before they reach you.
A rock wall will block your way forward — turn the bush at it’s base golden, then jump onto the bush and climb up the rock. Grab the arrows from the chest and continue forward until you reach a narrow rock “hallway” with a few enemies. Take them out, then go to the end of the hall and grab the arrows from the chest. Then go back to the start of the hallway and shoot your bow at all the plants growing from the walls, and jump from plant to plant to reach the upper level.
Statueify the ivy bridge and cross it, then grab the arrows from the amphora. Continue forward and you’ll see a hole in a wall that leads back into the palace. Don’t drop down until you’ve taken care of the enemy in the room below, then crouch and go through the hole to drop down into the palace. Grab the arrows from the amphora and then head out the doorway into the courtyard.
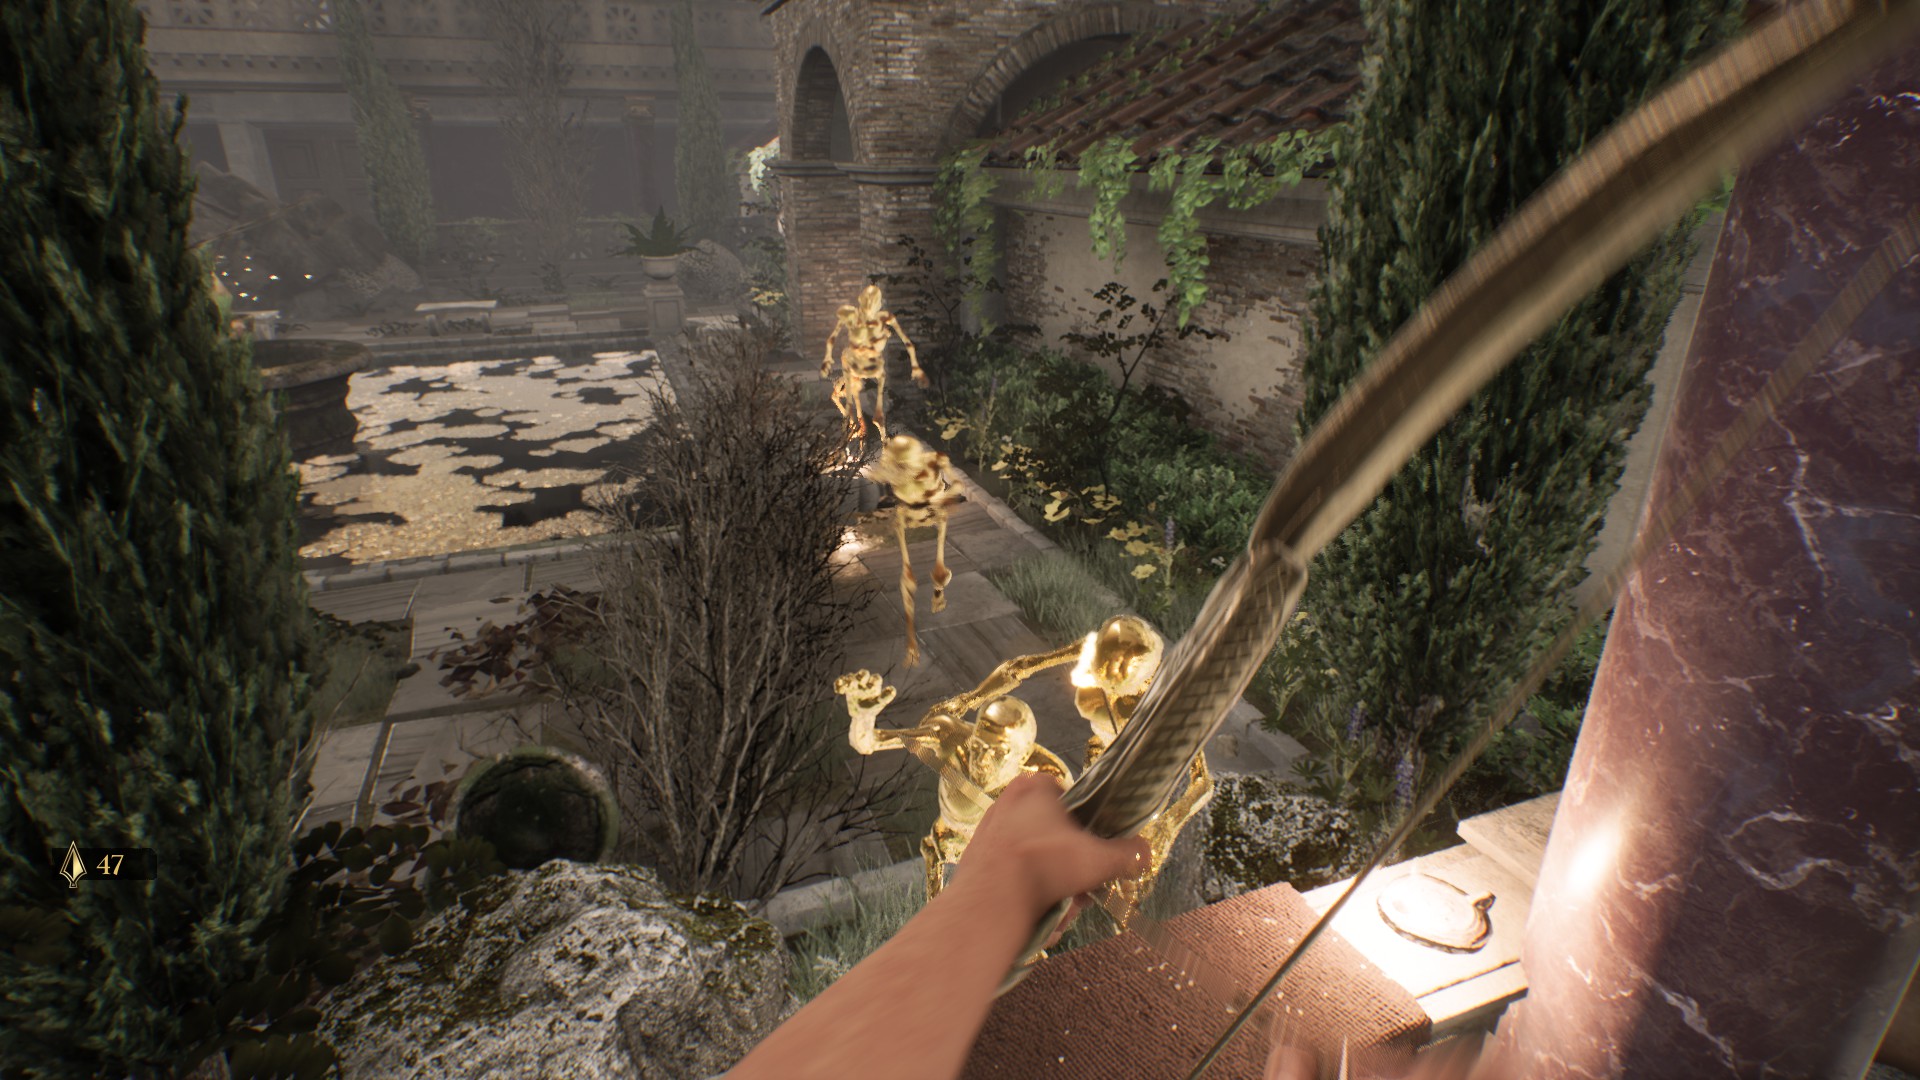
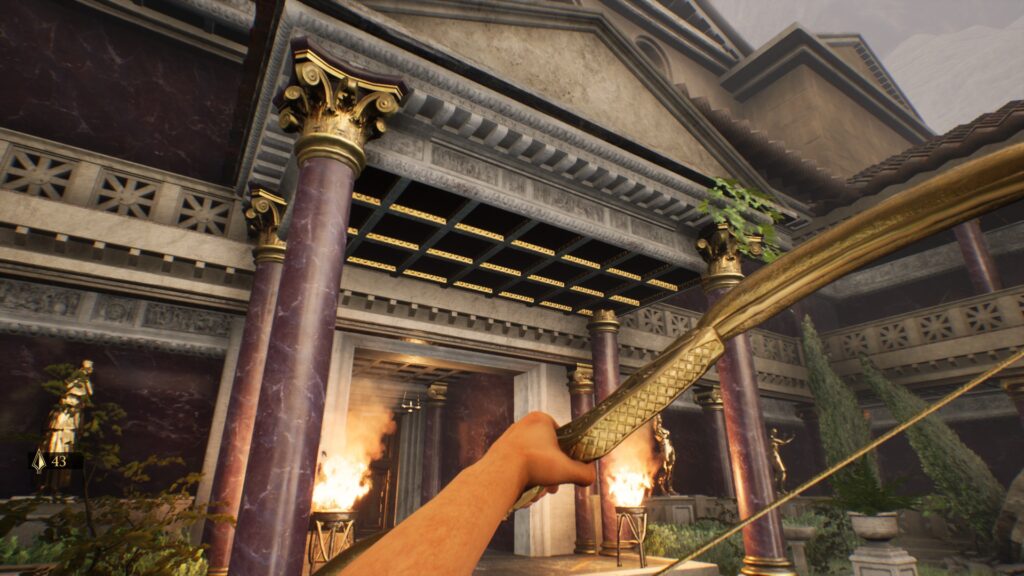
Aim between the two hedge-trees and shoot your bow at the fountain to statueify the enemies there (1), then walk onto the nearby table and jump down into the courtyard. There’s a doorway lit by braziers to the left of the fountain; once you get close enough, a group of 4 enemies will run out of it towards you. Head back the way you came and jump back up to the table you got into the courtyard from, then take out the enemies with your bow — they can’t reach you from up here (2).
1
2
Once they’re all gold, jump down again and head through the doorway into the next courtyard (1). Go straight from the door to grab the key from the table, and read Naevia’s Journal Vol. 2 as well. Then turn left and unlock the doors, then head through. Go up the stairs, and continue until you round the corner and find the amphora. Grab the arrows, and then shoot the curtain that’s down the hall from you to trap the enemies there inside (2).
1
2
Head past the curtain you shot and around the corner and shoot the curtain on your left, and then the one further down the hall. Turn right at the last curtain, grab the arrows from the chest, and crouch to head out the hole to the right of the doors. Turn the ivy bridges to gold and cross them, then make the ivy on the wall gold and walk into it as you cross the last gap to the hole in the wall. Enter it to re-enter the palace.
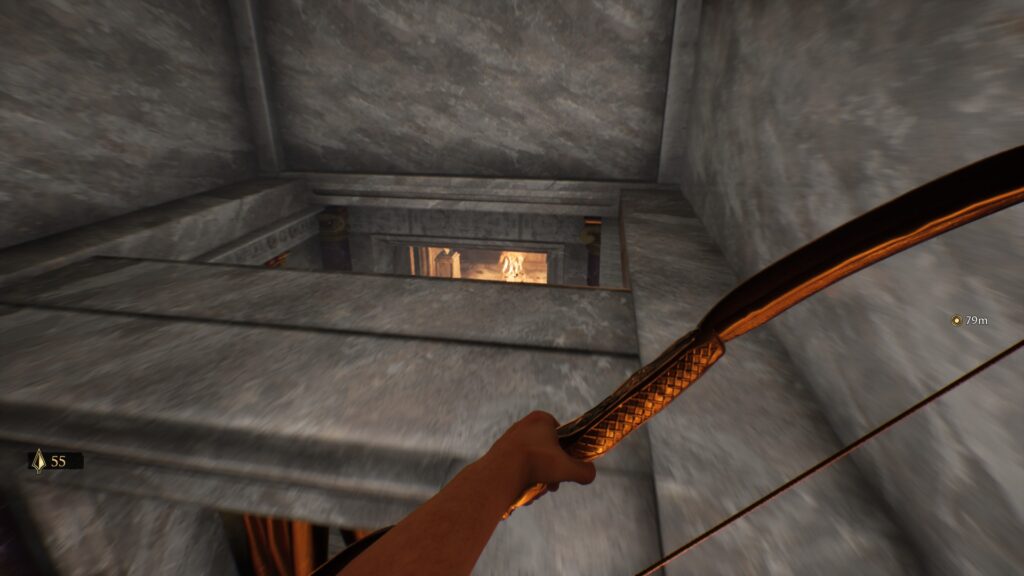
Head across the “rafters” and then drop down
As soon as you crouch to enter the hole, shoot the curtain across from you, then finish exiting the hole and grab the arrows from the amphora. Then shoot the ivy to the left of the curtains and climb up it. Once you’ve climbed up, wait a moment for all the enemies to run towards you, then shoot your bow at the curtains you can see below you. Cross to the other side of the room you’re in, and drop down.
Head towards the brazier and turn left, then shoot the enemy down the hall before you head through the doorway. Once you head through, grab the arrows from the chest on the left, then continue past the enemy you statuefied until you see algae on the ground. Keep going forward a bit, and you’ll see the shadow of some enemies coming around the corner. Run back the way you came, and use your bow on the algae once your foes step on it to turn them golden.
Continue forward until you come to a large room with a desk. Read Naevia’s Journal Vol. 3, then through out the doorway to the balcony. Once you’re out on the balcony, get ready for a jump scare — the doors to your left will bust open and an enemy will come through. Make them golden, then go through the path they opened. Another enemy will be there, so be ready to shoot them as well.
In the next room, there will be some enemies and some algae to shoot, but it can be tricky to get them to stand in it properly. There’s also an enemy just outside on the balcony that you can lure onto the algae if you want. Either way, deal with the enemies and then head out the doorway to the balcony. Continue on the balcony to the next doorway (which will have an enemy in it), then back into the palace, where you’ll encounter a gruesome scene.
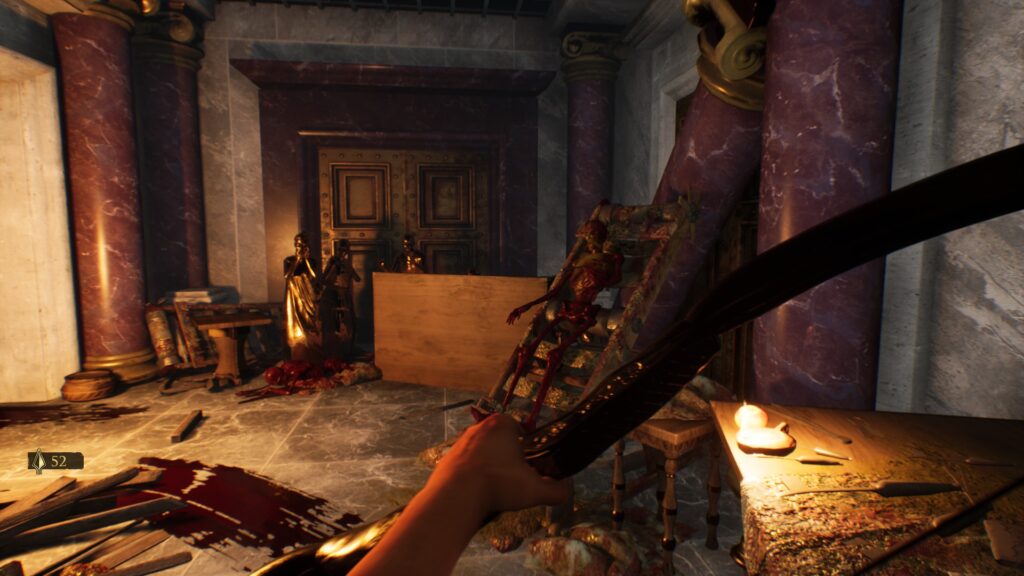
There’s only one way forward, so continue through the hall and up the stairs, then around the corner and through the next hall to the next set of stairs, then through the double doors. You’ll see a half-peeled statue strapped to an upright table — approach it and a brief conversation will begin. Then you’ll turn and be confronted by Naevia.
To avoid fighting, always pick the peaceful option (the one that doesn’t have (Draw golden bow) after it). Then, when you can, say “Wait! I can undo all this, if you tell me the treatment for rheumatism”. Then say “I can cover her in gold again”. The conversation will end, and you can draw your bow and use it on the woman strapped to the table behind you. The conversation with Naevia will pick up again, and she’ll tell you the treatment for rheumatism.
Walk past the newly-statuefied woman and Naevia and into the hallway beyond her. Keep going and you’ll find yourself on a balcony — take the zip-line, and it will drop you off at the entrance to the market. Enter the shrine of Apollo (the first building on your left when you enter the market) and speak to Lucretia. If you don’t have the A Thron in the Paw quest yet, ask her “What’s your story?” and then “Tell me more about Naevia”. Then to tell her you’ve figured out the cure for rheumatism, and take the willow Bark from her.
Delivering the Cure
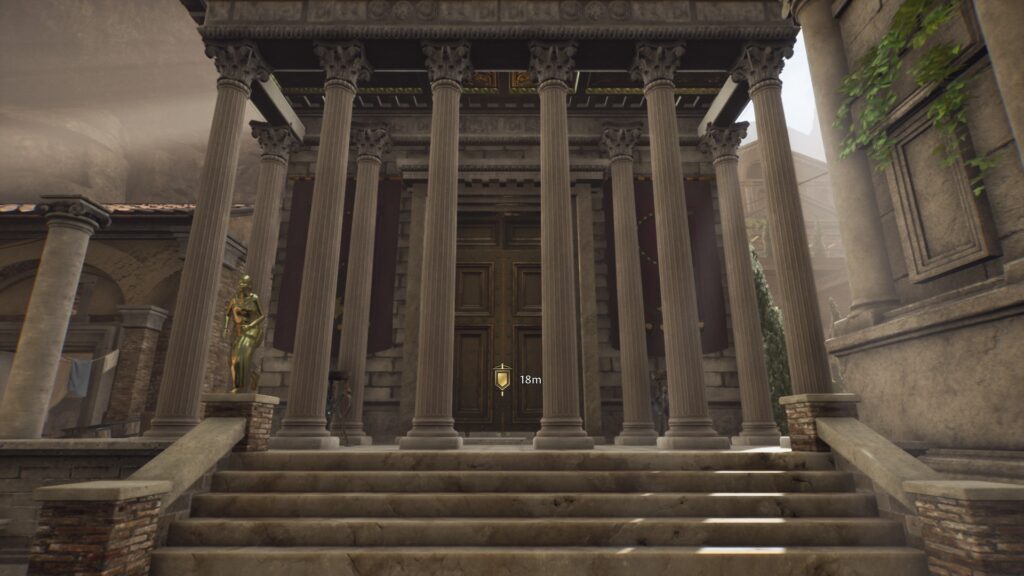
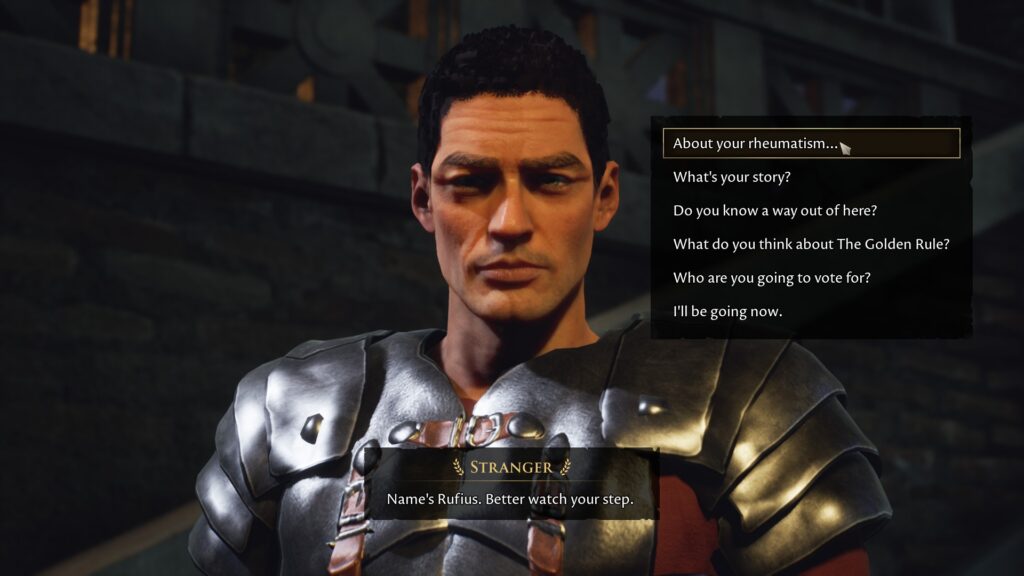
Now, you’ll need to find Rufius. He can usually be found somewhere near the temple or the garden below: exit the market (by heading towards the large villas) and take a left once you pass into the 4-way arch. If he isn’t in the garden to your right once you go up the first flight of stairs (1), then continue up the stairs to the palace and continue your search for Rufius (2). Tell him you have a cure for his rheumatism, and give him the willow bark.
1
2
That’s all there is to it! We hope this guide was helpful. Please leave us a comment if you have any questions, issues, or suggestions.
Share this article:
DanielD
Unabashed FromSoftware fanboy still learning to take his time with games (and everything else, really). The time he doesn't spend on games is spent on music, books, or occasionally going outside.