Everybody says the Wylder is the easiest Nightfarer class to play in Elden Ring: Nightreign, but you’re struggling with him. What weapons should you be using? What relics should you be looking for? What should you be doing in combat? What should you not be doing in combat? These are the sorts of questions we’ll answer in this guide.
The Basics
If you visit the Visual Codex on the western side of Roundtable Hold, then under Characters you’ll see the information page for Wylders. In particular, you should notice their attribute scaling:
HP (Hit Points): A
FP (Focus Points): C
Stamina: B
Strength: A
Dexterity: B
Intelligence: C
Faith: C
Arcane: C
The letters range from D (bad) to S (good), but Wylders only have A, B and C, the three letters in between. This is part of the reason why Wylders are considered jacks-of-all-trades — they don’t have any major strengths or weaknesses. You might also notice that Wylders’ highest ratings are for melee stats (HP and Strength), and their worst ratings are for magic stats (FP, Intelligence, Focus and Arcane). Thus, while Wylders can do lots of different things, they should really be focusing on close quarters melee combat and avoiding magic.
Weapon Strategy
Almost all heavy weapons work for Wylders, but Greatswords are the best
Wylders should keep a Small Shield handy just in case they need to tank
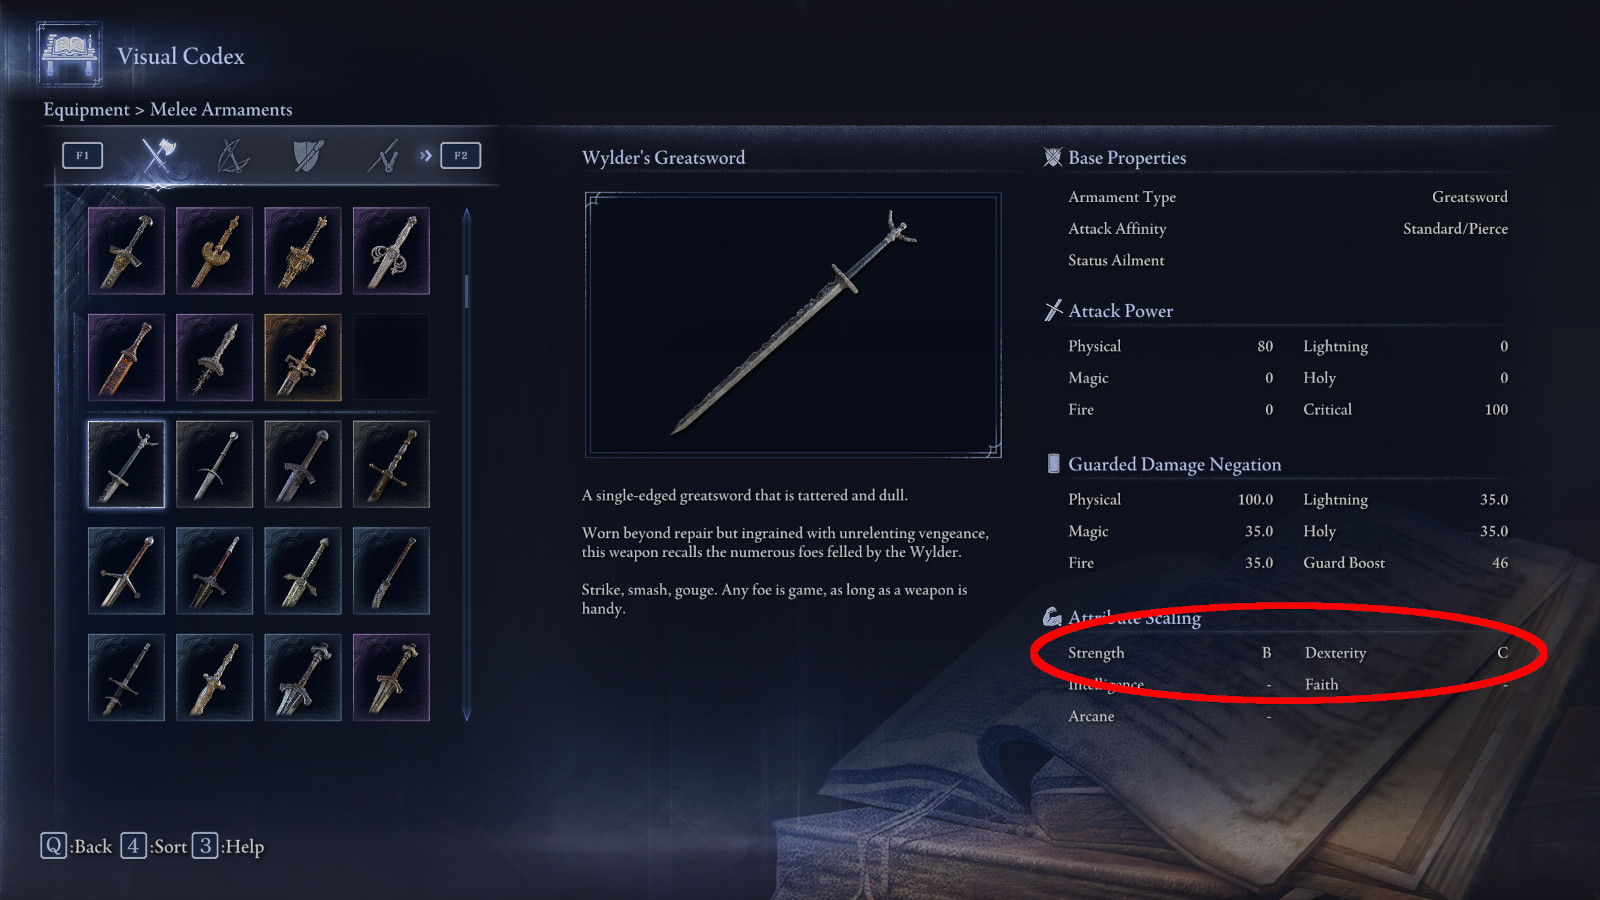
Wylders can use lots of weapons. According to the Visual Codex, their preference is Greatswords, but this only means that they get a unique attack animation with Greatswords, and Greatswords are a good fit for their attribute scaling. That’s it. Wylders don’t receive any combat bonuses with Greatswords or anything like that.
If you browse through the Weapons tab in the Visual Codex, then you’ll see that weapons have attribute scaling just like Nightfarer classes. This means that as you improve your stats, the weapon’s attribute scaling will improve the attack power of the weapon. So you want to wield a weapon where its attribute scaling matches your attribute scaling. That way the weapon improves as much as possible while you’re gaining levels.
For Wylders, that means you want weapons that scale well with Strength (primary) and Dexterity (secondary). This describes Greatswords exactly, since they have scaling Strength: B and Dexterity: C. Other heavy weapons have workable scalings as well, and they can get you through an expedition, but their scalings tend to be more variable, and there isn’t any way to check on them while you’re playing the game. Meanwhile, Greatswords are guaranteed to work well for you, so that’s what we recommend you use.
Plus, there are six rare Greatswords and five legendary Greatswords. That is by far the most high-tier options for any weapon type, with Colossal Weapons coming in second with eight rare but only one legendary. So you’ve got a good chance of finding a powerful Greatsword while playing, provided you you can kill quality bosses.
Greatswords are a good choice for Wylders.
Since Wylders are mostly a melee class, it’s also a good idea for them to carry a shield of some sort, just in case they need to tank. But Wylders aren’t Guardians. They can’t just block all the damage that comes their way. So Wylders need to remain mobile, and for that reason Small Shields work best for them, since Small Shields have the Buckler Parry skill, which activates faster than a regular parry.
Conveniently, this means Wylders are in good shape with their default armament package of Wylder’s Greatsword and Wylder’s Small Shield. Just try to find better versions of these armaments as you explore Limveld during expeditions.
For a detailed list of the weapons and shields that work best for Wylders, please refer to our Wylder’s Best Weapons guide (coming soon).
Relic Strategy
Add Relics that accentuate your best playstyle
You can find well over 100 types of bonuses on Relics. Of course, if you’ve been struggling through the game, then you might only have a collection of Delicate Relics that won’t help you very much. But be patient. You’ll gain Relics after every expedition, successful or not, and eventually the RNG gods will show you their favor.
When deciding on which Relics to use, you should concentrate on ones that improve what you do well rather than ones that mitigate your weaknesses. So look for Relics that give bonuses to Strength, Greatsword Attack Power, Stance-Breaking, Cooldown Reduction, and things of that nature. If you’re stuck on Gladius, the first Night Lord, then a Relic that gives you Holy Grease at the start of each expedition is useful as well, since Gladius is vulnerable to Holy damage.
For more information about Relics, please refer to our Relics & Rites guide.
Skill Playstyle
Passive Ability: Sixth Sense
Effect: Cheat death a single time.
This icon means Sixth Sense is active.
Sixth Sense allows you to avoid a killing blow, negating the damage from that attack completely, but it only has one charge, and you have to die or visit a Site of Grace in order to reset it (just getting revived by your teammates won’t do the trick). So the ability is very useful, but it’s not a complete Get Out of Jail Free card. It’s most useful in solo play where it can prevent you from failing an expedition.
You can tell if your Sixth Sense charge is active by looking at the icons under your Stamina bar. If you see a blue Wylder head icon (shown to the right), then the ability is active.
While Sixth Sense can bail you out of bad situations, it’s far better to improve your blocking and dodging, and the timing of when you drink Sacred Flasks to heal, so you don’t trigger the ability at all.
Character Skill: Claw Shot
Effect: Launch a grappling claw to rope foes in or move swiftly by retracting.
Claw Shot can do three things:
If you target a small enemy, then it will draw the enemy to you. This will allow you to break up a group of enemies — by one anyway — so you’re less likely to get flanked or surrounded.
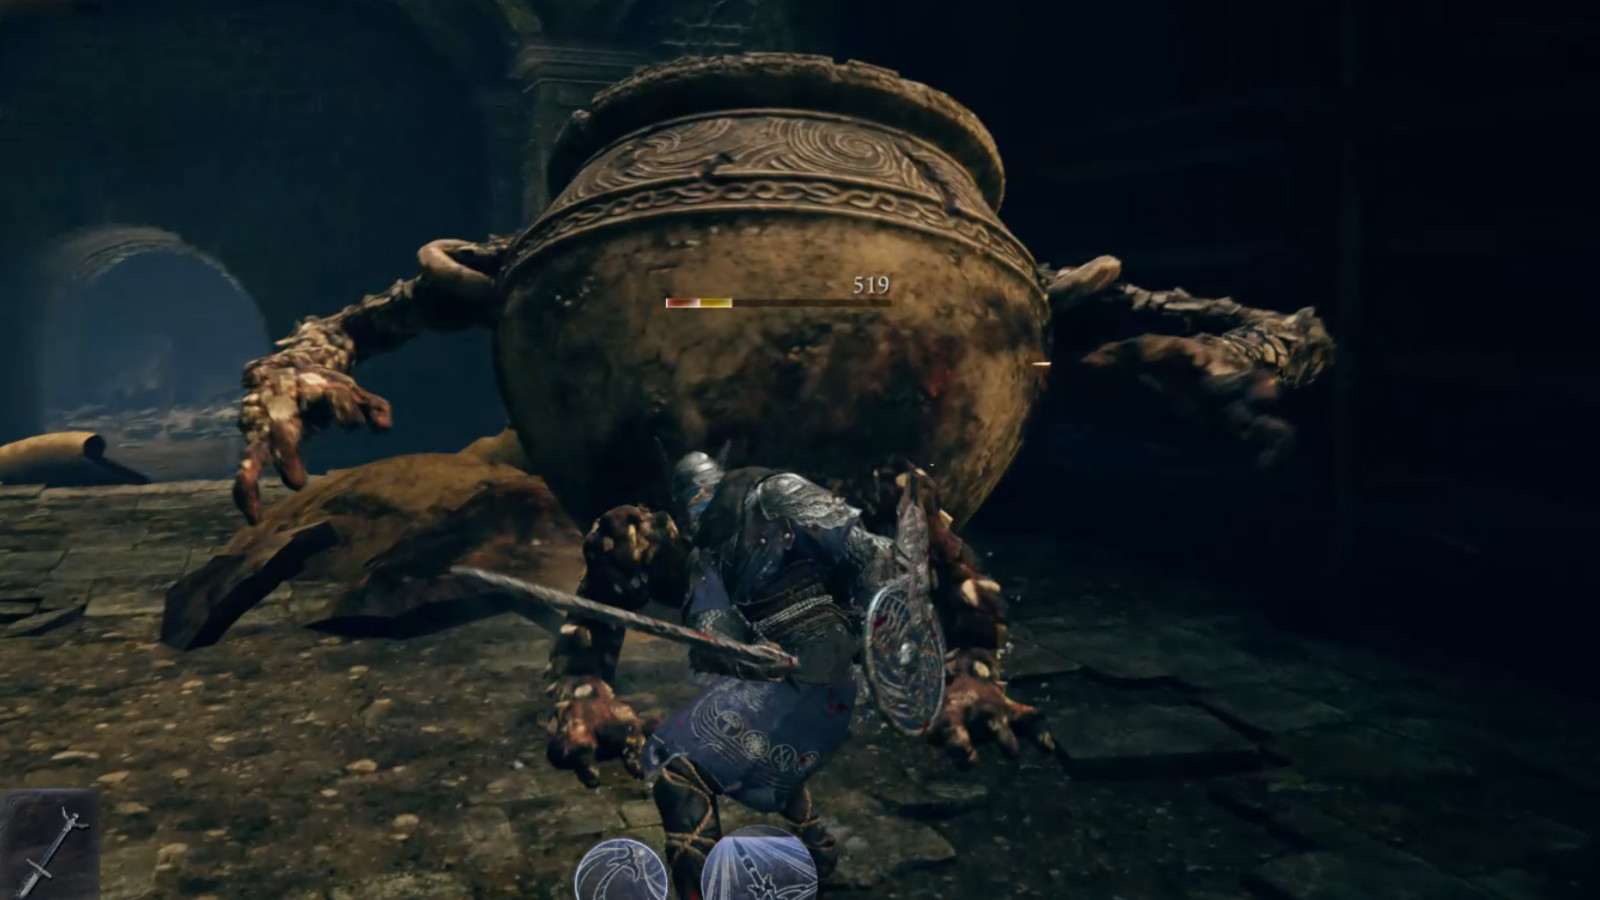
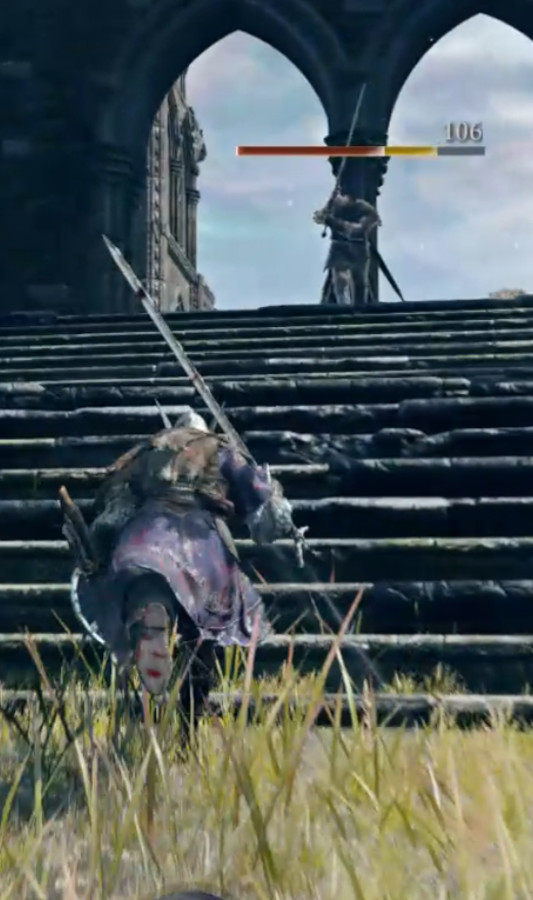
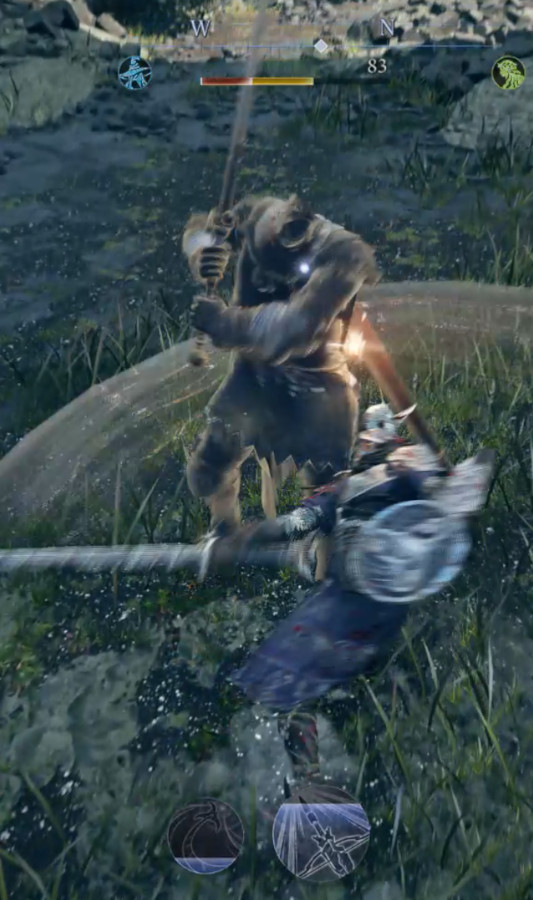
If you target a large enemy, then it will pull you to the enemy. This will help you avoid whatever damage the enemy is dealing and get right into melee range. For extra fun, you can follow this up with an Onslaught Stake to make sure the enemy knows you’ve arrived.
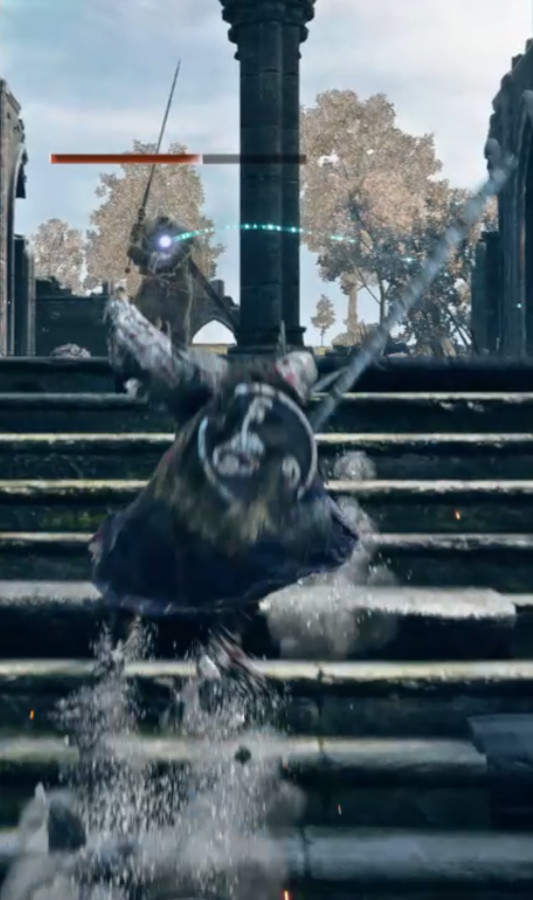
If you target the terrain, then it will pull you to the targeted location. This can help you move quickly. You can also jump when you reach the end of the line, and this will give you some extra distance, plus put you into Surge Sprint mode — where you can continue to sprint and claw until you reach your destination.
The Claw Shot gauge takes about eight seconds to fill. Try to get a feeling for that time interval, and use the ability as often as you can. Each use will either allow you to engage (and therefore defeat) enemies more quickly, or simply move more quickly. Given the time constraints of the game, doing things more quickly is helpful, and Claw Shot is one of the keys to your speed. Don’t save it for special occasions.
Enemy ahead!So Claw Shot him…… and then greet him with your Greatsword!
Ultimate Art: Onslaught Stake
Effect: Powerful single attack that launches an iron stake with a great explosion.
Onslaught Stake causes a huge explosion where you’re standing, staggering any enemies hit. If you simply press the triggering button, then the explosion will be less damaging and you’ll get blown back by the blast, but you’ll only use up 2/3rds of the Ultimate Art gauge. If you hold down the triggering button, then the explosion will be more powerful and you won’t move, but you’ll use up the entire Ultimate Art gauge.
This is a straightforward ability. It’s overkill when you’re fighting trash or adds, so save it for bosses. Sometimes using the lesser version of the ability is useful since the blast can take you out of harm’s way, but typically you’ll want to generate the best explosion possible.
Onslaught Stake is also effective at reviving allies, especially if they happen to be standing at the feet of the enemy who killed them. And the animation for Onslaught Stake has i-frames, which make you invulnerable, so you won’t get killed or interrupted while triggering it.
Boom goes the Onslaught Stake!
Gameplay: Stay Mobile and Versatile
Because the Wylder is a versatile class, when you play it you should be prepared to meet the needs of your team. If you’re with an Iron Eye and a Revenant, then you’ll need to do some tanking. If you’re with a Guardian and a Raider, then you’ll just need to provide DPS, or maybe look for a bow and offer ranged support. And if you’re with two other Wylders, then you won’t have any idea what anybody is planning, and maybe the expedition won’t go very well. Or maybe it will. You never know with random teammates.
Regardless, while you’re fighting, you should try to stay mobile. Don’t just stand around. Wylders have good close combat stats, but not so good that they can take repeated hits and survive. So dodge around difficult opponents, and use your Claw Shot to zip into and out of harm’s way. And then at every convenient opportunity, whack your enemies with a really big weapon. That’s half the fun of the game.
Share this article:
Steven Carter
Starting with cassette tape games on the TRS-80, Steven has been playing, creating, and writing about games for a long, long time. This makes him experienced, not old. Lately, Steven has been focusing on walkthroughs, making sure everybody knows how to solve Towers of Hanoi puzzles.