With Nightreign’s highly randomized nature, it can be tough to create a reliable build that works well and doesn’t rely on getting a bunch of very specific weapon drops during expeditions and Relic drops outside of them. Still, there are some things that are a known quantity. Like Nightlord-specific Relics, Remembrance Relics, and starting equipment.
Revenant’s starting weapon is surprisingly good, especially once you upgrade it with two Smithing Stones. Meanwhile, some of the relatively easy to obtain Relics can complement her playstyle and even remedy one of her biggest weaknesses – no natural way to regenerate FP during a fight. This means that by following this Revenant build, the only thing you’re leaving up to chance are the Sacred Seals you find during expeditions. And even those have guaranteed spots where you can get them. No shoes? No loot? No problem!
Build Summary
Type: Jack-of-All Trades Summoner
Summon spirits and fallen enemy ghosts to assist you in battle
Use incantations to deal damage from a distance and assist your team
Attack enemies in melee to create ghosts and apply status ailments
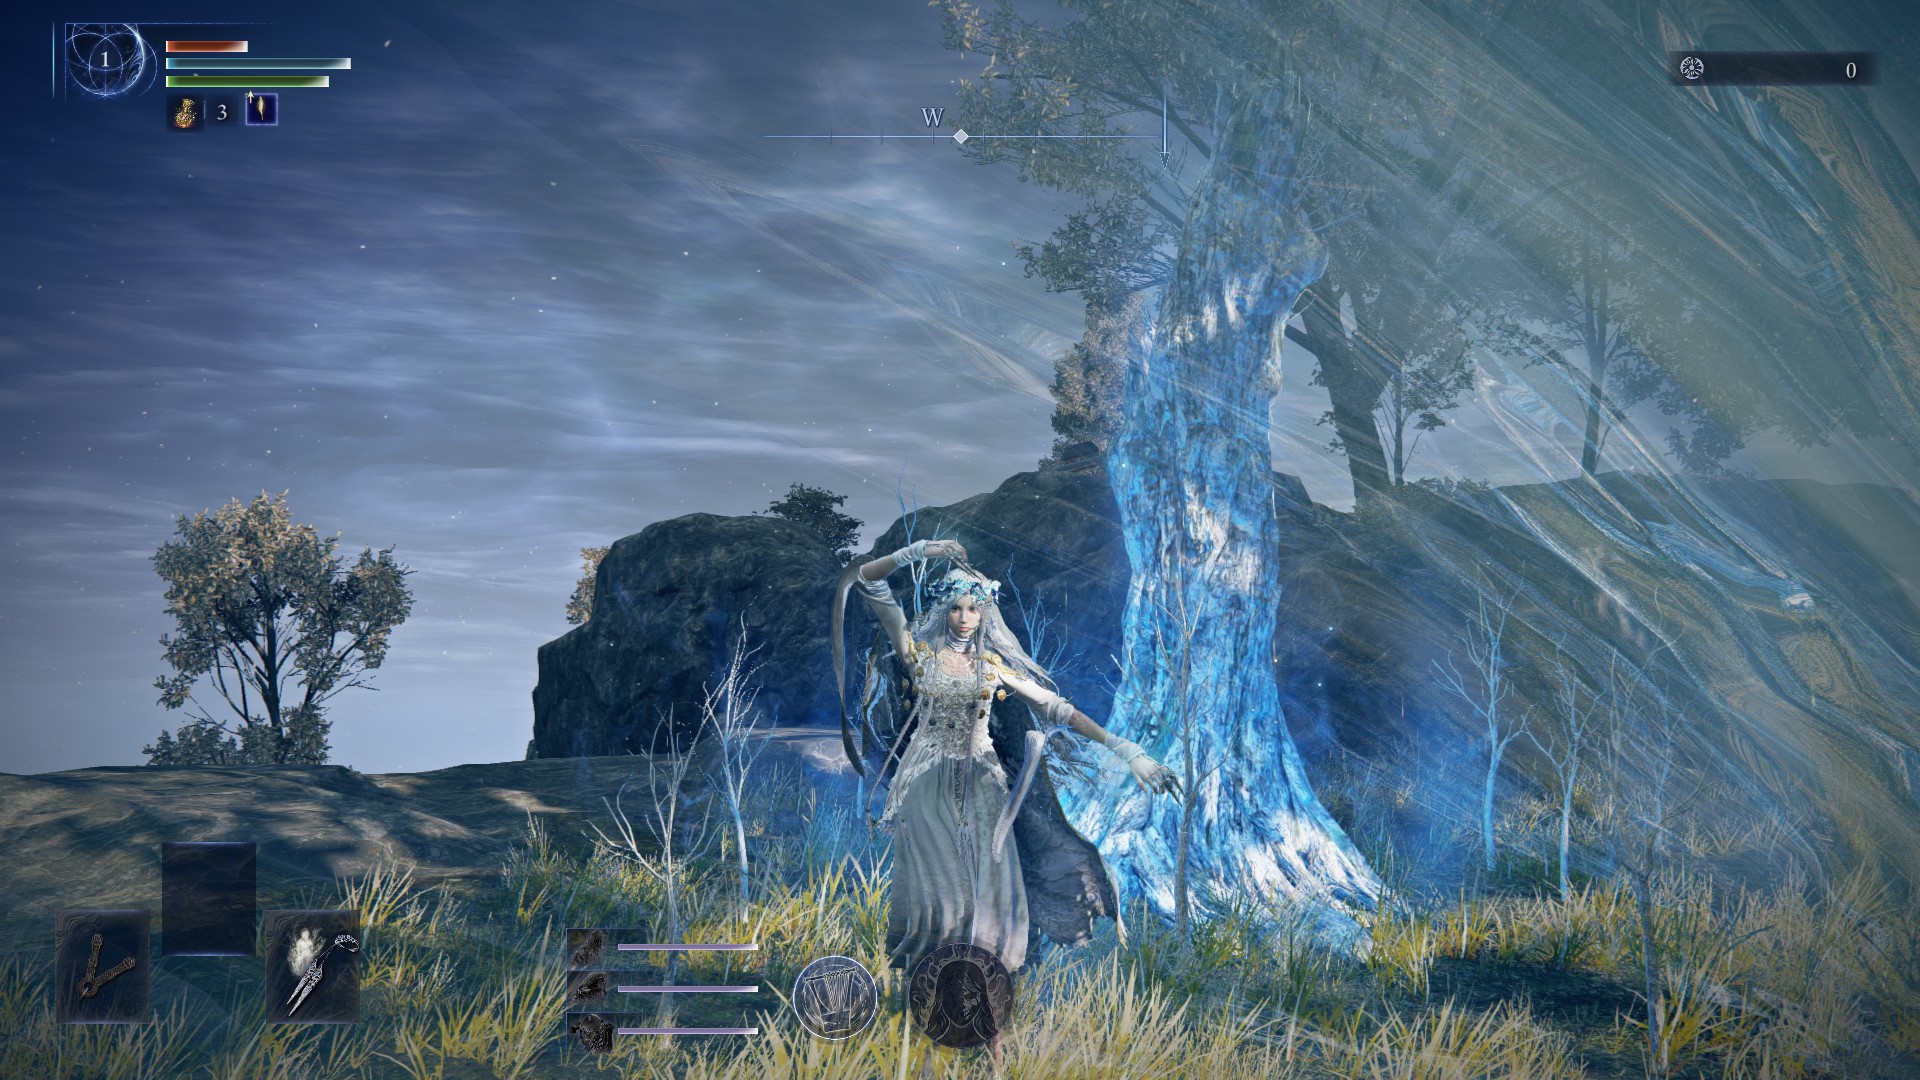
Revenant is a peculiar character. Most of her attributes scale poorly. She has pitiful HP and Stamina. She doesn’t have an innate way to regenerate FP during a fight and can’t be a pure caster. Despite her frail nature, Revenant is incentivized to attack her enemies in melee to conserve FP, create ghosts, and apply status ailments. Yet even so, she’s one of the strongest Nightfarers in the game.
Revenant’s skills allow her team to tackle tough encounters earlier than they have any right to. Her summons can tank most enemies, while her ultimate art can instantly revive her whole team and make them all immortal for about 10 seconds. Revenant’s Cursed Claw is a fist-class weapon with the range of a colossal weapon.This makes it unique and worth using throughout the whole expedition. You can read more about that in our general How to Play Revenant guide.
By focusing on Revenant’s starting weapon and some relics every player is guaranteed to get, this build will deal with one of Revenant’s biggest issues – no way to naturally regenerate FP. It will also leverage Revenant’s early strength and allow your team to grow even stronger by passively increasing their rune acquisition.
Best Relics
Best Effects:
FP Restoration upon Successive Attacks
Increased Maximum FP
Max FP Up with 3+ Sacred Seals Equipped
Flask Also Heals Allies
Other Options:
Defeating enemies fills more of the Art gauge
Starlight Shards in possession at start of expedition
Ultimate Art Gauge +
Faith +
Mind +
Vigor +
Increased Maximum HP
Increased Maximum Stamina
The ideal version of this build requires you to complete Revenant’s remembrance quests and defeat one of the Nightlords. Before you get there, you can use some other Relic combinations. Once you have FP Restoration on Successive Attacks, this build works.
Eventually, when you progress far enough in Revenant’s remembrance quest, you’ll unlock Revenant’s Chalice – a Relic Rite with a Blue, Green, and White sockets. The White socket allows you to use any color Relic. Once you have that, your ideal Relic setup will be:
Blue – Small Makeup Brush
Green – Old Pocketwatch
White – Night of the Wise
Small Makeup Brush
Effects:
[Revenant] Power up while fighting alongside family
Increased rune acquisition for self and allies
This is the reward for completing Revenant’s remembrance quest. The power-ups you get for fighting with your summons are relatively minor, but are still nice to have. Helen the Page gives you some HP regen, Frederick the skeletal Pumpkin Head boosts your melee damage, and Frederick the Giant Skeleton increases your survivability. The main boon of this Relic is its increased rune acquisition. Having this effect right from the start will put you ahead of other teams.
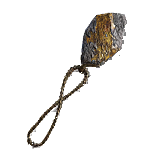
Old Pocketwatch
Effects:
FP Restoration Upon Successive Attacks
Dexterity +3
This is one of the earliest unique Relics you’ll obtain. You need it to unlock the Duchess character. You will generally find it within your first few expeditions. The extra Dexterity we get from it isn’t too useful, but the FP restoration on successive attacks is invaluable. It triggers as you keep attacking your targets and restores a portion of your maximum FP, making it useful at any level. While two-handing Revenant’s starting weapon, this restoration will occur after the third attack.
Night of the Wise
Effects:
Increased Maximum FP
Starting Armament Inflicts Poison
Poison & Rot in Vicinity Increases Attack Power
This Relic is rewarded after you defeat Gnoster, Wisdom of Night, also known as the Sentient Pest Nightlord. It increases our maximum FP, which is something we want, while also making our starting weapon stronger. With Revenant’s respectable Arcane attribute, applying status ailments is easy, and getting that damage boost from poison makes her Cursed Claw even more viable in the long run.
Best Equipment
Weapon Archetype: Revenant’s Cursed Claw plus Sacred Seal
This build works perfectly fine if you use your starting weapon for the entire expedition. Just make sure to upgrade it whenever you can. Pretty much every merchant sells regular Smithing Stones to make your Claw Rare. And every Tunnel is guaranteed to drop a Smithing Stone [2] to make it Epic.
Still, while the starting weapon will serve you well, if you get some outstanding drop during your expedition, feel free to use that instead. Your best upgrades include light, fast-attacking weapons with status ailments like Frostbite, Blood Loss, and Scarlet Rot.
Aside from weapons, your main target during an expedition will be Sacred Seals. The spells they get are highly randomized, so chances are you’ll have to loot quite a few of them until you can find a great one. Luckily, there are some spots where you’re guaranteed to get seals. These are the Great Churches where you’ll find altars with Sacred Seals, and dilapidated shacks scattered throughout Limveld with Sacred Seal chests inside.
Here are some good weapon and seal options for this build:
Rank
Icon
Name
Base Rarity
Base Affinity/Effects
Ideal Changes
S
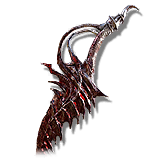
Reduvia
Epic
Blood Loss
None
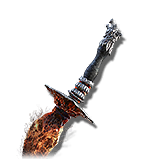
S
Scorpion’s Stinger
Epic
Scarlet Rot
None
S
Gravel Stone Seal
Rare
Lightning Spear Catch Flame
Upgrade to Epic*
A
Revenant’s Cursed Claw
Common
Magic
Upgrade to Rare/Epic*
B
Cipher Pata
Epic
Holy
None
B
Golden Order Seal
Epic
Discus of Light Catch Flame
Nonce
B
Godslayer’s Seal
Rare
Black Flame Catch Flame
Upgrade to Epic*
*Rare upgrade requires Smithing Stone [1], Epic needs Smithing Stone [2]
Best Equipment Spells
Lightning Spear
Frozen Lightning Spear
It will be difficult to get your best incantations on most runs. So if you don’t see them, you should be on the lookout for solid ranged-damage incantations like Discus of Light and Black Flame, and seals with good incantation scaling.
Gravel Stone Seal is your best chance to get some solid lightning spells. Lightning Spear is a good filler spell that combines good range, decent FP costs, and solid damage. Frozen Lightning Spear is way less common, but can be expedition-winning. It deals fantastic damage in an area while applying Frostbite to its targets.
Best Equipment Passives
Best:
Improved Incantations
Improved Dodging
Less Likely to Be Targeted
Successive Attacks Improve Attack Power
Secondary Options:
Improved Charged Incantations
Improved Item Discovery
Reduced Spell & Incantation FP Cost
Improved Sorcery & Incantation Casting Speed
Improved Flask HP Restoration
For a character who’s expected to physically fight her enemies, Revenant is incredibly fragile. Passives that improve your survivability should always be your first priority. And since we’ll be starting the expedition with a bonus to successive attacks, passives that improve them further should also make your list.
Best Consumables
Starlight Shards – to restore your FP during tough fights
Crimsonburst Crystal Tear – for an extended period of regeneration
Restoring FP by continuously attacking your targets is nice. But in some tough fights, getting anywhere near the enemy might be certain death for the frail Revenant. As such, from the very start of every expedition, you should be collecting every piece of Starlight Shards you can. Save them for tough fights like Night Bosses and the Nightlord.
Best Dormant Powers
Best Options:
Increased Rune Acquisition
Improved Dodging
Increased Maximum HP
Increased Maximum FP
Less Likely to Be Targeted
Wending Grace
Good Options:
Reduced FP Consumption
Improved Stamina Recovery
Increased Maximum Stamina
All Resistances Up
Improved Sorceries & Incantations
Most of our Dormant Power choices will be aimed at making our Revenant more survivable and improving her incantation-casting abilities. The one standout here is Increased Rune Acquisition. It’s usually a nice-to-have power, but for this build that already starts with increased rune gain it provides some extra synergy.
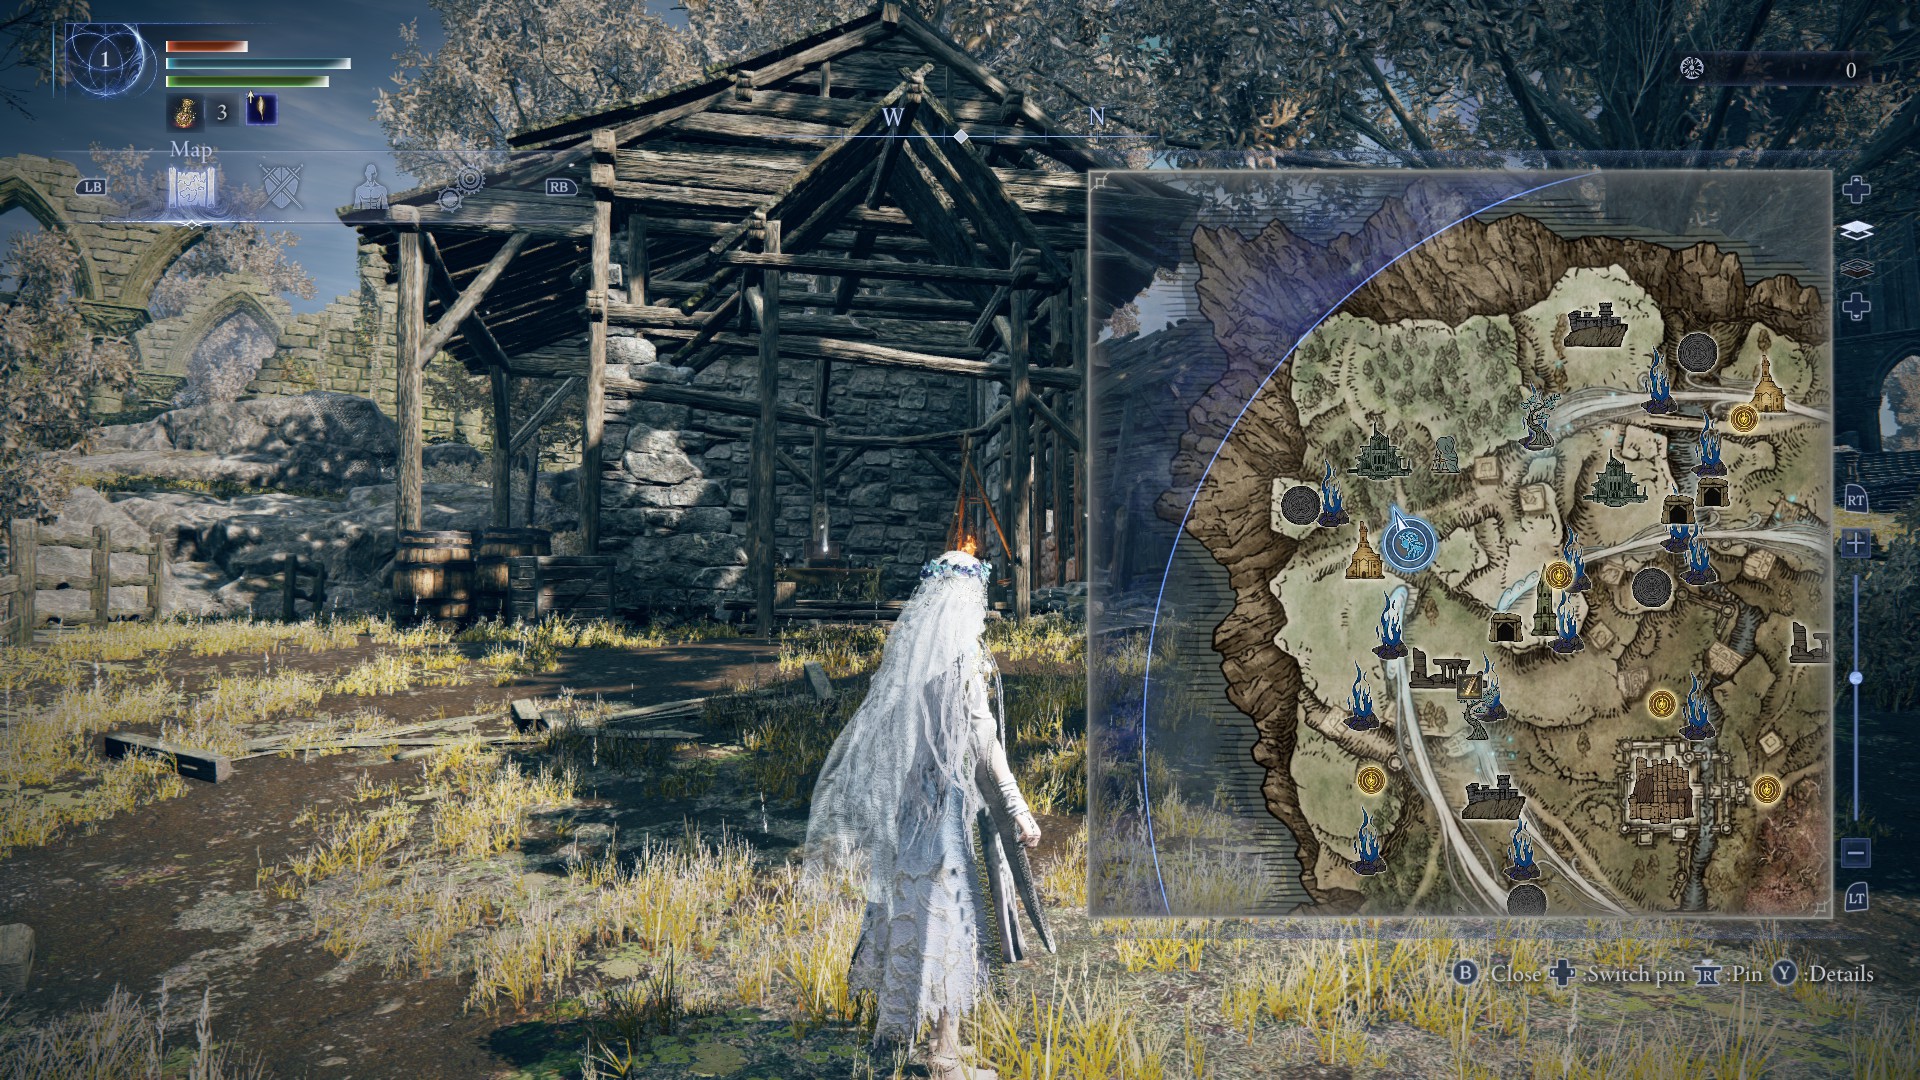
Location Priorities
Best Location Options:
Great Church
Church
Tunnel
Other Location Options:
Castle
Evergaol
Great Churches are guaranteed to have some Sacred Seal altars, and thus should be your highest priority. In fact, even if your team refuses to follow you, you can quickly go in there, grab the seals from the altar without even killing the boss, and reconnect with your squad. Great Churches generally have two spots where they can have an altar – either inside a tunnel underneath it, or on the second floor you reach by climbing the scaffolding around the location.
Great ChurchGreat Church tunnelTunnel AltarSecond Floor Altar
Another spot where you’re guaranteed some seals isn’t really a location and is not marked on your map. It’s a dilapidated shack that frequently appears around Church and Sorcerer’s Rise locations. Inside, you’re guaranteed a chest with a couple of seals.
Tunnels will guarantee you can upgrade your starting weapon to Epic. You simply need to defeat the boss inside. These bosses are generally very weak – Trolls and singular Knights – and you can defeat them alone if need be.
Regular Churches should be visited on any expedition – you can never have too many flasks. The same goes for the Castle, although it’s not as crucial. It’s just a great location to raid.
Defeating Evergaol bosses gives you some nice runes, but more importantly, the Dormant Power rewards for beating them often include Increased Rune Acquisition, making them extra good for this build.
Share this article:
Val Hull
Resident role-playing RPG game expert. Knows where trolls and paladins come from. You must fight for your right to gather your party before venturing forth.