In order to get anywhere in Elden Ring: Nightreign, you’re going to have to know where you’re going. But Nightreign is full of locations with different bosses, loot, and interesting attributes, and they can be hard to understand without careful study. Or, to make it easier, you can just use this guide, which exists to explain every Location type in Elden Ring: Nightreign, and to give recommendations for when and why to visit each.
Major Locations
Major Locations are places that have a large map icon and feature unique loot and bosses, and should be the things you structure your routing around in order to maximize your progression.
- Persistent Location
- Unique Loot: Chest with 3x Blue+ Talismans
- Bosses (Under the Castle): 2x Purple+ Armaments, 1x Purple+ Upgrade
- Bell-Bearing Hunter
- Black-Knife Assassin
- Crucible Knight
- Leonine Misbegotten
- Minibosses: 1x Blue+ Armament, 1x Blue+ Upgrade
- Warrior Troll (Atop Battlements)
- Lion Guardian
- Crucible Knight Leader
The Castle at the center of the Limveld map is a Persistent Location that will always appear on every Expedition of Elden Ring: Nightreign. This centerpiece location has 2 guaranteed miniboss spawns (a Stonedigger Troll and Lion Guardian), a chest with a Dormant Power containing 3 Blue+ Talismans, and a very strong Location Boss beneath the Castle that can only be accessed by entering the catacombs via the river that runs below the castle.
Early on the First Day, it is good to stop by the Castle for the the easy Blue+ Armaments and Upgrades from the minibosses, though you probably won’t be able to take on the Location Boss under the Castle. That is better saved for the Second Day, if the Night Rain circle cooperates, when you are strong enough to take on the powerful enemy quickly in order to acquire a Dormant Power with 2 Purple+ Armaments and a Purple+ Upgrade, as well as to access the 3 Blue+ Talismans Chest.
- Shifting Location
- Unique Loot: Sacred Flasks
- No Bosses or Enemies
Churches (not to be confused with Great Churches) are small structures that contain additional charges for your Sacred Flask, as well as several small loot crates. This makes them one of the highest priority locations in the game, as they not only improve your ability to heal, but can also be obtained without fighting anything.
If you can reach a church before the circle closes in, you should almost always visit it.
Evergaols
- Persistent Location
- Requires: Stonesword Key
- Bosses (random from the following):
- Banished Knights
- Beastly Brigade
- Beastmen of Farum Azula
- Bloodhound Knight
- Crucible Knight
- Death Rite Bird
- Dragonkin Soldier
- Godskin Apostle
- Godskin Noble
- Godskin Noble & Apostle
- Grave Warden Duelist
- Nox Warriors
- Omen
- Stoneskin Lords
- Reward, either:
- 1x Rune of the Strong – 20,000 Runes, 1x Purple+ Upgrade
- 1x Rune of the Strong – 10,000 Runes, 1x Blue+ Upgrade
There are 7 Persistent Evergaols that can be found around Limveld. These Evergaols can be activated with Stonesword Keys (which can randomly drop from chests or be purchased from Merchants), at which point they will summon a random boss from the list of Evergaol Bosses. These bosses always drop your choice of two Dormant Powers: a Rune of the Strong (either worth 10,000 Runes or 20,000 Runes) or a random Blue+ or Purple+ Upgrade.
It is good to take on Evergaols when you are trying to level up quickly, especially near the end of either day.
Forts
- Shifting Location
- Affinities: None, Magic
- Bosses & Enemies: 2x Blue+ Armaments
- Abducator Virgin (Swinging Sickle) (No Affinity)
- Crystalians (Magic)
- Guardian Golem (No Affinity)
- Lordsworn Captain (No Affinity)
Forts are large, shifting structures that contain large amounts of enemies, thematically tied to the Location Boss within. There are two fort variants: one requires you to enter by navigating the passageways undernearth the Fort, where you can weave your way up to the top of them where you will get a chance to fight a Location Boss. The other has a simple staircase leading into the courtyard of the Fort.
On the upper floor of both layouts, there are always several chests which you can open for additional loot, as well as a room with a map that will show the location of nearby buried treasure and scarabs.
Forts are good places to visit near the beginning of the First Day in order to take on easy bosses for quick loot, though they typically take slightly longer to clear than Great Churches for similar loot.
- Shifting Location
- Affinities: None, Fire, Holy
- Bosses & Enemies: 2x Blue+ Armaments
- Fire Monk (Fire) – Underground
- Guardian Golem (No Affinity) – Overground
- Mausoleum Knight (No Affinity) – Underground
- Oracle Envoys (Holy) – Overground
Great Churches are large, shifting structures that contain a Location Boss, and may contain other, thematically-linked enemies. There are two variants of Great Church, depending on the Boss within. For smaller, individual bosses like Fire Monks and Mausoleum Knights, you will need to find one of several hole-like entrances around the Church in order to challenge the boss. Larger Bosses and group Bosses are instead located within the actual building.
All Great Church Location Bosses drop Dormant Powers which contain 2 Blue+ Armaments. Great Churches are good places to visit near the beginning of the First Day in order to take on easy Bosses for quick loot.
Main Encampment
- Shifting Location
- Affinities: None, Fire, Madness, Lightning
- Bosses & Enemies: 2x Blue+ Armaments, 1x Blue+ Upgrade
- Banished Knights with Stormveil Footsoldiers (No Affinity)
- Elder Lion with Limgrave Footsoldiers (No Affinity)
- Flame Chariots (Fire)
- Frenzied Flame Troll (Madness)
- Redmane Knights (Fire)
- Royal Army Knights (Lightning)
Main Encampments are large, shifting tent-camps that always have Location Bosses and often other enemies. In addition to the enemies you will encounter, they also usually have several chests and a Merchant with Anvil. They can have Affinities, which can help you determine what boss is in each one before you visit. The Bosses always drop a Dormant Power with 2 Blue+ Armaments and a Blue+ Upgrade.
It is good to visit Main Encampments at the end of the First Day/start of the Second Day to take advantage of the decent loot and Merchant.
Ruins
- Shifting Location
- Affinities: None, Frostbite, Holy, Magic, Poison, Sleep, Bleed, Death Blight, Lightning
- Bosses: 2x Blue+ Armaments, 1x Blue+ Upgrade:
- Albinauric Archers (Frostbite)
- Albinaurics (Holy)
- Ancient Heroes of Zamor (Frostbite)
- Battlemages (Magic)
- Beastmen of Farum Azula (Lightning)
- Depraved Perfumer (Poison)
- Erdtree Burial Watchdog (No Affinity)
- Perfumer (Poison)
- Runebear (Sleep)
- Sanguine Noble (Bleed)
- Wormface (Death Blight)
Ruins are large, shifting structures that contain a Boss (sometimes with other enemies) in their upper structure, as well as a stairway down to several chests in the tombs below. Ruins have the widest range of Location Bosses, though it can be easy to figure out which Boss is at any given Ruins by looking at its Affinity (Ruins are the most likely locations to have Affinities). The Bosses always drop a Dormant Power with 2 Blue+ Armaments and a Blue+ Upgrade.
It is good to visit Ruins during the Second Day as you pass by them to grab their abundance of loot.
Sites of Grace
- Persistent Location (with Additional Locations for Defeating Bosses)
Just like in Elden Ring, these are used to cash in your runes to level up, and to replenish certain abilities and your Revive meter segments (see our guide on How to Revive Teammates). While there are some persistent Sites of Grace around the map, others will be created whenever you slay any Boss.
They will also fully restore your HP and MP bars. You should stop at most Sites of Grace you come across, and sometimes should even return to one if you have acquired enough Runes or need to replenish resources.
There is always a Site of Grace before the Night Lord Boss on the Third Day.
We are still working out the specific about Sorcerer’s Rises; the information contained below is incomplete.
- Shifting Location
- No Bosses or Enemies
Sorcerer’s Rises are shifting “wizard towers” that require a puzzle in order to access. The seal in Sorcerer’s Rise can be accessed by finding and killing a turtle near the tower. Within the rise, you can find several chests with valuable loot.
While Sorcerer’s Rises can contain powerful loot, you should never spend more than a minute looking for the turtle you need to kill to get it. If it takes any longer than that, it is almost always better to move on to a different location.
Tunnels
- Persistent Location
- Unique Loot: Smithing Stone [2] (Equipment Enhancement)
- Minibosses: 1x Blue+ Armament, 1x Smithing Stone [2]
There are 6 persistant Tunnel Entrances on the map, concentrated in the north, which are persistent locations that lead to caves filled with enemies, large amounts of loot, and — most importantly — Smithing Stones [2], which you can use to upgrade your Armaments to higher rarity levels. At the end of the tunnels, you will find a miniboss whose Dormant Power will include a valuable Smithing Stone [2].
These are important locations to visit on Day 2 if you have a strong weapon that is with Blue or White rarity. If your weapons are already Purple or Gold rarity, or if you don’t have your ideal weapon yet, it is not worth visiting Tunnels.
Because of their concentration in the North of Limveld, Tunnels are often destroyed during Shifting Earth events.
Minor Locations
Minor locations have smaller map markers and are generally simpler to deal with. While you will likely want to investigate them if you happen to pass by, you generally shouldn’t set up routes specifically to visit these locations, with the possible exception of Sites of Grace.
Around the Map, you will occassionally find wandering Bosses. These Bosses are divided into two tiers, with the more difficult, higher tier dropping Dormant Powers that contain 2 Purple+ Armaments and a Purple+ Upgrade (or a Wending Grace); and the easier, lower tier Dormant Powers containing 2 Blue+ Armaments and a Blue+ Upgrade.
It is good to fight most Field Bosses you come near, so long as you are equipped to take them on. If a Field Boss, especially a higher-tier one, is giving you trouble or taking too long, don’t be afraid to run away to pick easier fights.
Randomly dotted around the map, though most often found in Main Encampments, there will be spectral Merchants. These Merchants will have semi-randomized loot of between 7-8 Consumables, 2 Physick Tears, and 6-8 Armaments. As well, most Merchants will have an Upgrade Anvil nearby, which you can use in order to spend Smithing Stone [1] and [2]s in order to increase the rarity of Armaments.
There is always a Merchant before the Night Lord Boss on the Third Day.
Scarabs & Buried Treasure
We are still working out the specific about Buried Treasure; the information contained below is incomplete.
Scarabs and Buried Treasure can be tracked down by either encountering them in the wild, or by finding maps within the Castle (in Limveld) or the Township that can reveal them on the map.
Because Scarabs are one of the only sources of Talismans, with the exception of the chest in the Castle, they are very high priority, and if you spot one it is almost always worth chasing down.
- Shifting Location
- Scarabs: Random Blue+ Talismans
- Learn 3 Scarab locations by interacting with the map at the top of the Castle.
- Buried Treasure: ???
- Learn Buried Treasure locations by interacting with the map in the Township.
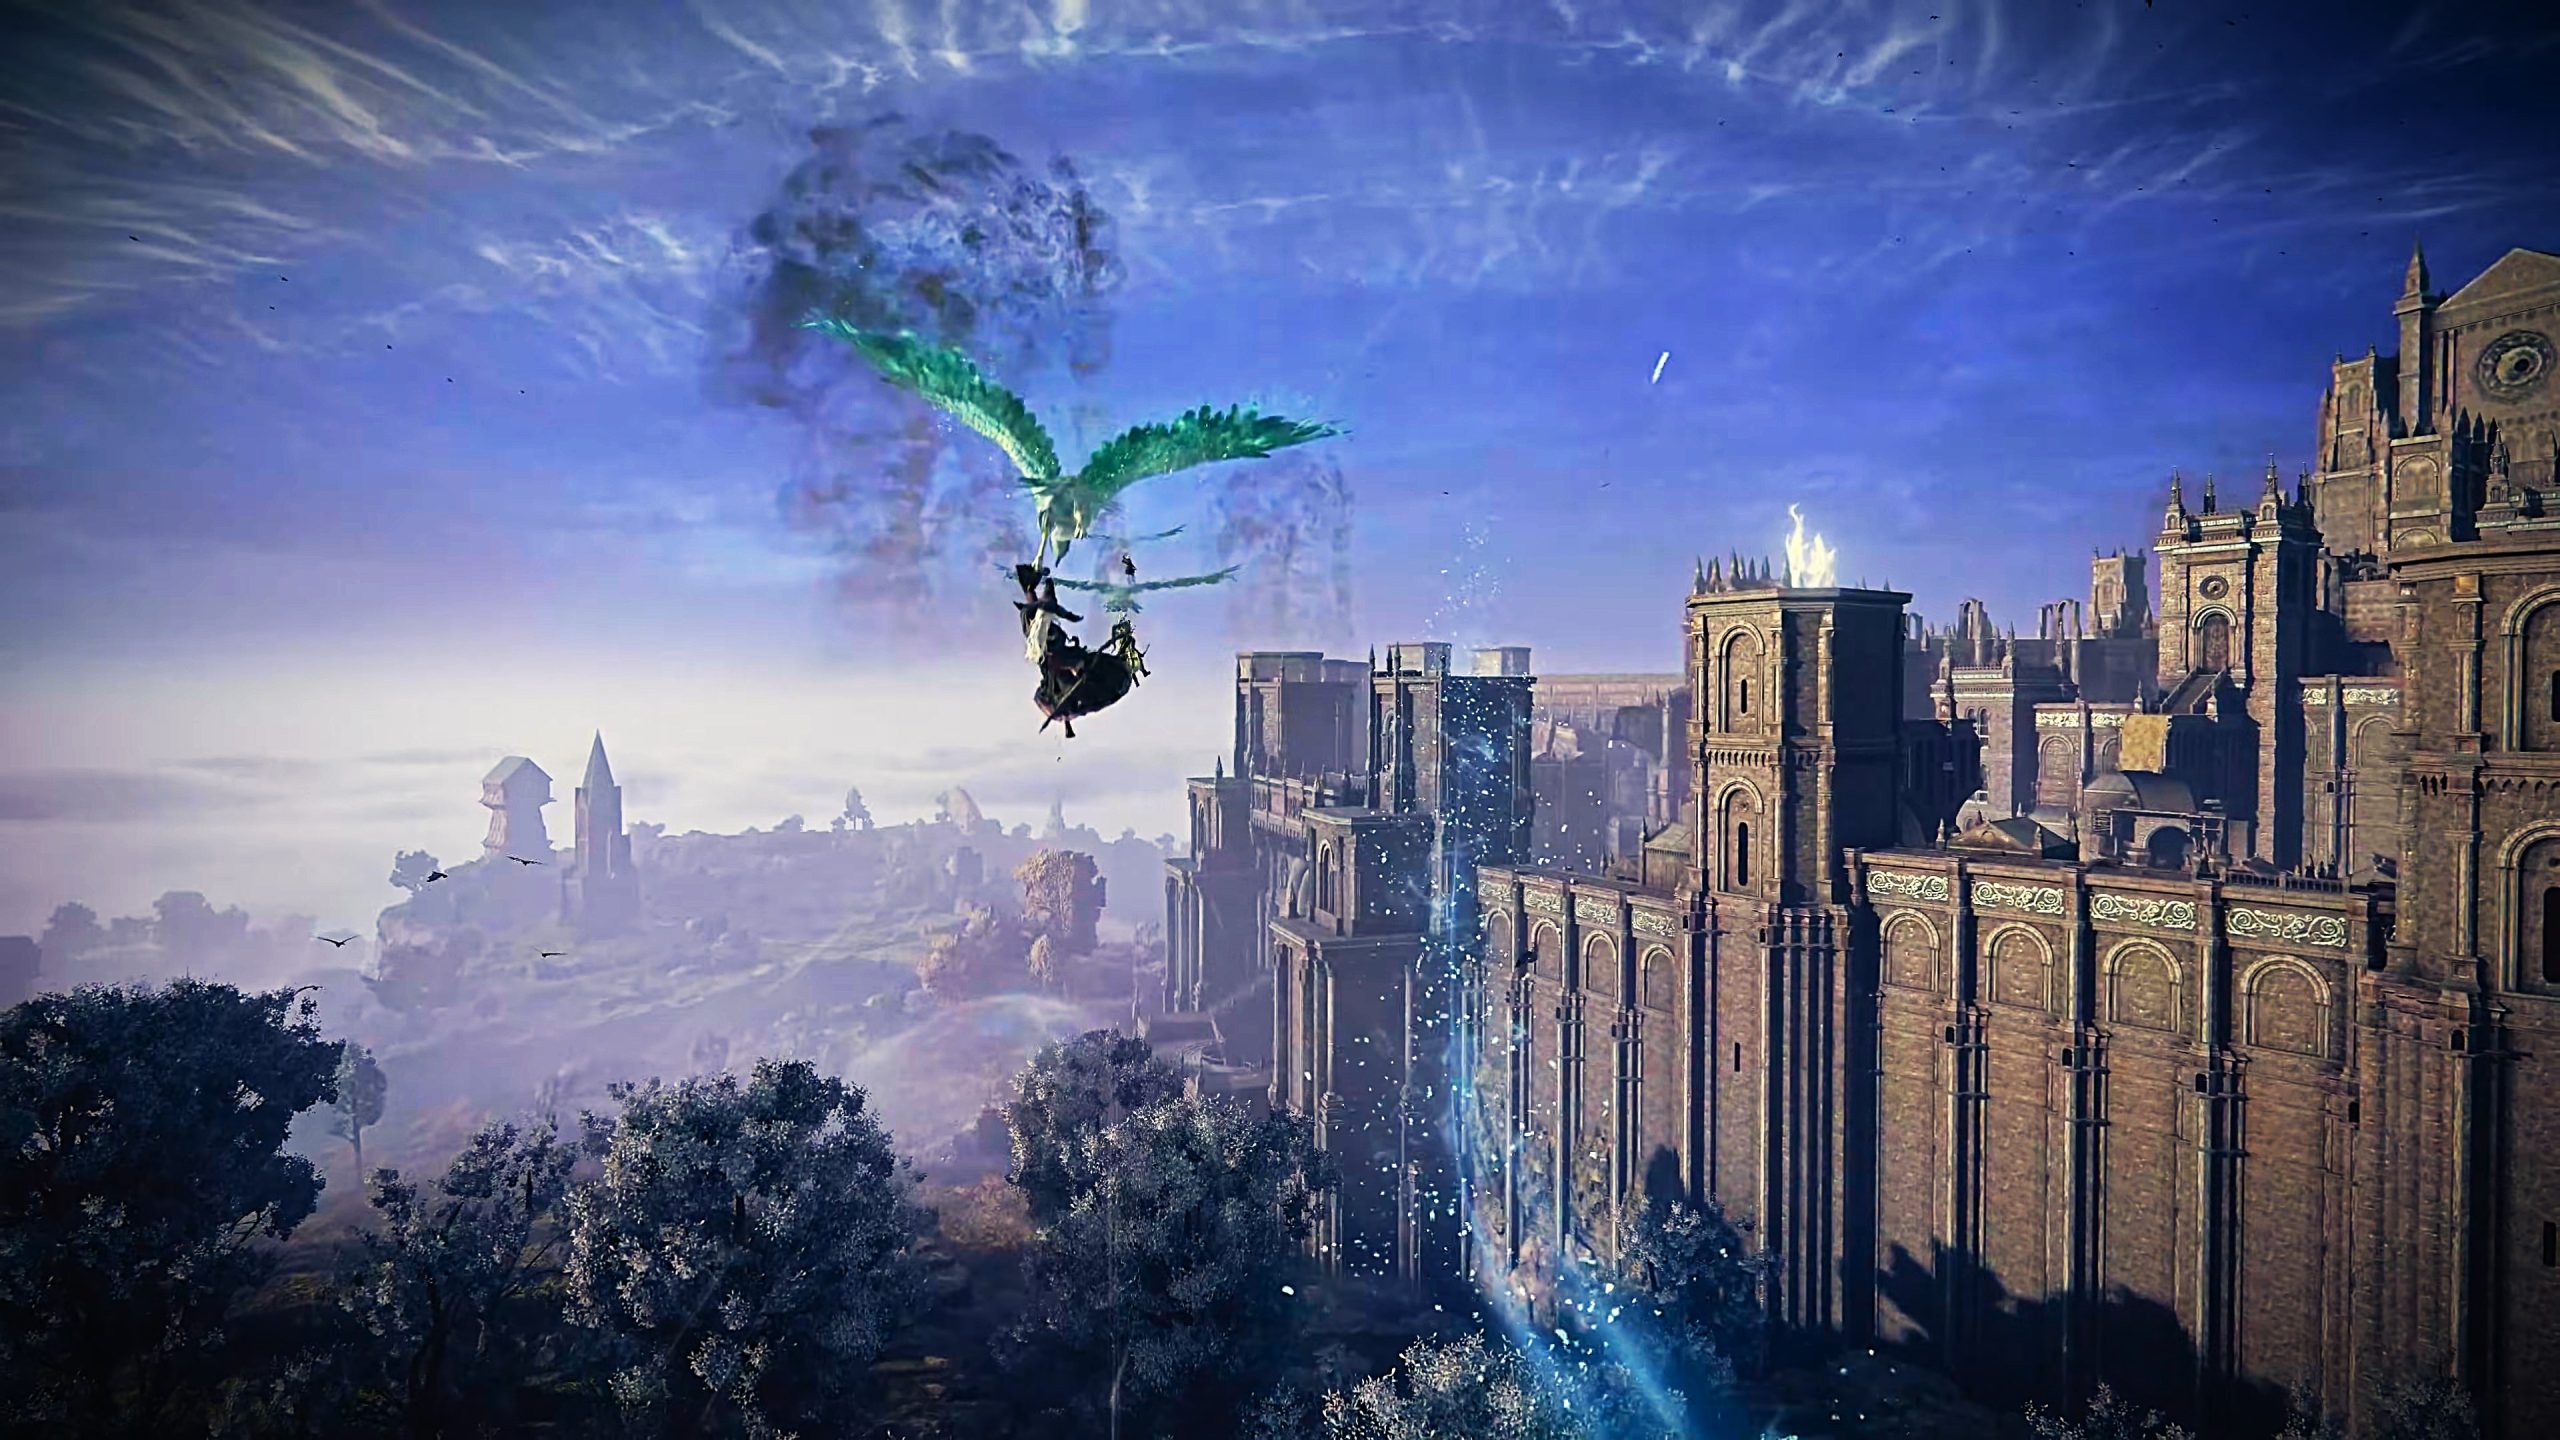
Spiritstreams & Spectral Hawk Tree
Spiritstreams and Spectral Hawk Trees are persistent mobility features found around the map in Elden Ring: Nightreign. These are different location types, but are similar in that they allow you to traverse the map much easier to speed up your Expedition.
Within Shifting Earth events, you can find Spiritstreams and Spectral Hawk Trees in different layouts than normal, to assist you in leaving the event areas.
- Persistent Location (except for Shifting Earth events)
- Spiritstreams, similar to Spiritsprings in Elden Ring, are gusts of wind that launch a jumping player straight up in the air in order to get to the top of sheet cliffs.
- Spectral Hawk Trees allow you to temporarily acquire a fast-moving, flying hawk that will transport you in a preset line across the landscape. You can slightly veer off course, and can let go of the Hawk at any time in order to “drop” wherever you need to.
Starting Camp
At the beginning of the first day, you will always drop into a small, unmarked location with a few weak enemies, some chests, and some breakable crates. You can use this first area to get a few supplies so that you can take on your first challenge.
What’s Not Random?
We will review all Locations in the guide below. Most are random, but here are the ones that are not:
- General Layout of the Map
- Tunnels/Caves
- Evergaol Arenas
- The Castle
- Non-Boss Sites of Grace
- Spiritstreams & Spectral Hawk Trees
- Where Major Locations can spawn, though which Major Locations spawn where will change.
Best Locations to Visit
The best locations to visit will depend on several factors, but in general there are some things you should always prioritize, some locations you should visit at specific times, and some locations you should only visit if you have a specific need to.
- Always Visit
- Churches
- Sites of Grace
- Scarabs/Buried Treasure
- Field Bosses
- Visit at Specific Times (In Order):
- Great Churches & Forts: Early Day 1
- Ruins & Main Encampments: End of Day 1, Start of Day 2
- Under the Castle: Mid-to-Late Day 2
- Visit Under Specific Circumstances
- Tunnels: During Day 2, only if you have Blue Weapons.
- Merchants: During Day 2, only if you need to upgrade weapons or have extra Runes.