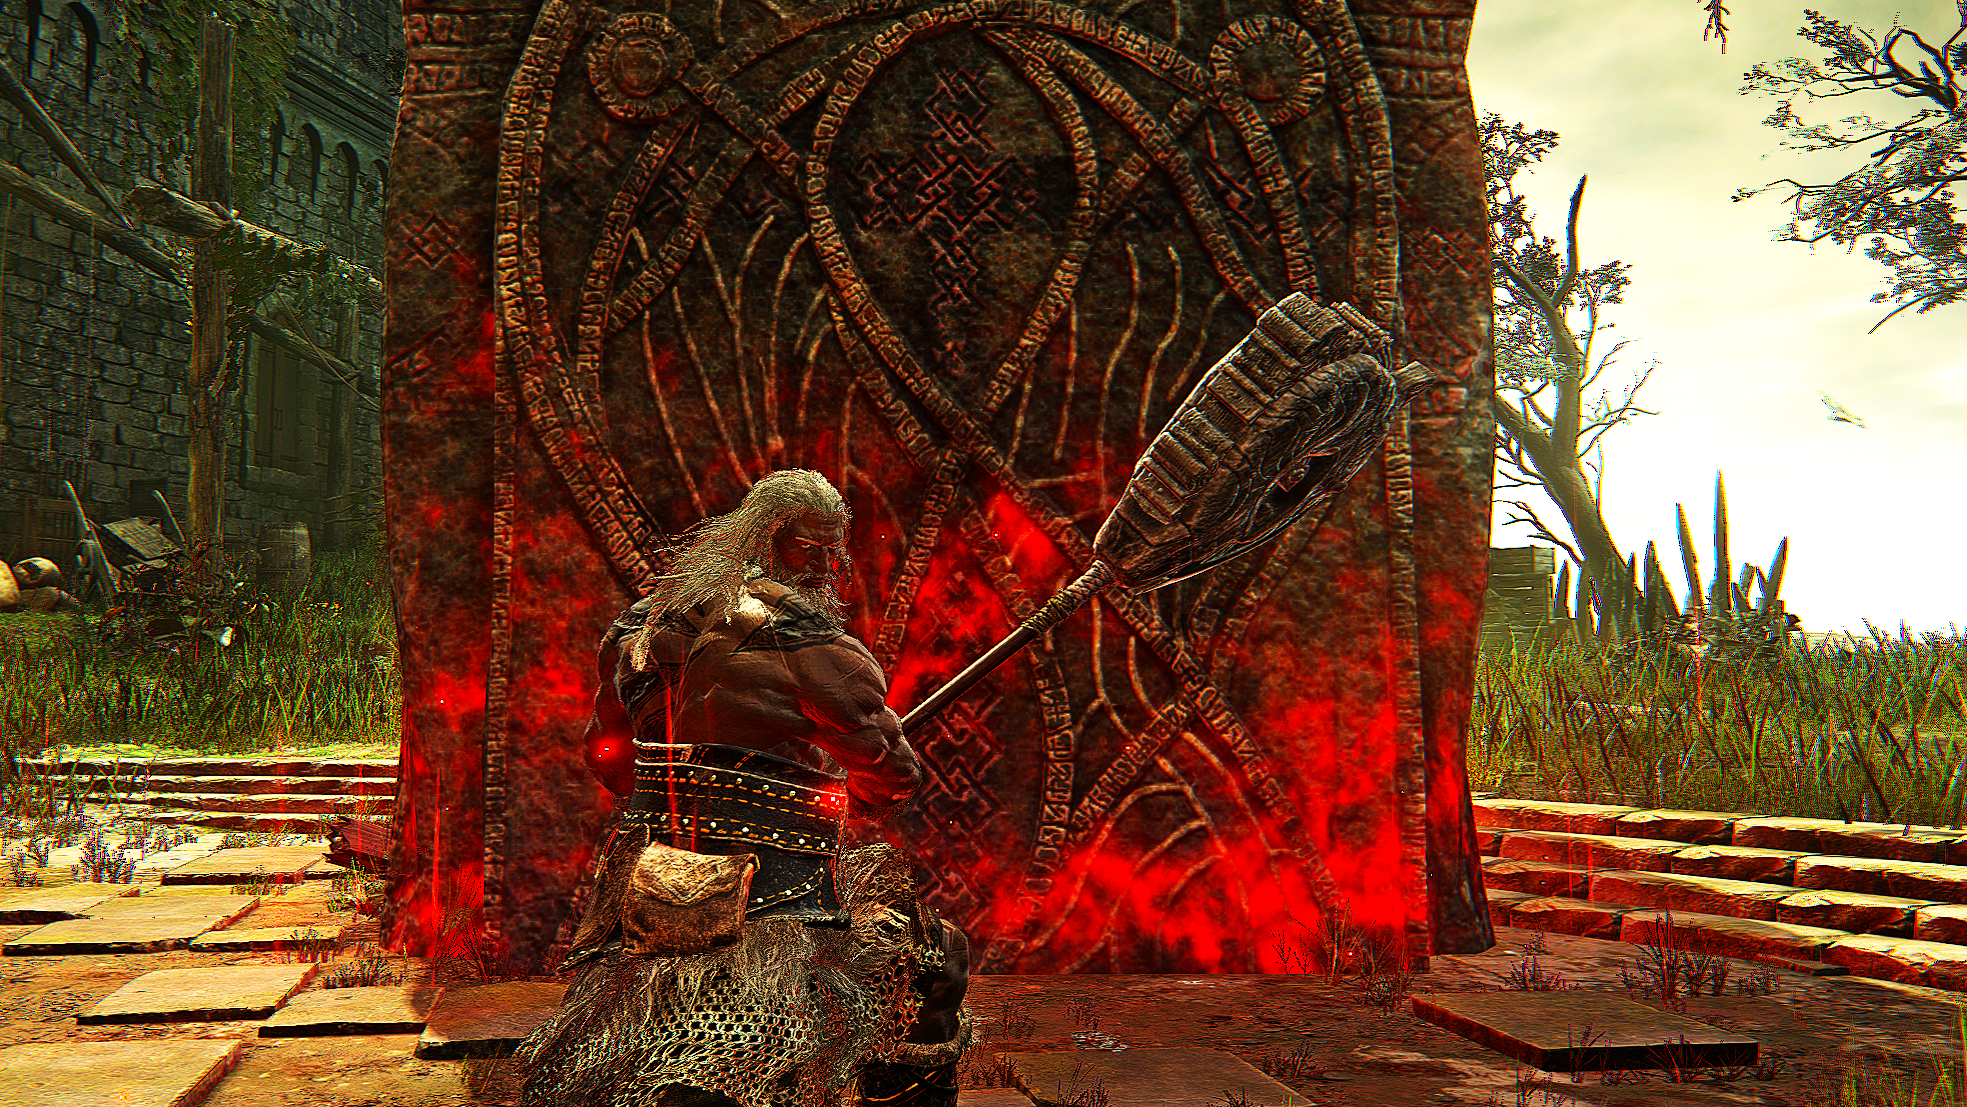
If you think that the best weapon is the biggest weapon, then there is no better choice on which Nightfarer to play than Raider. The Raider is a powerful Nightfarer with a clear playstyle: use the biggest weapons to deal the most damage to opponents at all times. In addition, he is also incredibly hardy, with both a high HP pool and a Character Skill that can mitigate the worst attacks, meaning he can survive — with his colossal weapon — right in front of most foes.
But, there is a lot more to playing Raider than simply bonking your opponents on the head, and it can be tricky to get used to his slow moveset and specific weapon preferences. This guide will go over Raider’s core gameplay features, and then explain how to make the best use of them in order to devastate opponents without being crushed yourself.
This guide is meant to expand upon the basic combat mechanics that we already touched upon in out Combat Overview.
Skill Playstyle
Use Colossal Weapons to deal huge damage and stagger opponents.
Stand in the front lines and use Retaliate to tank deadly attacks.
Use Totem Stella to stun enemies and give ranged allies a safe place to stand.
Passive Ability: Fighter’s Resolve
Effect:Taking damage boosts Retaliate potency, cannot be knocked down while using it. Approach: Don’t be afraid to take small hits and “facetank” certain attacks in order to improve your Retaliate, which will help you survive even bigger attacks and stagger bosses.
Raider’s passive is fantastic, but it requires you to commit to a somewhat unorthodox playstyle: instead of avoiding every attack with rolling or blocking, there are certain attacks that you should just be prepared to take. We’ve found that it isn’t usually wise to purposefully let yourself get hit by most attacks just to improve Retaliate, but that this Passive can make the decision to “trade” easier.
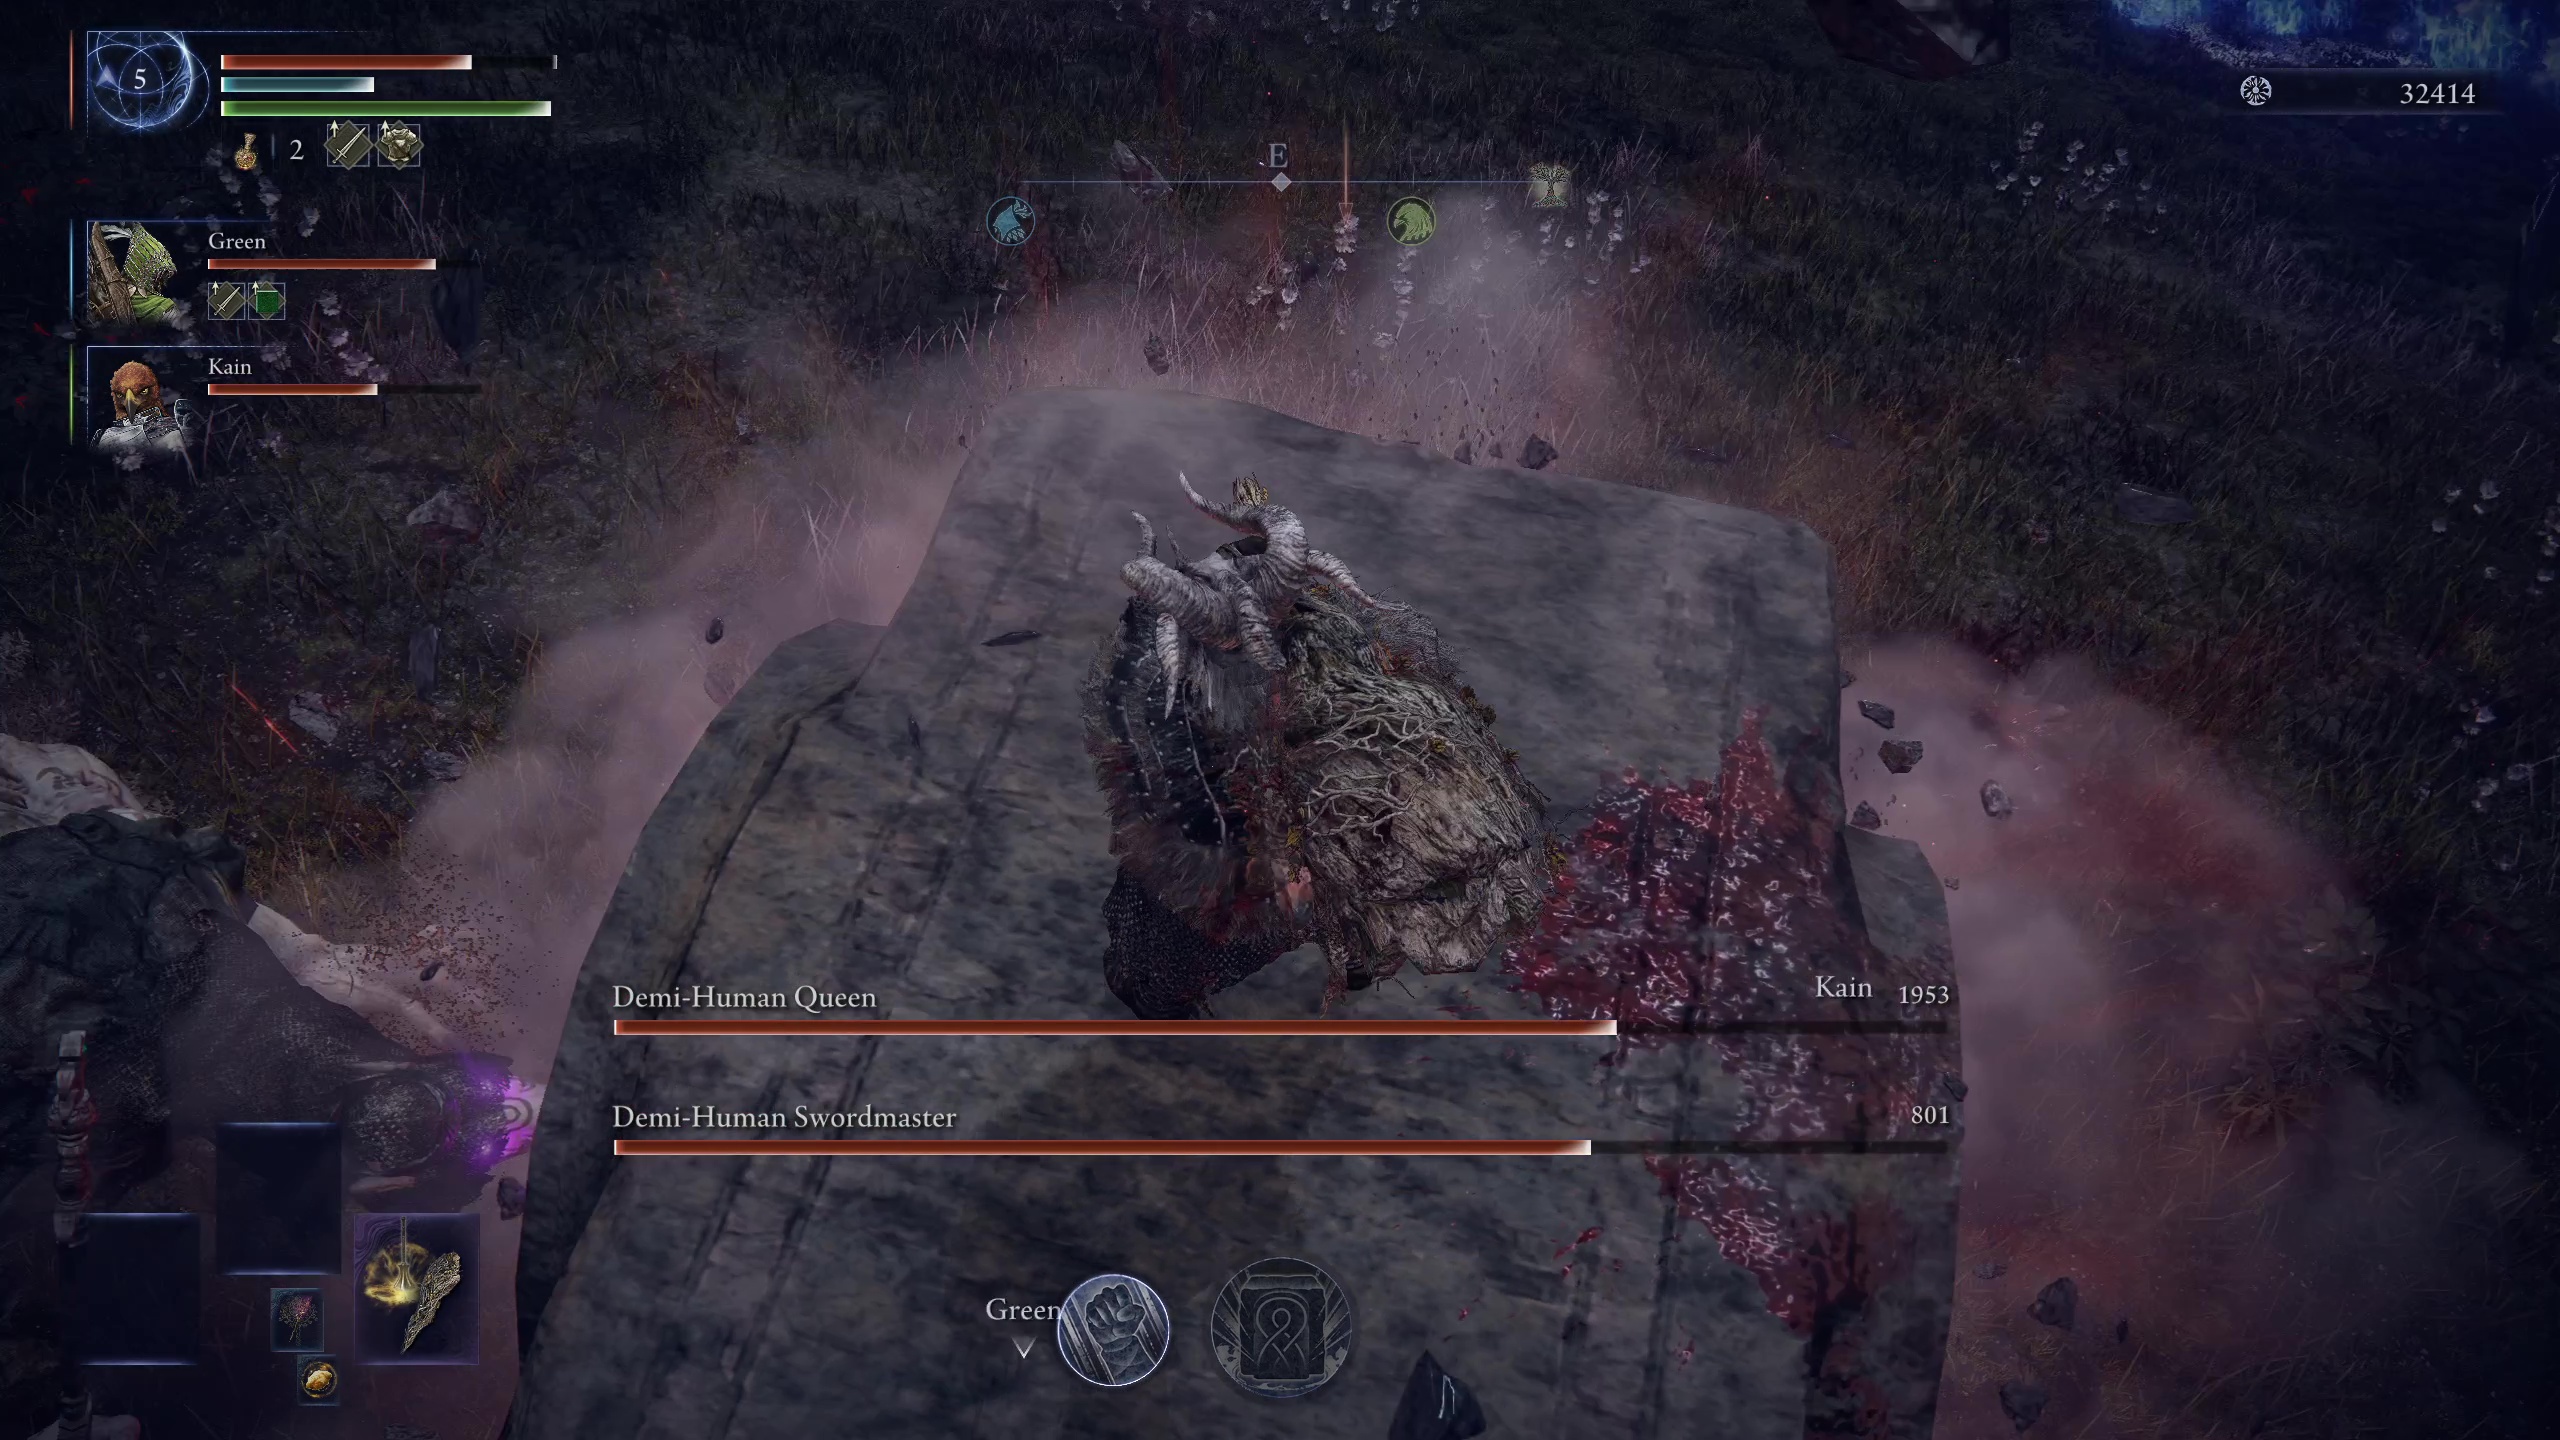
It’s fine even if weak enemies get hits on you, if it helps charge your Retaliate.
“Trading” is when you attack and opponent at the same time as it attacks you, knowing that your attack will be more devastating than theirs. You need to learn to read what kinds of attacks will stagger Raider at which levels, but once you do, then you can reliably commit to Charged Heavy attacks with your huge weapons, even if it means getting hit, so long as that hit doesn’t stagger you.
Because trades can already be worth it sometimes, this Passive makes trades worth it for basically any attack that deals less than a third of your health and doesn’t stagger you, which is most regular enemy attacks and quite a few boss attacks.
Primary Skill: Retaliate
Effect:Assume attack stance and pummel vigorously. Approach: Whenever you are about to be hit by a big attack and don’t have time to dodge, activate Retaliate to power through it and deal damage and stance pressure to the attacker.
Retaliate is a great Character Skill that further reinforces Raider’s “trade-centric” playstyle, especially when you are properly charging it up with your passive. This attack is best used during 3 specific scenarios:
At the beginning of a battle to stagger large foes and knock down small foes.
When you are about to get hit by an attack that you can’t (or don’t want to) dodge.
When you’ve been pressuring the boss for a while and it is about to move away, in order to break it’s stance for a critical hit.
You should often stand in front of a boss and Retaliate without worrying about what attacks it is about to do.
Because of the above, this skill is all about timing. Yes, you can use it just to occassionally hit a boss, but it usually does less damage than a powerful weapon, and takes a long time to activate (and longer if it has been improved by your Passive). Instead, you should use this attack strategically to open fights, endure powerful hits, or ensure a stance break against a boss.
Ultimate: Totem Stella
Effect: Drive gravekeeper’s wedge into earth to summon a giant tombstone. Approach: Stagger bosses and keep them away from yourself and allies while giving ranged or injured allies a safer place to stand.
Save Allies from Damage or Revive Them
Totem Stella is often misused as simply an option to deal damage to a boss, when it is actually a Raider’s best utility move. Because of this, you should use your Ultimate in order to alter the battlefield to your advantage, making use of it in times and places where it’ll be the most useful, rather than just trying to use it to deal damage.
Totem Stella is the easiest to use when you are in close communication with your teammates, but can work even with random lobbies. The best time to use this Ultimate is when an ally is taking big damage — or when they are downed — and you need to get the boss off of them and create an environmental block that will give them time to heal or be revived. Raider’s slow attacks mean that he is otherwise weak at reviving allies, and so this gives him an advantage and opening to do so.
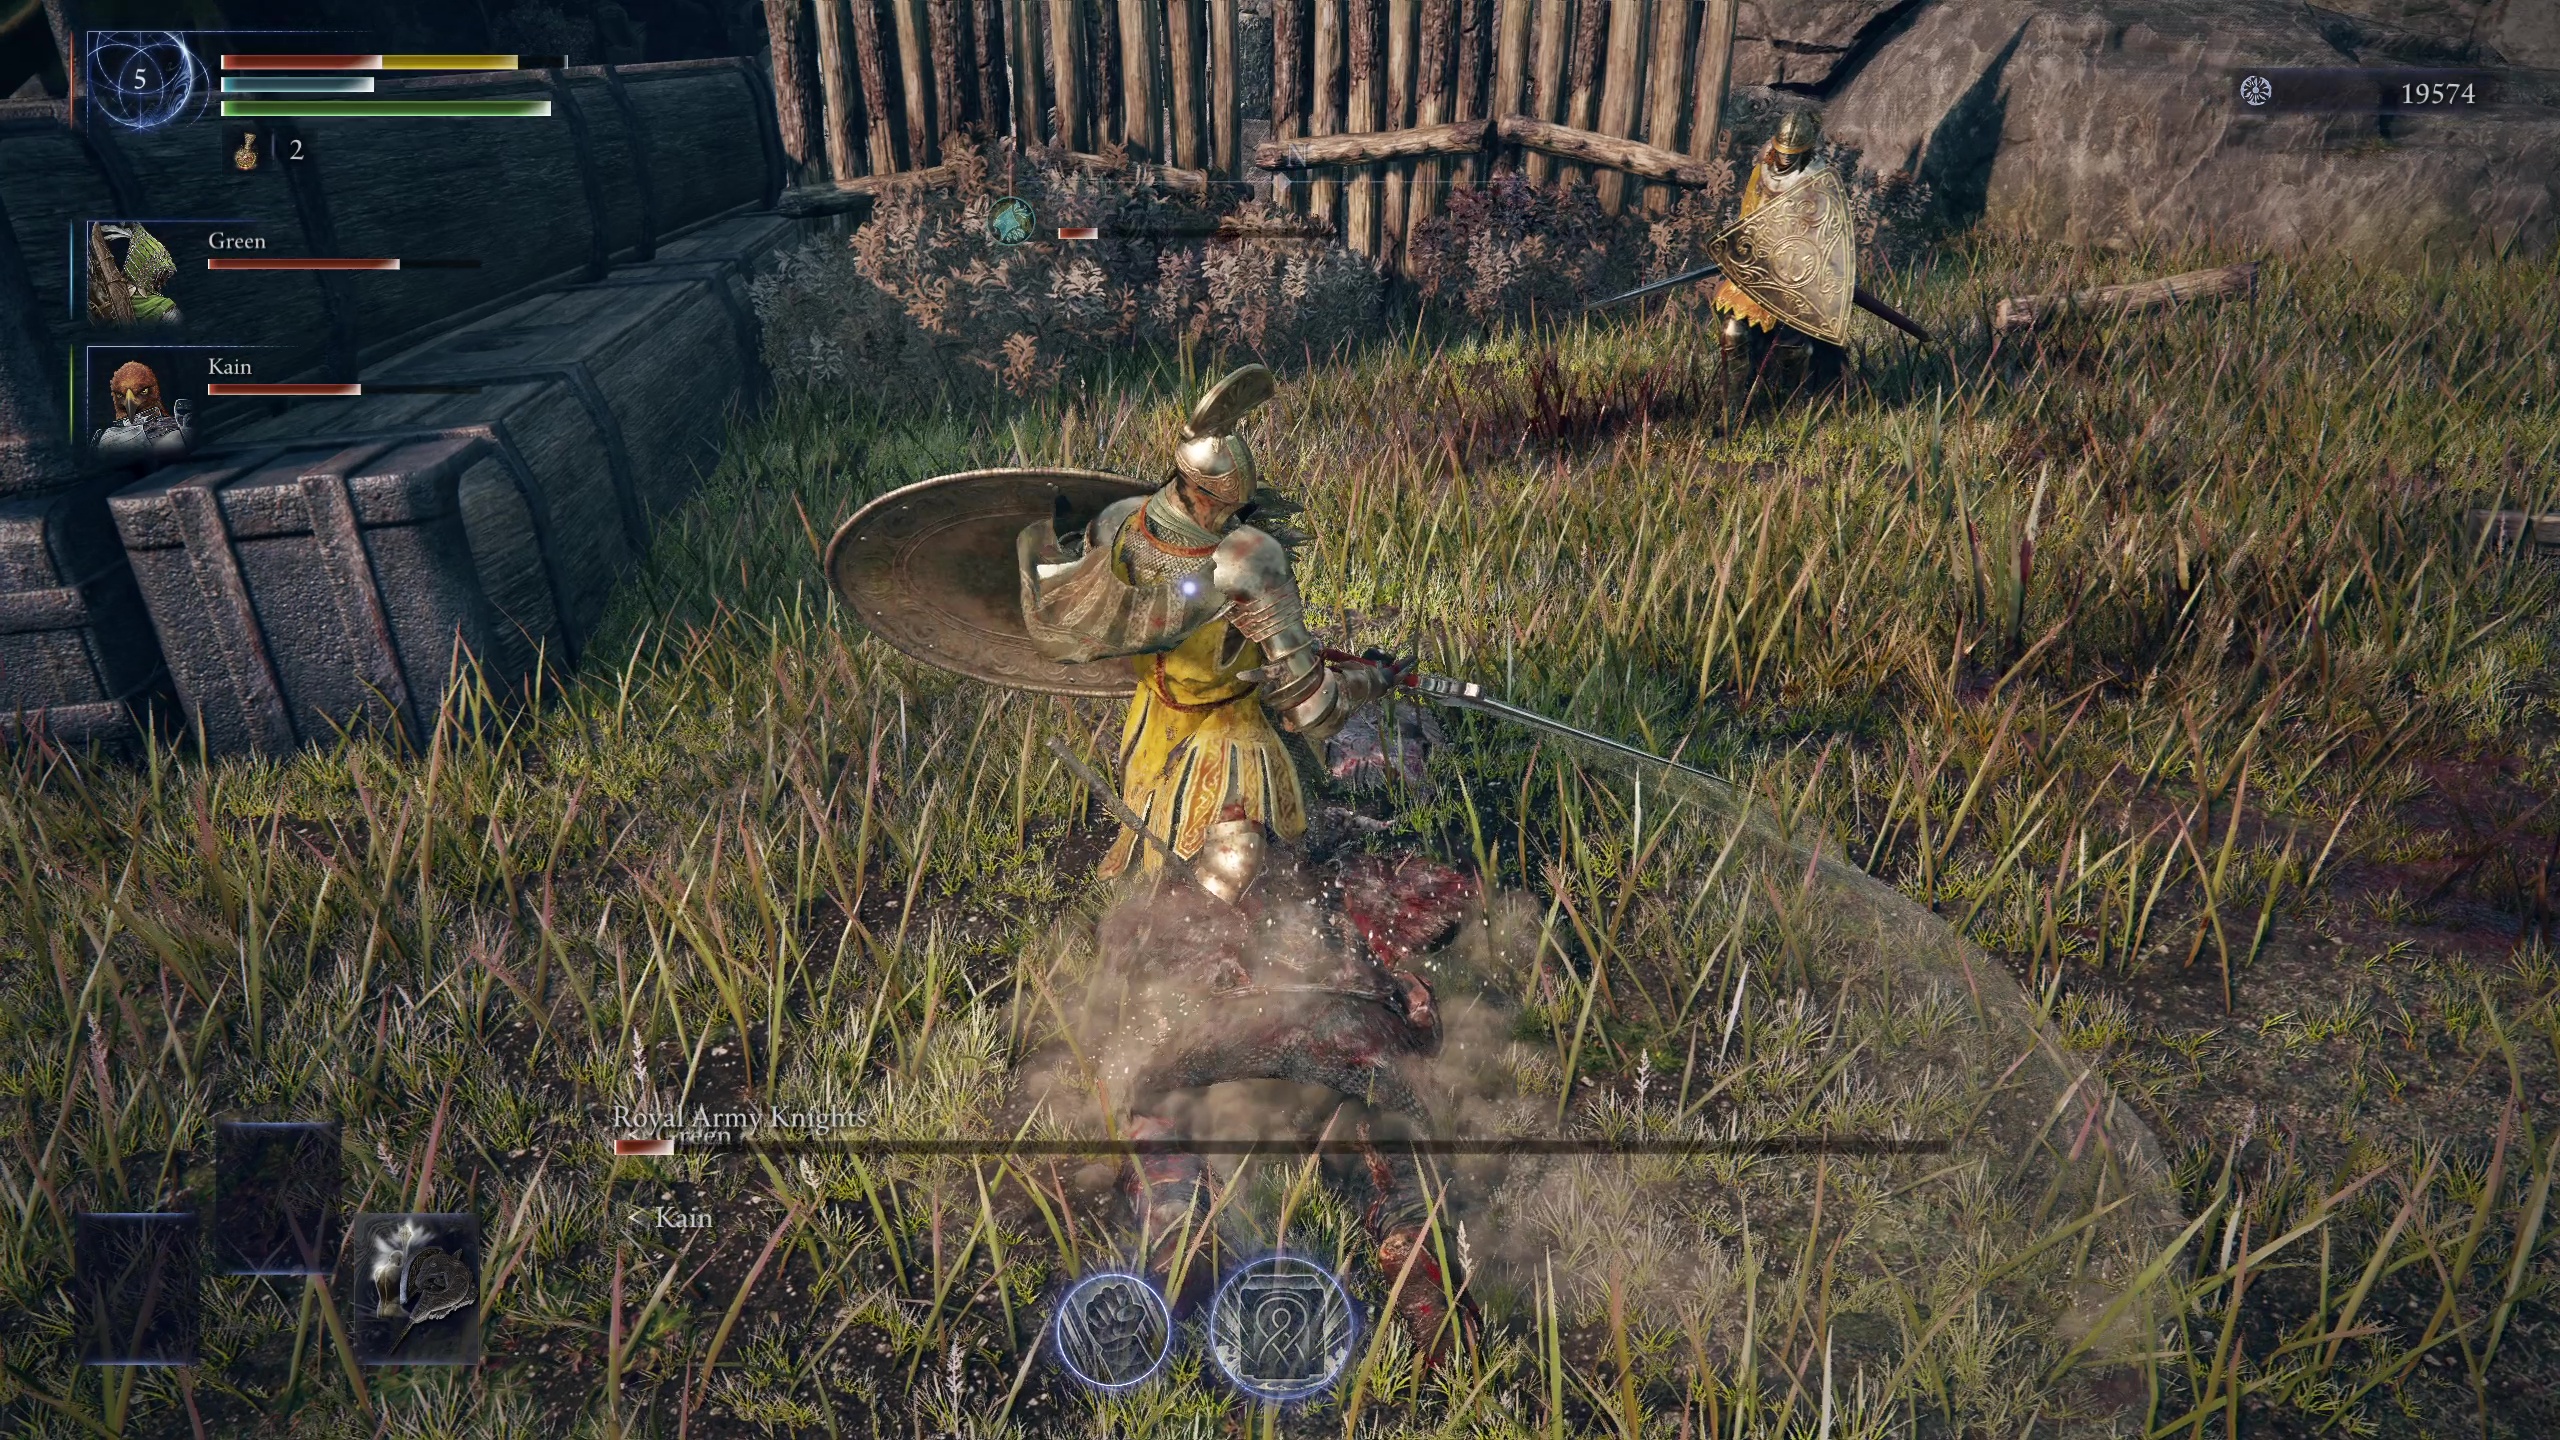
Notice that I’ve used the Totem Stella to separate my teammate from the boss that was pressuring him.
Give Ranged Characters a Safe Place to Shoot From
The other big use of Totem Stella is in order to get a height advantage against your enemies. How useful this is depends on the enemy in question: some bosses in particular have attacks that reach high enough to hit Nightfarers on top of Totem Stella, while others don’t (though very few bosses have movesets that entirely nullify the height advantage).
Because this provides a safe place to stand against many encounters, the Totem Stella is very useful when you have ranged allies like Ironeye and Recluse, who can stand atop the pillar in order to get off massive damage from relative safety while it is active.
Weapon Strategy
In general, you want the biggest, hardest-hitting weapon you can find.
Because of your slow attacks, status buildups like Bleedand Frostbite are weaker for Raider, but improved general damage from affinities like Holy or Fire are great.
Weapon Passives that improve survivability are excellent for other weapon slots.
The Raider has a very clear niche: he wants the biggest weapon at all times. And so, selecting Raider’s primary weapon (or set of weapons) is easy: you want to look for the biggest damage number on a weapon, accounting for future upgrades and whether the weapon have an effective Affinity against the Night Lord. Raider has S scaling in Strength alone, and so big, smashy weapons are simply the best.
When it comes to skills, things that buff your weapons, like Determination, can be great, as can any skills that amount to “hitting something extra hard.” Lacking that, a personal buff like Endure can be worthwhile.
There are some armaments to avoid, however. Shields are generally worthless for a Raider (who wants to take damage), and anything smaller than a Greatsword will be very weak in his hands. As well, the usual build-up effects that many other Nightfarers are built around (Bleed, Sleep, Frostbite, Poison, and Scarlet Rot) are weaker for Raider, because his colossal weapons are simply slower and will inflict statuses slower.
Lastly, you should pick up most weapons that improve your survivability. Weapon passives that grant HP, increase maximum HP, or improves damage negation when charging attacks can be hugely helpful for Raider, even if you don’t intend on using the weapon in question.
Gameplay: Get Hit, Hit Harder
Everything in Raider’s kit is built with the mindset that he should be positioned in front any enemy, trading attacks in order to, ultimately, deal more damage and stance-break his opponent. This does not mean that Raider should simply “tank” every attack that comes his way, but it does mean that he can survive smaller attacks in order to survive and retaliate against bigger attacks.
When a fight begins, Raider should usually start it by using Retaliate against the biggest enemy he can. From here, he should remain close, dodging big attacks in order to find openings to deliver Charged Heavy Attacks that will ruin most enemies. As he inevitably takes damage in these trades, he should then use Retaliate in order to tank big hits and keep up stance pressure on bosses in order to eventually stance-break them for critical hits.
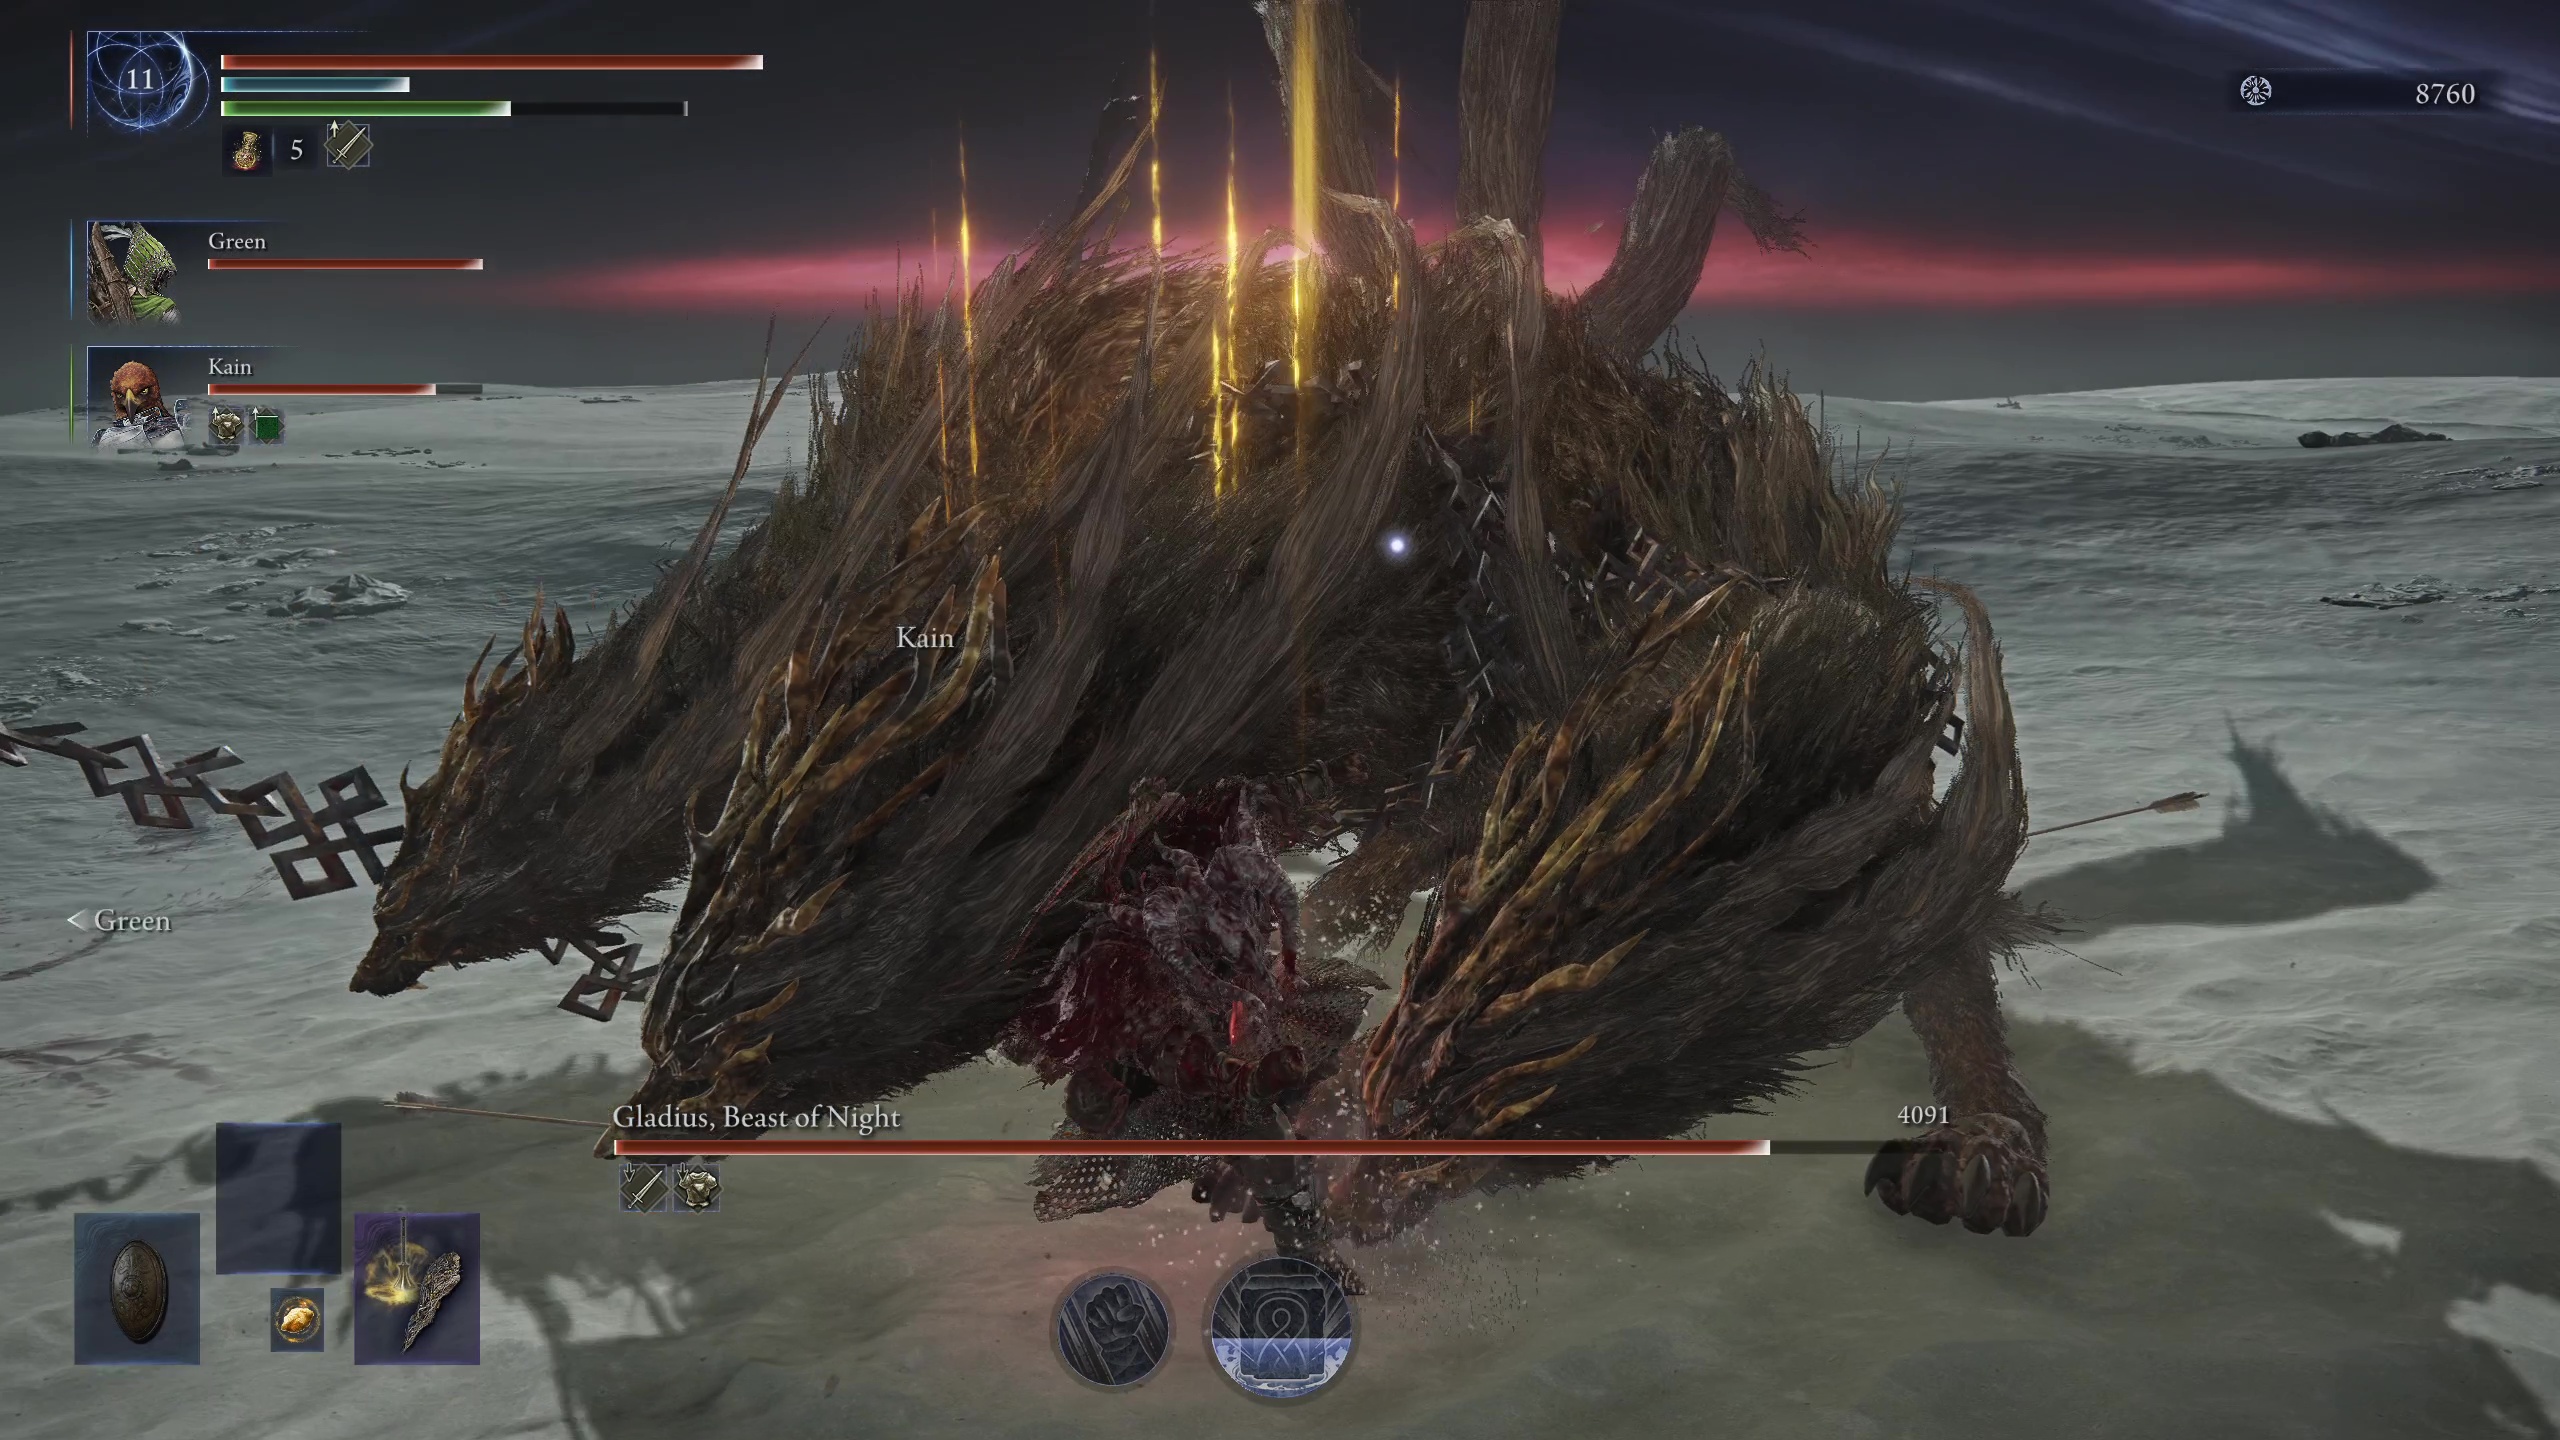
Right where I want to be: directly in front of the boss, charging a heavy attack, with a Retaliate ready to tank an attack.
In addition, Raider should be smart about using his Totem Stella ultimate. In general, Totem Stella is most effective in order to create a block in order to save allies from damage, or to create an opening to revive them. Secondarily, it is a good environmental feature that ranged Nightfarers like Ironeyeor Reclusecan use to safely gets shots off.
With tons of survivability and damage potential, you should do everything you can to keep enemies on you and away from your allies (unless you are playing alongside another Raider or a Guardian). So long as you remain the focus of an enemy, you and your team can whittle away any boss’s health bar and crit them into oblivion.
Share this article:
Graves
Graves is an avid writer, web designer, and gamer, with more ideas than he could hope to achieve in a lifetime. But, armed with a mug of coffee and an overactive imagination, he'll try. When he isn't working on a creative project, he is painting miniatures, reading cheesy sci-fi novels, or making music.