So, you think you got what it takes to wield the mighty bow? Well, to be honest with you, Ironeye is one of the simplest Nightfarers to play, and is one of the least stressful roles to take on in a group. You will likely do just fine even with the basics, since rolling around and shooting is one of the best ways to deal damage while taking none, but that won’t always save you against hard-hitting enemies or help you against the rapidly ticking clock. So, we gotta get a bit creative.
Well, no worries, since this guide is here to help you with just that: we will go over your basic gameplay, and then try to spice that toolkit up a bit to help you really hone in to your strengths.
That being said, if you wanted a very basic overview of the character first, I would recommend you take a look at our Ironeye Overview guide (coming soon!) — in this guide we will skip a few topics down and start with the specifics.
Speaking of which,
Skill Playstyle
Make more use of items (equipment and consumables)
Use Marking on tougher enemies as a longer dodge, and for extra damage and stagger
Use Single Shot to AoE dispatch groups of enemies and burst-heal from a safe distance
Passive Ability: Eagle Eye
Effect: When Ironeye is in the party,everyone gets more item drops from enemies. Approach: Fill in all weapon slots early on, and constantly cycle consumables.
Fill All Weapon Slots for Passive Effects
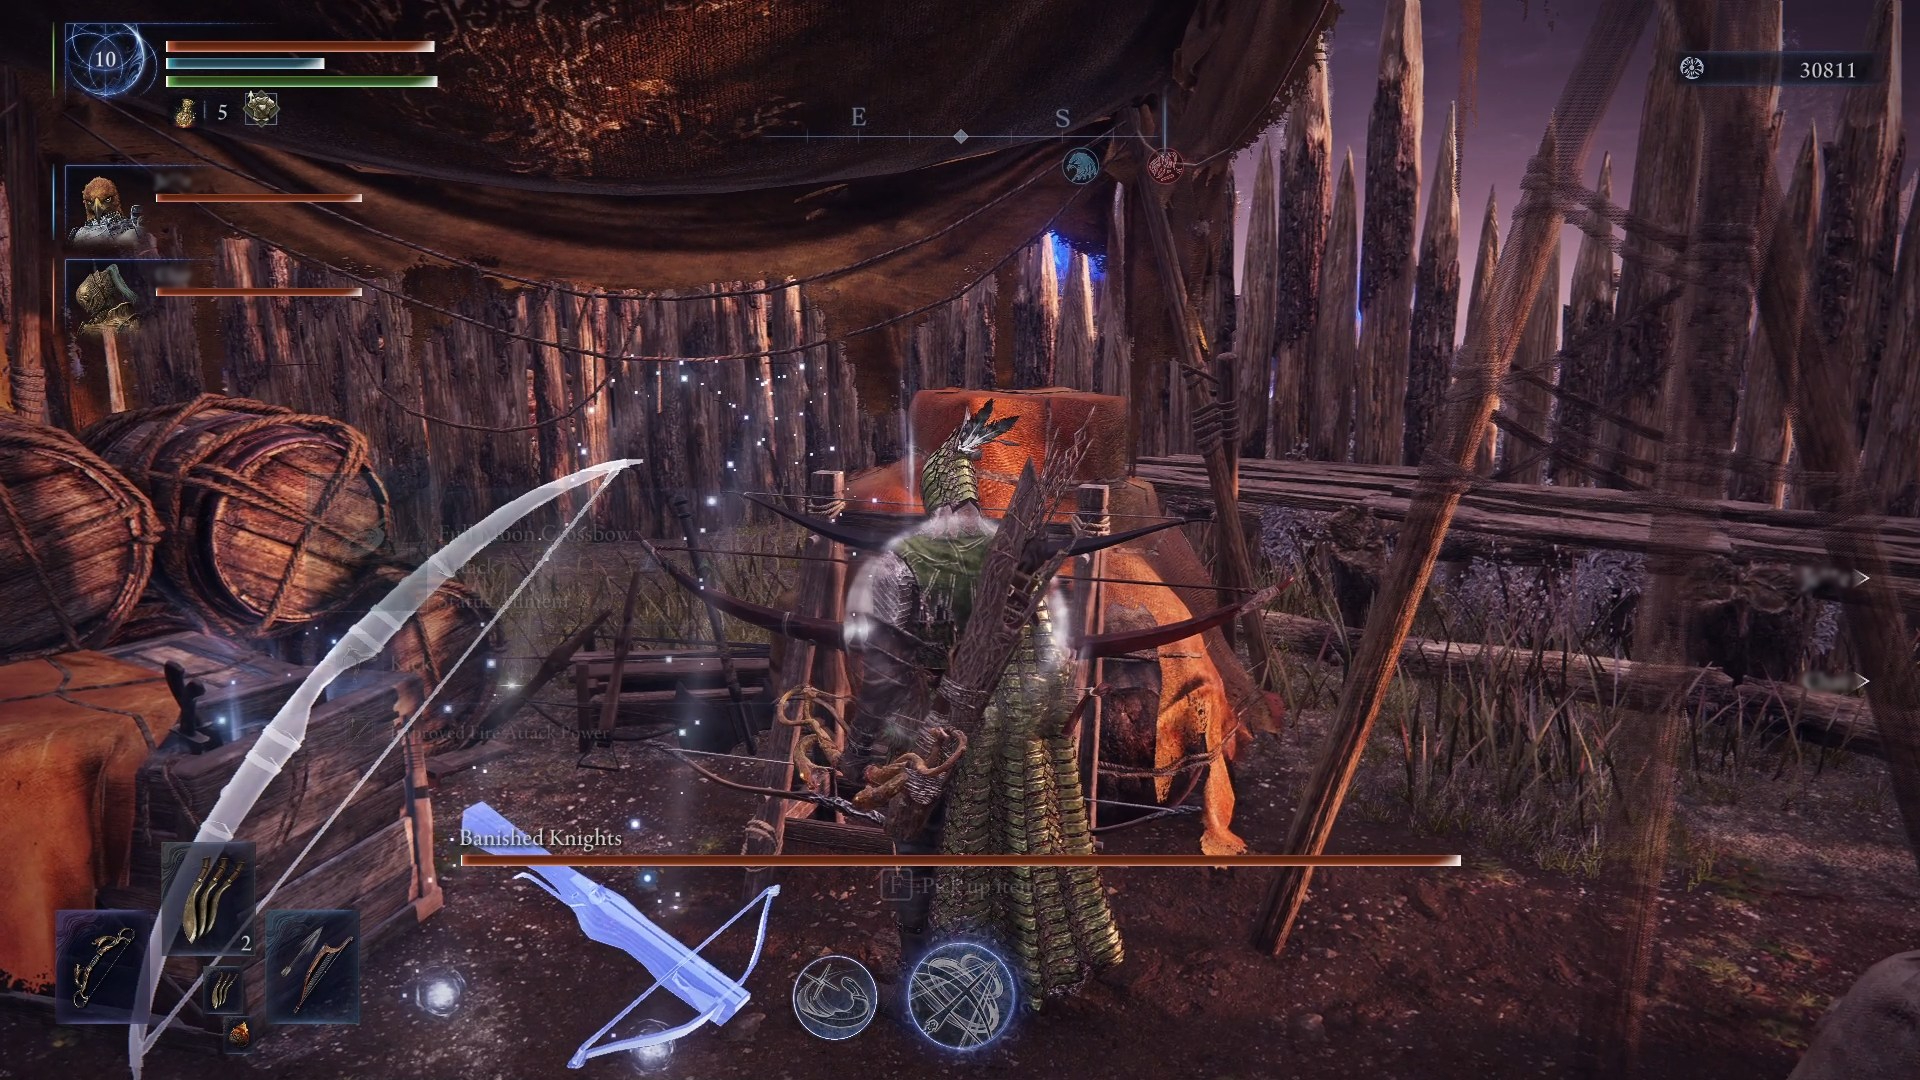
Honestly, I personally think people sleep on the items a bit too much. Here I am breaking a couple more crates and sorting through my goods, and they have already moved on to the next thing. Unless a night circle is closing in, don’t let them bully you into that: take a second, and note down any weapons (not just bows) that come with a good passive to fill in your slots. You have six for a reason, for goodness’s sake, so why wouldn’t you slot in a shield with Improved Ranged Weapon Attacks bonus?
Make Use of Consumables/Throwables
Oh-h, and don’t get me started on consumables. They gave you a button bind to use stuff right on the spot (Use Item Immediately), and several item slots to cycle through, and how often do you see anyone buff up or grease their weapons?
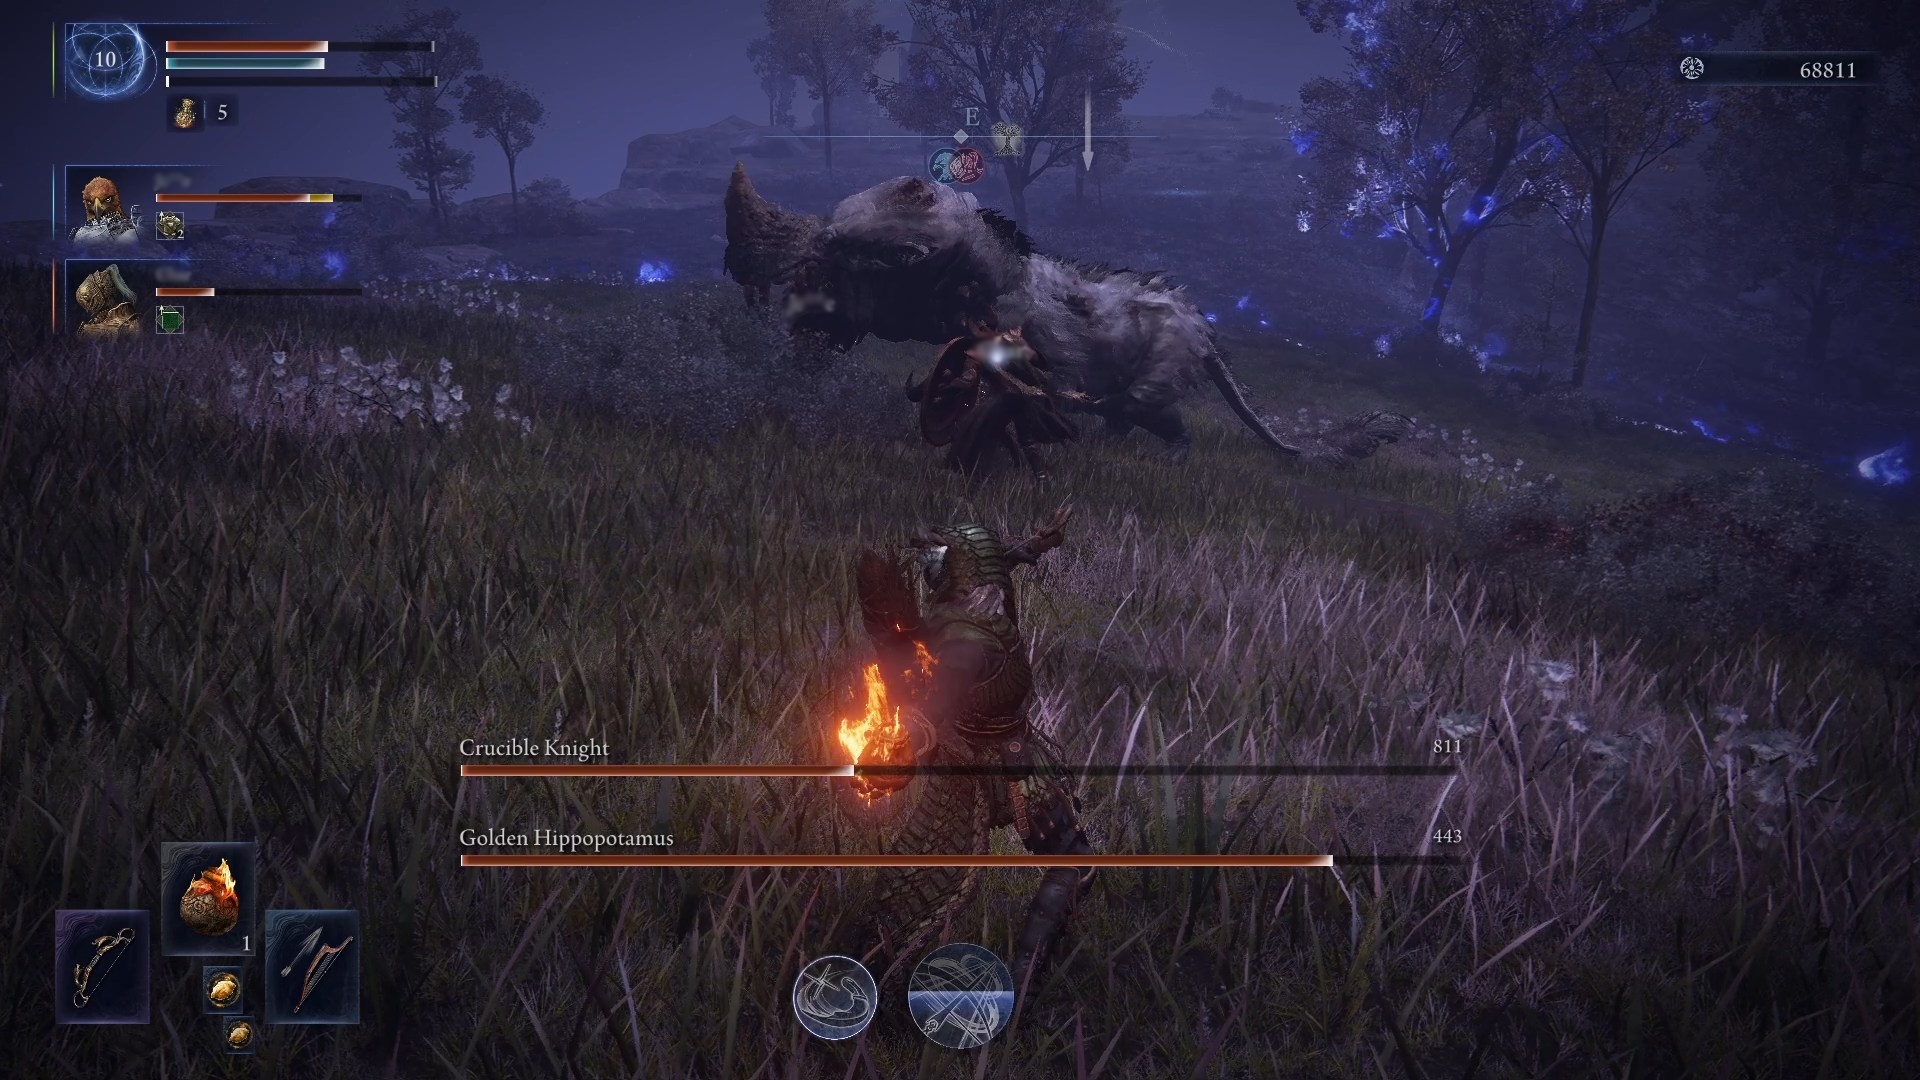
First thing you do running into a camp is sprint through all these crates, crushing them, so there are items everywhere — you are circling around an enemy mashing the attack button like a useless oaf anyway, so throw in a jar! Just pick up those consumables and use buffing items on the spot if you worry you will forget. If you are in a rush, don’t even read the effects. What, you are going to complain you have positive buffs on you? You will be surprised how often they come useful.
Getting both the Crucible Knight and the Golden Hippo with this Fire Pot. Bullseye!
Primary Skill: Marking
Effect: Slash through an enemy, highlighting a weakpoint for extra damage and a chance to stagger. Approach: Apply on enduring enemies and use for dodging purposes.
Apply on Tougher Enemies, Often
You don’t deal a lot of concentrated damage, so Marking is one of your ways to counteract it. It only adds about 10%, but it helps the entire party attacking the enemy — just make sure to target the specific point marked on large enemies with multiple target points.
Best of all, though, attacking the weakspot keeps it in place for longer and gives you a chance to break it and stagger/stance break the opponent. That’s an extra crit hit opportunity for the party, or at least a moment when the boss is disabled, allowing for revival of allies, bursts of damage, and repositioning. Very useful in boss fights.
Plus, randomly matched teammates tend to respond to it enthusiastically, like those playing Duchess — with how uncoordinated the team often feels without ways of effective communication, the little red mark will make your allies see red, literally, and initiate an all-out attack.
Make Use Of As a Longer Dodge Maneuver
The way Marking works will actually help you apply it more often: think of it as a lunging dodge (with a little payback included, of course). As soon as the big bad comes up close and signals their attack, use Marking to slide right through them and come out on the other side, then roll away and keep attacking. Just make sure it’s not an AoE you will end up caught in — Marking is a bit harder to maneuver than a regular roll when it comes to attacks with a wider range of effect.
Another little pitfall is the skill’s set travel distance, so you will need to do it a couple of times to know when to initiate it to not… die of embarrassment after dodging right inside the attack you were meant to avoid. That being said, the direction of the movement can be aimed, so you can use it backwards as a kind of a super-dash away from danger. The skill’s cooldown is pretty quick, so it will likely not feel like a waste regardless.
Ultimate Art: Single Shot
Effect: Shoot out an arrow with a whirlwind, piercing through defense. You are invincible during the animation. Approach: Use the high AoE damage to eliminate groups of adds and help revive allies in tough situations.
Eliminate Groups of Enemies, Especially Boss’s Adds
Single Shot’s AoE is very powerful, and will eliminate just about any non-boss enemy in its path. If you are feeling confident, you can send this bad boy out as soon as you enter the Main Encampment swarmed with the undead, but it also takes a while to recharge, so I would save it for less satisfying, but more useful dispatches of tougher adds surrounding a more resilient enemy.
It’s much less effective against larger bosses as single-targets, but without multiple targets the next best use for the ability that’s not revival is its short window of invincibility against extra-dangerous boss attacks. You can hold to aim the bow before it takes effect, so you can time it with the damage.
Revive Allies in Clutch Situations
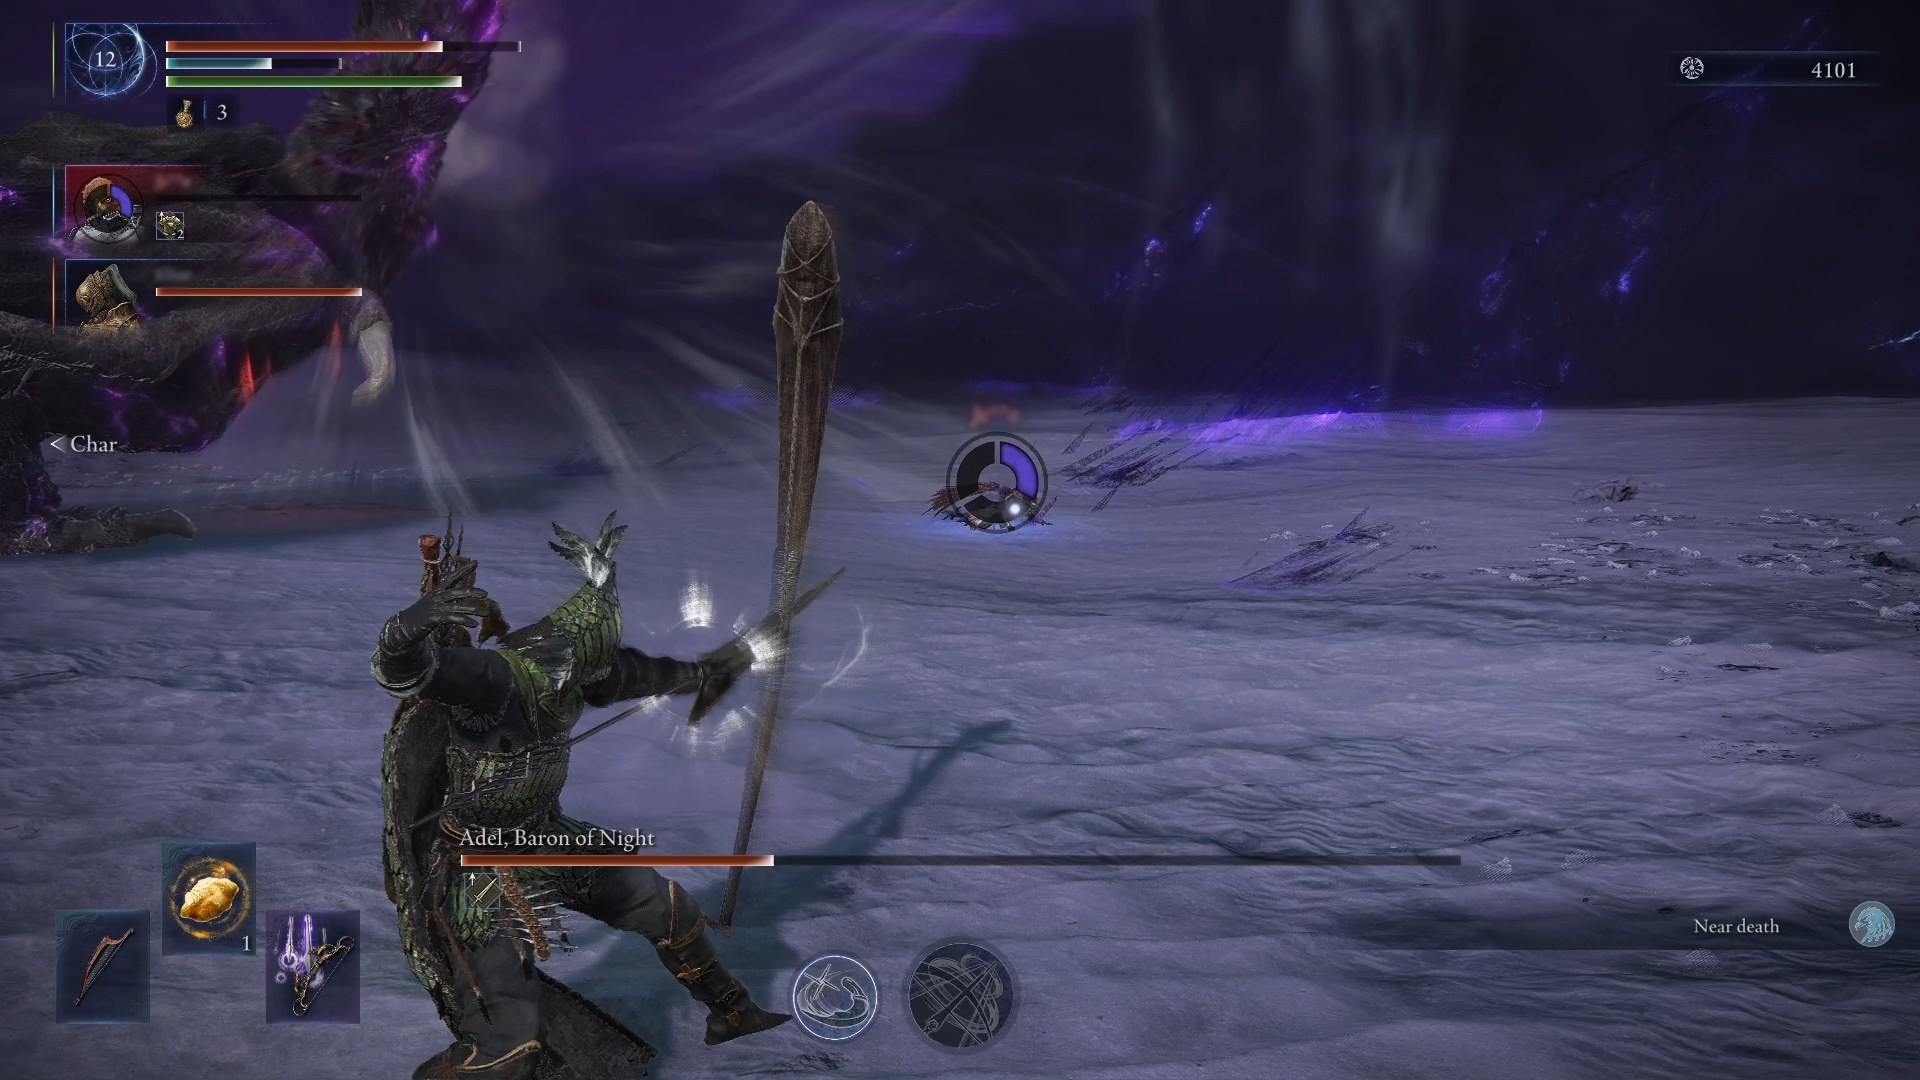
And you probably don’t need me to explain what I mean by “clutch situations.” But, let’s give a particular example — the boss sent out a massive AoE field of damage and downed your tank. Your other teammate rushed to help and the boss is charging up a one-hit slice. Will your generous teammate time their dodge well? Will you spend next several seconds trying to solo the boss? (You will fail).
Well, you don’t have to find out! Lock on to your fallen ally (your ally becomes a possible target when down) and activate your Single Shot. The attack can handle up to 2 purple segments at its epicenter, so that will likely be an instant revive for your tank. Then, by the time the shot is fired, the fate of your second teammate would likely already be determined, and if they are sliced down right next to the tank, they are going to be revived also. With the boss in front of them, the big guy will take on a bit of damage also.
In other words, AoE heal when things are about to get dicey and a steady row of “healing” arrows won’t cut it.
Boss is charging a big attack and an ally goes down near it. Big bow time! (Res animation takes a second, so they should clear it)
Weapon Strategy
It doesn’t matter what you carry or equip aside from the active bow: focus on good passive effects
Remember to make use of your weapon skill, especially on a Rain of Arrows bow that inflicts status effects
You know, sometimes less options is good. It’s nice, reliable, and simple: a bow. Just get a good bow with a good passive, and fill the rest of the slots with any weapons that have useful passives (e.g., Improved Ranged Weapon Attacks). If you want a melee backup, grab a dex-based weapon and throw it into your off-hand. You could throw a shield in the off-hand, though rolling will generally be better for you. If there is no caster in your group, why not off-hand that rare seal with a healing spell on it? Nobody else is using it, anyway.
If a particular passive benefits it, you can switch to dual-wielding your bow easily. As a class, you are pretty flexible with what you are carrying and wielding.
Remember to loot bow racks: sometimes these can drop Epic-grade weapons
I wouldn’t recommend you use any of the crossbows or similarly very slow massive ranged weapons (like the canon, for example). Your most reliable way of attacking is quick single-attack shots. Just circle your enemy slowly and dodge as needed. If someone gets a bit too close, one option aside from Marking is the heavy attack that sends out three arrows. It’s good for some AoE shots sometimes, but it can work like a shotgun on an enemy up close.
Remember your weapon skills: your starting bow will let you pierce shielded stance on enemies that try to deflect your arrows, and bows with Rain of Arrows skill that also inflict elemental status effects are going to be a fantastic option later on. Best options for those tend to be Frost, Bleed, and Poison, but any will work well.
If you want even more details, we have a dedicated guide on Ironeye’s Best Weapons (coming soon!).
Gameplay: Keep Your Distance, and Keep Dodging
Playing Ironeye feels like cheating sometimes (yes, that’s probably why every second person plays Ironeye in the random matches): if the rest of the party can draw the attention of the enemy, Ironeye can roll, roll, and keep shooting. The enemy goes down eventually, the party is out of flasks, and Ironeye hasn’t been hit once.
“Why you guys keep getting grabbed? The Maw is so easy!”
Ironeye starts the game with low HP (which scales very slowly), has little to offer in terms of defense, but has enough Stamina recovery to keep rolling and keep shooting, at all times.
If you master your timing, you can whittle down just about any enemy all by yourself. It would just take a while… but there are no timers on bosses! So, if in doubt, prioritize dodging and never stop mashing the attack button — that strategy is going to help you with a lot of the tougher opponents.
Share this article:
Mila Grish
Dedicated contributor at EIP Gaming and a part-time collector of books she will never have time to actually read. Jumps on the newest releases just as quickly as on the uncovered dusty collections from the basement. For her, shiny graphics can never be an excuse to not have a polished player experience or an immersive story.