FromSoftware’s games are well-known for their uncompromising difficulty and a high average level of challenge. Nightreign ups the stakes by putting a timer on everything: so, on top of just getting good, you’ll also want to go fast. As such, this guide will help you better grasp the basics of Nightreign’s combat so that you don’t waste any time figuring out how things work during an expedition.
Combat Basics
Nightreign retains the basic combat mechanics of FromSoftware games, most notably the original Elden Ring. You have your light and heavy attacks, a stamina bar to watch out for, and a limited number of healing Sacred Flasks that refresh whenever you visit a Site of Grace. If you’re looking for a full list of available combat moves, be sure to check out our Controls Overview (coming soon) that lists all the basic moves for whichever control scheme you prefer.
And here are some advanced maneuvers you’ll want to master to become a better Nightreign player:
Backstab
Approaching a humanoid enemy from behind and performing a Normal Attack (R1/RB) while not holding your shield up will initiate a Backstab. It deals increased damage, makes you invulnerable for the duration of the animation, and locks the enemy in place, allowing your allies to get some free hits in.
Parry
If you have a shield or a weapon with a Parry skill, you can deflect an incoming enemy attack. Performing a Normal Attack (R1/RB) immediately after will initiate a riposte that acts as a frontal Backstab. Learning which attacks can be parried and their timings is an important skill to learn.
Stance Break
Dealing enough heavy damage to an enemy in quick succession will break their guard, opening the enemy up for a critical hit. If it’s a humanoid enemy, you can approach them from either the front or the back and perform a Normal Attack (R1/RB) like you would a Backstab. For bigger monstrous enemies, you’ll often see a glowing spot on their body that you need to attack to perform a critical hit after a Stance Break. As a general rule, heavier two-handed attacks lead to faster Stance Breaks.
Guard Counter
Immediately after blocking an attack with a shield, you can hit R2/RB to perform a Guard Counter attack. This attack deals increased damage and is hard to interrupt.
Jump Attack
If you jump, then attack while you’re in the air, you will perform a Jump Attack. These attacks usually have increased range, deal good damage, and are great at breaking enemy stance.
Dual Wielding
If you equip two weapons of the same category, pressing L1/LB will attack with both weapons at once, giving you a new dual-wielding moveset.
Mobility Attacks
Using a Normal Attack (R1/RB) after a roll, backstep, or dash changes the attack animation and allows you to instantly go from moving to fighting.
Manual Aiming
If you don’t want to rely on lock-on aiming for your ranged combat, you can also manually aim your bows and crossbows. To do so, you need to hold the weapon in both hands then hold the R1/RB button. This will give you a reticle that will let you target your shots.
What Sets Nightreign Apart
The key differences that set Nightreign apart from the other FromSoftware games are the overall faster pace of it, premade heroes with unique abilities, and a strong focus on 3-player cooperation.
Faster Pace
Your characters move much faster in Nightreign than in the regular Elden Ring. Instead of a Spirit Steed that helped you traverse the Lands Between, you now have the Surge Sprint ability that lets you run really fast. You activate it by pressing L3 (pressing down on the left analog stick).
Beyond that, you can climb on certain walls by repeatedly hitting the Jump button.
And to help you with navigating the menus, the inventory was simplified into 6 weapon slots, 2 talisman slots, and 4 slots for consumables.
Nightfarers
When Nightreign launches, it will let you chose from 8 available Nightfarers.
Each Nightfarer comes with a unique Passive ability, an active Character Skill with a short cooldown, and an active Ultimate Art with a long cooldown that’s also charged by attacking enemies.
In Nightreign, each Nightfarer has their own attribute advancement scheme. When you level up at a Site of Grace, their attributes go up automatically without your direct input. This makes certain Nightfarers better at wielding those weapons and spells that scale better with the attributes they favor. So, even though Nightfarers can use all weapons, you should consider their attribute scaling when coming up with your build.
Here are the Nightfarers available on launch:
Raider – A powerful sea-farer who favors enormous weapons
Ironeye – An archer with split-second judgement and pinpoint accuracy
Wylder – A character with well-balanced abilities. Easy to handle, challenging to master
Guardian – A character with high defensive capabilities who can use a shield to withstand even the most ferocious enemy attacks
Recluse – A high prowess character skilled in cursed magic that allows them to use powerful spells
Duchess – This character is skilled in evasion, and can dodge quickly several consecutive times
Executor – A calculated parry specialist with a large beast transformation ability
Revenant – The soul of a lady who manipulates spirits in her quest for revenge
Jolly Cooperation (3-Player Co-Op)
While you can play Nightreign solo, it’s not the intended way of playing the game. Instead, it’s built around 3-player co-op. You can play Nightreign together with your friends, or with strangers from all over the world. This isn’t just a case of any game being more fun with friends – Nightreign is built around the idea of co-op.
Reviving Allies
To explain things simply, whenever a Nightfarer drops down to 0 health, they fall on the ground and a purple circular bar appears over them. Allies can hit the fallen Nightfarer to deplete this bar and bring their friend back to life with half health. While one of the allies is doing that, the other will want to draw the attention of the enemies, allowing for a smooth revival.
There is also a bit of a difference between going down in the open world versus when fighting Night bosses — primarily, dropping to 0 during the Day will come with a timer to help respawn players that don’t get resurrected by teammates. There is no such time limit during a major boss fight, but when the team goes down, you lose the run.
If you want more detailed information and tips, we got a dedicated How to Revive Teammates guide.
Are the Loot and Runes Shared?
Whether you decide to split up or stick together, whenever one Nightfarer gains Runes, all of them do, no matter how far away they are. And when you find loot, unless it’s a Dormant Power that drops after challenging encounters, this loot is shared between your team. So, you need to consider not only which weapons and consumables you need, but also which items can help out your allies.
Co-Op Combat Strategies
Many of Nightreign’s encounters are designed with the assumption that three characters will be tackling them. This includes boss phases where they split into three separate entities, and attacks where players need to split up to destroy a large number of sigils to prevent the boss from becoming much stronger.
The unique Nightfarer abilities also work well together. Some of them simply buff your team. Others allow for more creative synergies. Raider’s Ultimate Art, for example, creates a giant tombstone. Ironeye, the resident ranged Nightfarer, can climb this tombstone and unload his devastating attacks from relative safety.
That being said, your friends can play the same Nightfarer character, if desired. Consider your optimal team composition before venturing out.
Combat Tips
When you’re just starting out Nightreign might feel overwhelming. But stick with it, and you’ll be able to master its many systems. Here are some tips that will help you get there faster.
Upgrade Your Weapons
Nightreign’s weapon upgrade system is simplified compared to the other FromSoftware games, but it’s no less important to your combat success. During your travels you’ll find Smithing Stones. You will use these Smithing Stones to upgrade your armaments at Smithing Tables scattered across the map.
You always find Smithing Tables near merchants. And if you’re looking for Smithing Stones, the best place to find them are the tunnels indicated by dark archways on your map.
Increase Your Flask Count
Unless you’re a perfect player, you will make mistakes. When you do, you will need to heal. As such, having a larger number of healing flasks is important to beating the more challenging encounters. In order to increase your flask count, you’ll need to visit the churches scattered across the map.
When you start an expedition, the church locations will be randomized, but you’ll always get at least three of them. Visiting them should be high on your priority list.
Practice In the Training Ground
If you’d like to familiarize yourself with a Nightfarer’s abilities, or test the moveset of a particular weapon, you can do so within the Training Grounds of the Roundtable Hold. There, you have access to pretty much every item in the game and can test your builds with no rush.
Watch Out For Status Effects
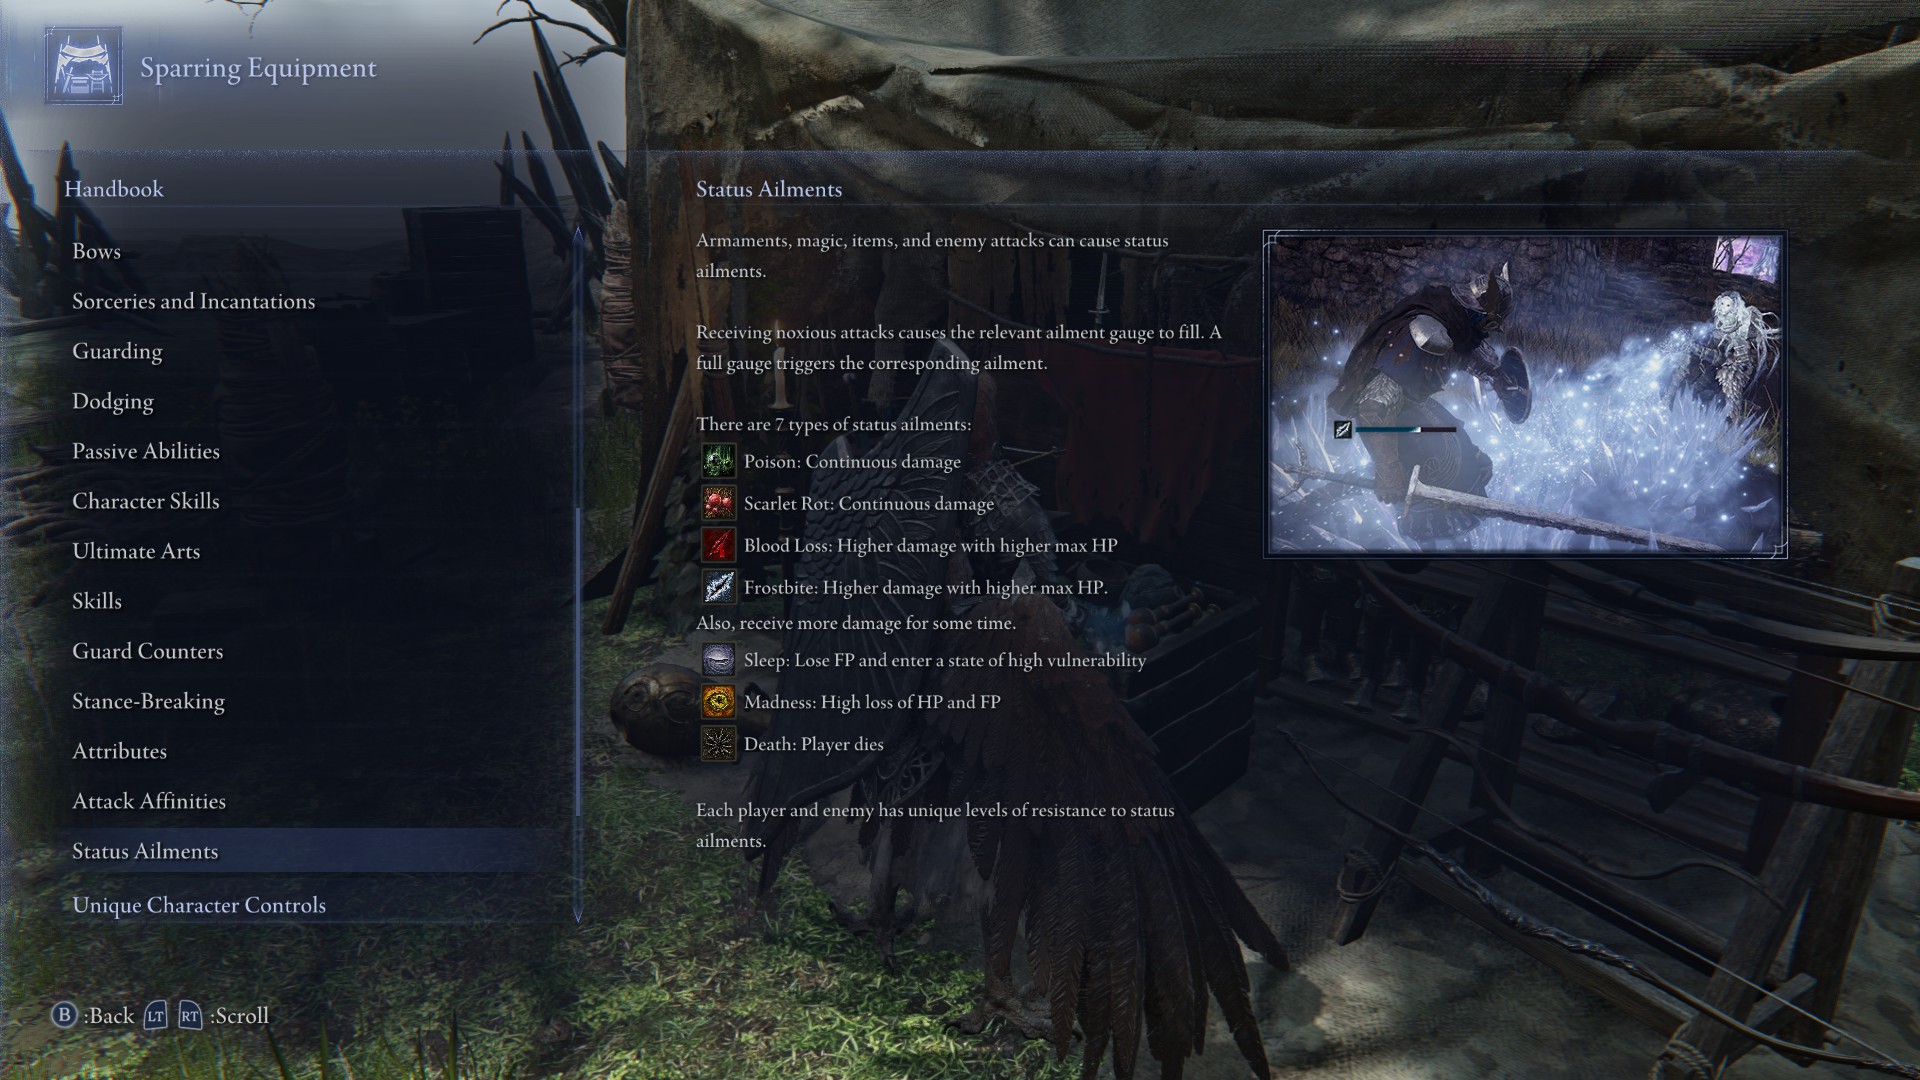
Some of the enemies apply status ailments. These range from mildly unpleasant to instant death. When an ailment is being applied to you, you’ll see a bar filling up in the middle of your screen. When it completely fills up, the ailment activates.
The good thing about this, is that you can use these same ailments against your enemies if you get the right weapons and skills.
Here are the ailments and what they do:
Poison
If you are affected by the Poison status, you will take continuous damage.
Scarlet Rot
If you are affected by the Scarlet Rot status, you will take continuous damage.
Blood Loss
If you are affected by the Blood Loss status, you will take heavy damage proportional to your maximum HP.
Frostbite
If you are affected by the Frostbite status, you will take damage, and the damage you take will increase for a certain amount of time.
Sleep
If you are affected by the Sleep status, you will fall asleep on the spot and become defenceless.
Madness
If you are affected by the Madness status, you will take heavy damage to your HP and FP.
Death Blight
If you are affected by the Death Blight status, you will die immediately.
Use Effective Damage Types
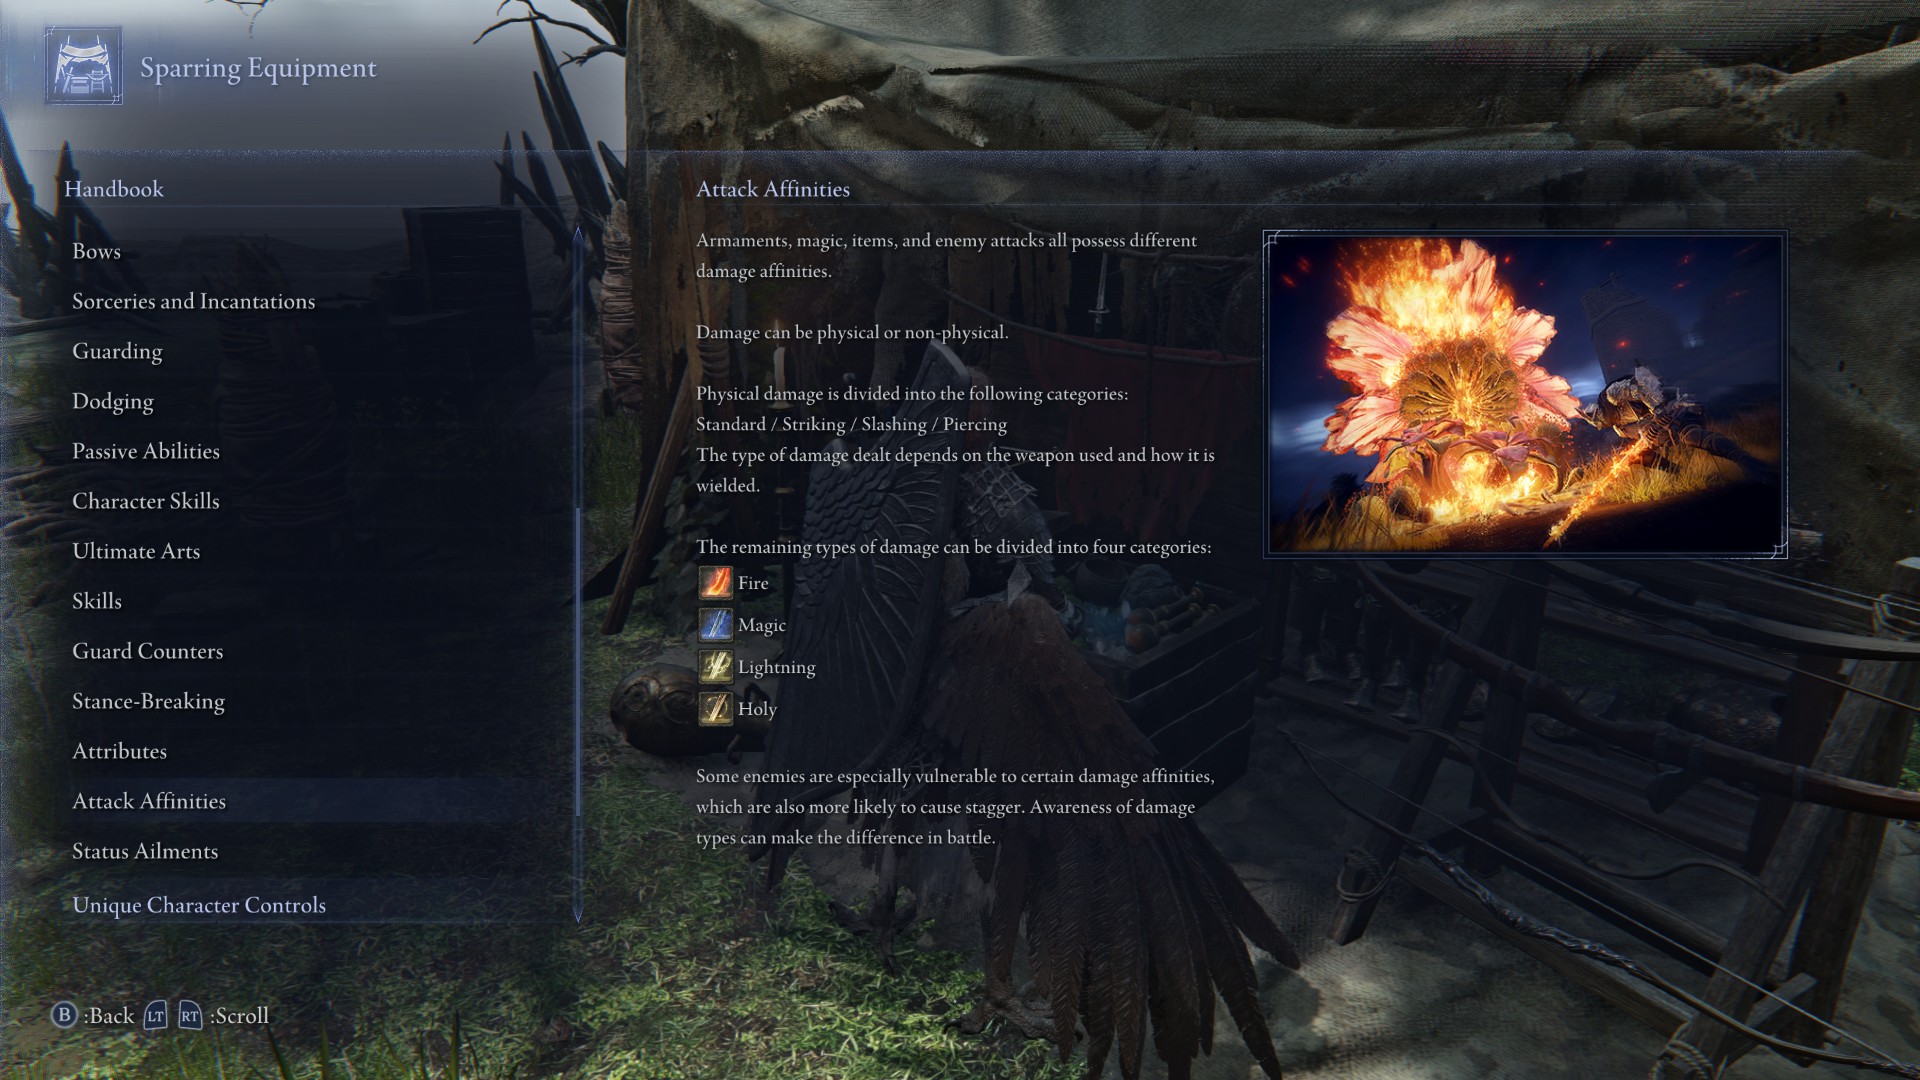
There are several distinct damage types in the game known as Attack Affinities. Physical damage is determined by the type of weapon you’re using and how you use it, so for example a sword slash will deal Slashing damage, while a stab with its tip will deal Piercing.
These are the physical Attack Affinities:
Standard
Striking
Slashing
Piercing
Non-physical Attack Affinities are usually dealt by magic and various weapon buffs and skills. Certain enemies have resistances and vulnerabilities to these damage types, so you’ll need to experiment to find out which damage type works best against which enemies. Your options are:
Fire
Magic
Lightning
Holy
Make Use of Phantoms
When exploring Limveld, you’ll occasionally see white and red phantoms running around. These are players from other worlds that were recently in your location. White phantoms are just players going about their business. Red phantoms are the players that recently died in that spot.
These phantoms have a gameplay purpose in Nightreign. Whenever you touch them, your Ultimate Art gauge will fill up. And if it’s a red phantom, you’ll even be able to collect the equipment those phantoms were wearing at the time of their death.
Share this article:
Val Hull
Resident role-playing RPG game expert. Knows where trolls and paladins come from. You must fight for your right to gather your party before venturing forth.