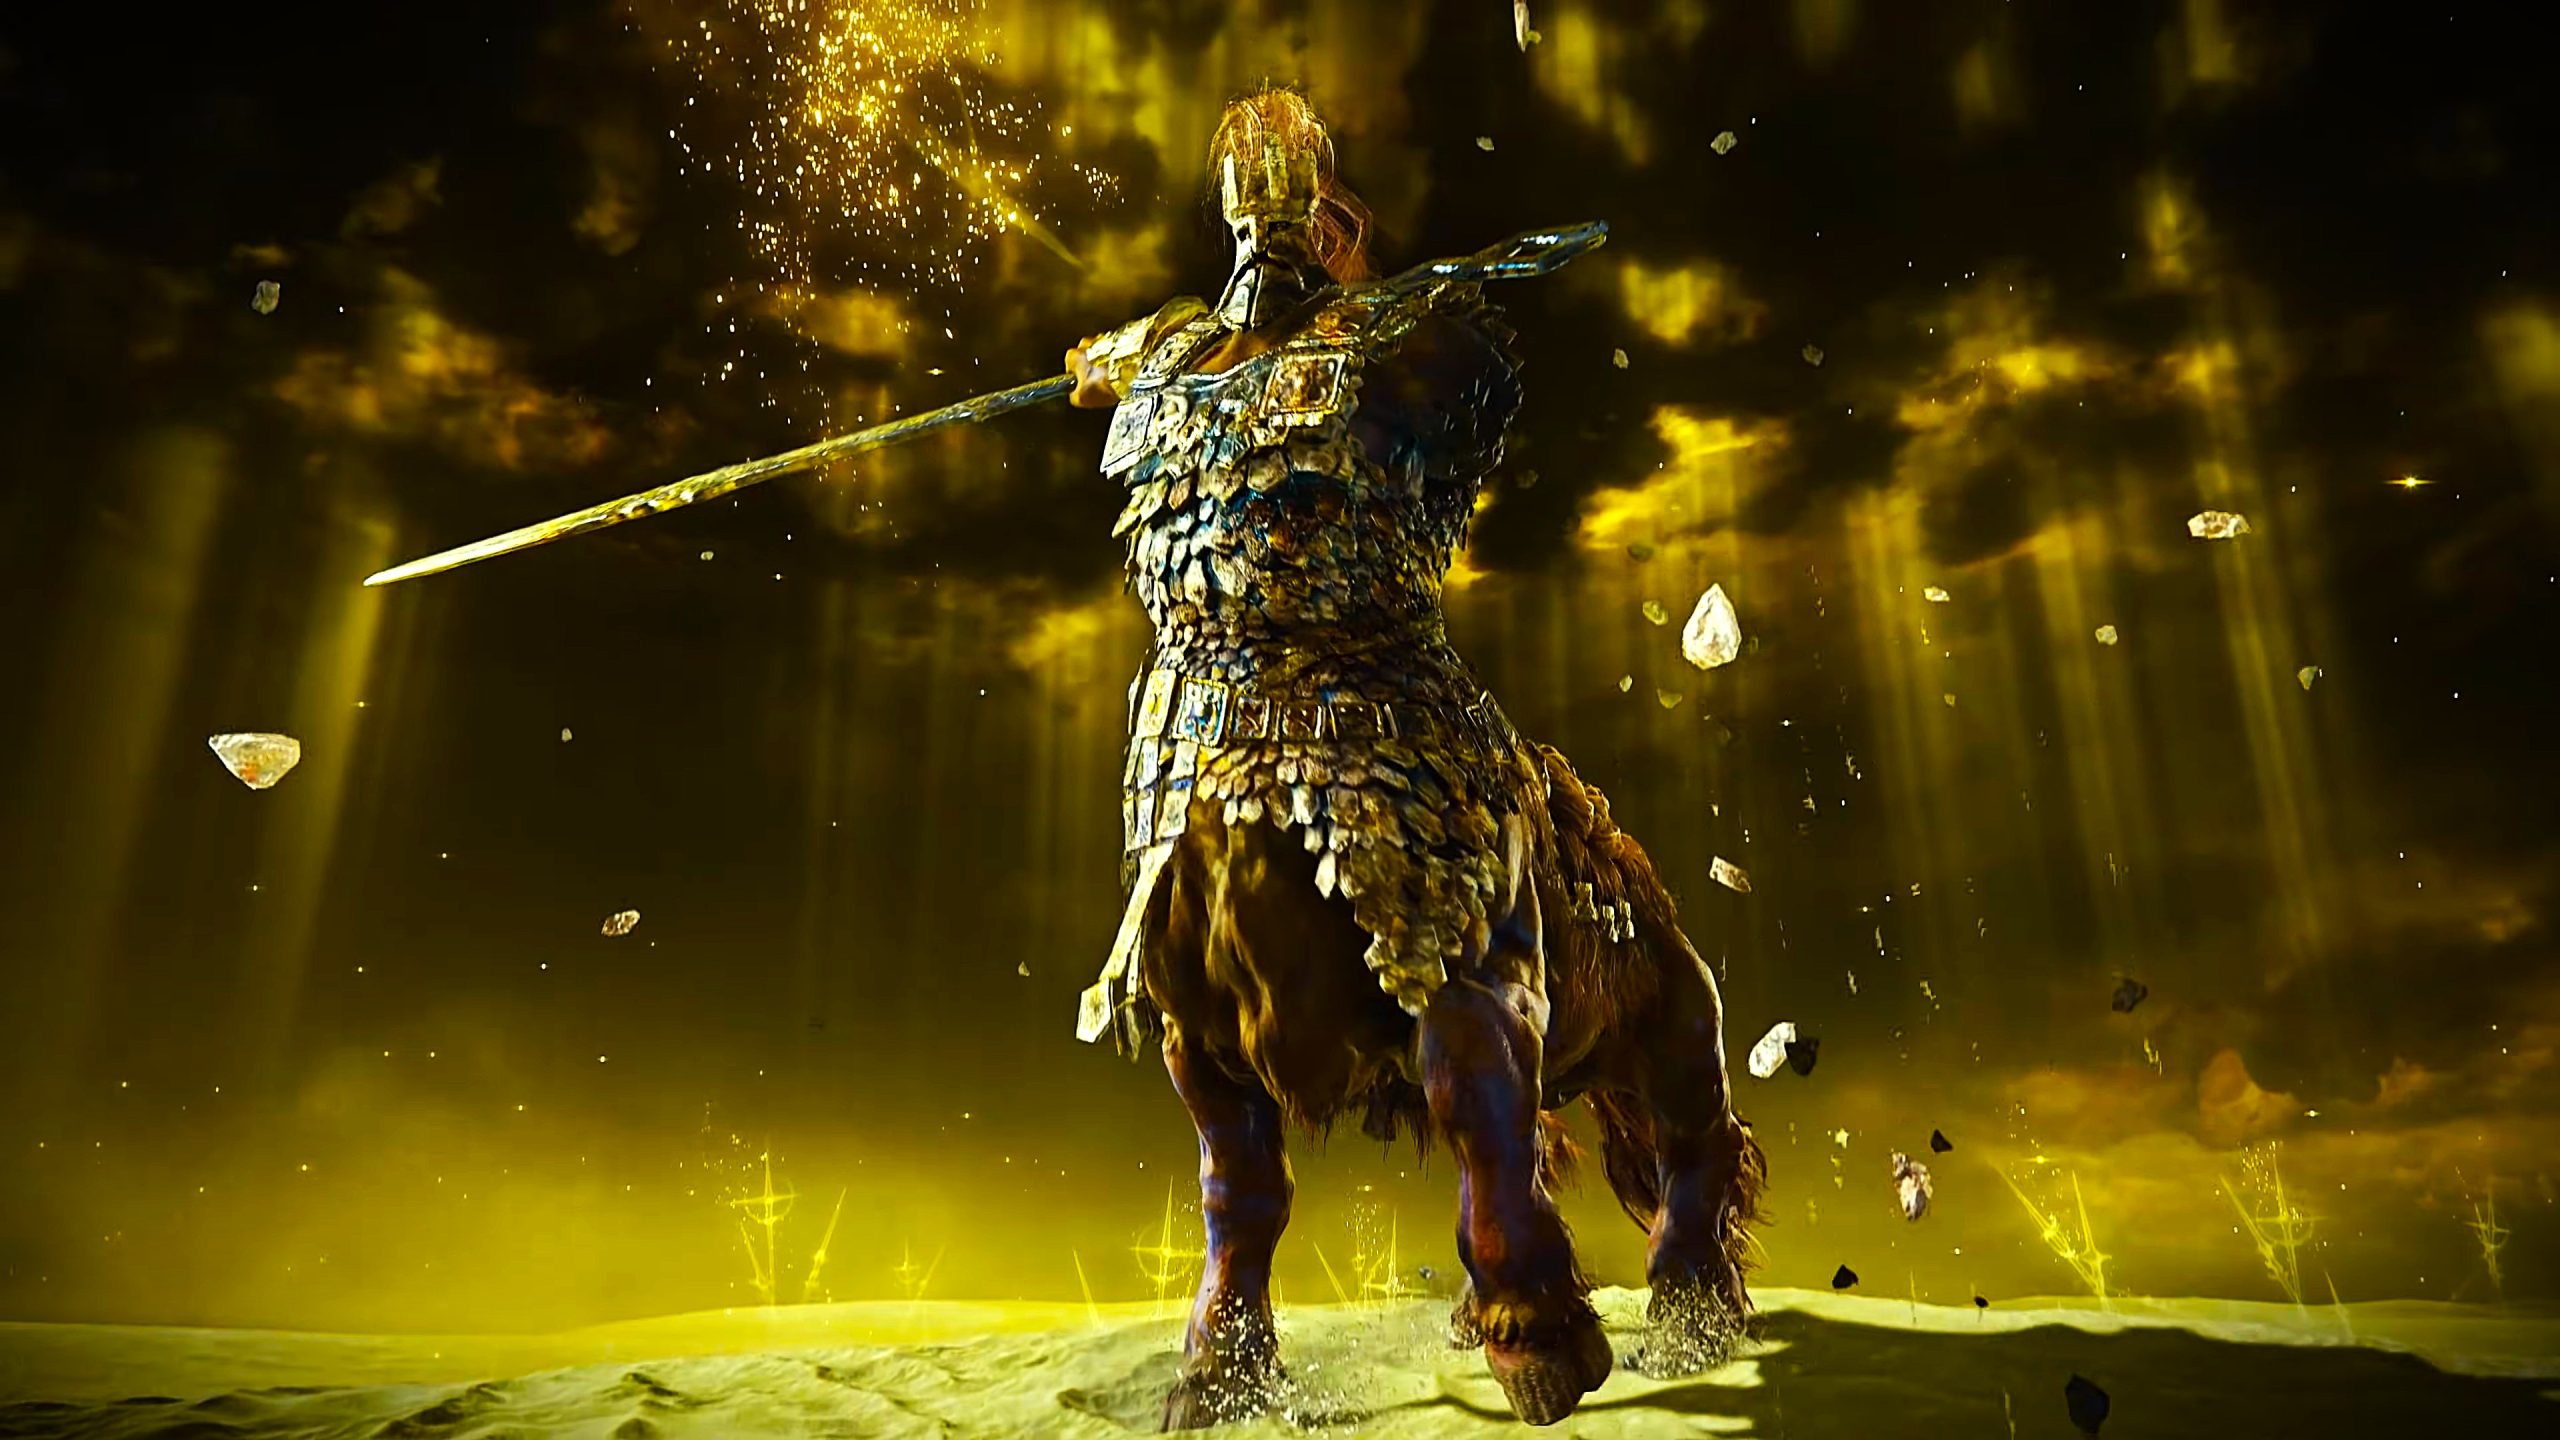
The “main attraction” of Elden Ring: Nightreign, for many players, is its huge number and variety of Bosses — over 120 — each with their own challenges and aesthetics. Often borrowing from previous games in From Software’s catalogues, these foes — freshly re-designed for Nightreign’s co-op, fast-paced play — are the most powerful versions yet, and can be equal parts challenging to fight and rewarding to conquer.
They are both the barriers and the keys to victory, and so we are here to provide a guide on how to find and defeat each Boss in Elden Ring: Nightreign.
How Do Bosses Work in Elden Ring: Nightreign
In Elden Ring: Nightreign, you will be spending a lot of time and energy slaying Bosses. Not only is the ultimate goal of each run to slay a powerful Night Lord Boss, but to gain enough power and resources to take them on, you will need to slay various other Bosses.
With the exception of Night Lords (whose defeat marks the end of a run), all Bosses drop both Runes and Dormant Powers upon defeat. Runes are used in order to increase your level at Sites of Grace and to purchase goods from Merchants, but the more interesting reward from Bosses is their Dormant Powers. These Dormant Powers always contain between 2 and 3 rewards, varying in rarity from Blue to Gold (though the rewards can randomly become higher rarity). These rewards include Armaments, Upgrades, Talismans, and Wending Graces.
Typically, more difficult enemies will reward better Dormant Powers and more Runes, and so you have to compare your need for powerful gear against a Boss’s difficulty and how long they will take to defeat (except for Night Bosses, which must be fought at the end of each night).
Night Lords
The goal of every run in Elden Ring: Nightreign is to face off against a deadly, powerful foe on the third day, after gathering resources, upgrades, and levels the previous days. These are the toughest foes that Nightreign has to offer, and defeating them will award you with high-quality Relics, extra Murk, and — the first time you defeat each one — a Trace of Night.
There are a total of 8 Night Lord Bosses, and you must defeat them in order before you can challenge the next one. The name in bold is the name of the Boss once you face them, while the name in the parenthetical is their title when you are selecting an Expedition from the menu at the Roundtable Hold. Each Night Lord also has an associated Status Effect that is particularly effective against it, and elemental effects of that type will always do extra damage.
- Gladius, Beast of Night (Tricephalos) – Effective: Sacred
- Adel, Baron of Night (Gaping Jaw) – Effective: Poison
- Gnoster, Wisdom of Night (Sentient Pest) – Effective: Flame
- Maris, Fathom of Night (Augur) – Effective: Lightning
- Libra, Creature of Night (Equilibrious Beast) – Effective: Madness
- Fulghor, Creature of Nightglow (Darkdrift Knight) – Effective: Lightning
- Caligo, Miasma of Night (Fissure in the Fog) – Effective: Flame
- Heolstor the Nightlord (Night Aspect) – Effective: Sacred
Night Bosses
Night Bosses are formidable foes that you must face at the end of the First and Second nights of any given expedition, when the Night Rain circle has closed in to it’s smallest amount to create an arena. Before these Bosses arrive, they are always “introduced” by thematically fitting elite enemies (Indicated by Parentheticals). After defeating those enemies, the actual Night Boss will arrive.
These Bosses are second only to Night Lords in their difficulty, and will likely require quick communication and good teamwork to take on, or high skill if you are playing solo. There is a separate pool of bosses for Night 1 and Night 2, with Night 2’s bosses being more difficult and rewarding more runes for defeat. Many of them recognizable from prior From Software projects, though it should be stated that many returning enemies have had entirely revamped move sets.
Defeating any Boss on this list (aside from those noted) will give players a “Night Repulsed” victory message. Their dropped Dormant Powers always include 3 Purple (or better) Upgrades.
- Night One Bosses
- Battlefield Commander
- Bell Bearing Hunter
- Centipede Demon
- The Duke’s Dear Freja
- Demi-Human Queen & Swordmaster
- Flying Dragon of the Hills
- Gaping Dragon
- Grafted Monarch
- Royal Revenant
- Smelter Demon
- Tibia Mariner & Those Who Live in Death
- Ulcerated Tree Spirit
- Valiant Gargoyle
- Wormface
- Night Two Bosses
- Ancient Dragon
- Crucible Knight & Golden Hippopotamus
- Dancer of the Boreal Valley
- Draconic Tree Sentinel & Royal Cavalrymen
- Fell Omen
- Full-Grown Fallingstar Beast
- Godskin Noble & Apostle
- Great Wyrm
- Nameless King
- Nox Dragonkin Soldier
- Outland Commander
- Tree Sentinel & Royal Cavalrymen
Field Bosses
Some Bosses are found patrolling around the world, not attached to any specific location. You can find these Bosses by looking for their icon. These are typically fairly challenging foes, though there are two “tiers” of difficulty, which each reward a different level of upgrade. While the Dormant Powers all Field Bosses will give 2 Armaments and 1 Upgrade, whether those Dormant Powers will be Blue or Purple difficulty depends on the boss:
- 2x Purple+ Armaments, 1x Purple+ Upgrade (or Wending Grace):
- Ancestor Spirit
- Bell-Bearing Hunter
- Death Rite Bird
- Draconic Tree Sentinel
- Erdtree Avatar
- Flying Dragon of the Hills
- Royal Carian Knight
- Tree Sentinel
- Ulcerated Tree Spirit
- 2x Blue+ Armaments, 1x Blue+ Upgrade:
- Black Knife Assassin
- Demi-Human Queen
- Elder Lion
- Flying Dragon
- Golden Hippopotamus
- Leonine Misbegotten
- Miranda Blossom
- Night’s Cavalry
- Red Wolf of the King Consort
- Royal Revenant
Location-Specific Bosses
Many Bosses are tied to specific locations. These Bosses have consistent loot tables, in relation to their Location, and can be found fairly reliably there. When a location can be tied to a specific Affinity (such as Flame or Magic), you can use that to determine which Bosses might be there. For instance, a Main Encamptment with the Flame affinity will always have the Fire Chariots Boss.
Learning out which Bosses you can kill quickly and which you need to spend time to kill can make you far more effective as a Nightfarer. The full list of Bosses that can be found at any given location is as follows. Their relative difficulty is tied directly with the value of the loot; the Bosses Under the Castle are always among the strongest enemies on the map, while the Bosses in Forts and Great Churches are generally very weak. Italicized entries are minibosses that drop Dormant Powers.
- Castle Interior: 2x Purple+ Armaments, 1x Purple+ Upgrade (Guards Chest with 3x Blue+ Talismans)
- Ancient Hero of Zamor
- Bell-Bearing Hunter
- Black Knight Assassin
- Grafted Scion
- Leonine Misbegotten
- Red Wold of the King Consort
- Royal Revenant
- Castle Minibosses: 1x Blue+ Armament, 1x Blue+ Upgrade
- Crucible Knight Duo
- Lion Guardian
- Warrior Troll
- Main Encampment: 2x Blue+ Armaments, 1x Blue+ Upgrade
- Banished Knights (No Affinity)
- Elder Lion (No Affinity)
- Fire Chariots (Flame)
- Frenzied Flame Troll (Madness)
- Redmane Knights (Flame)
- Royal Army Knights (Lightning)
- Ruins: 2x Blue+ Armaments, 1x Blue+ Upgrade
- Albinauric Archers (Frostbite)
- Albinaurics (Sacred)
- Ancient Heroes of Zamor (Frostbite)
- Battlemages (Magic)
- Beastmen of Farum Azula (Lightning)
- Depraved Perfumer (Poison)
- Erdtree Burial Watchdog (No Affinity)
- Perfumer (Poison)
- Runebear (Sleep)
- Sanguine Noble (Blood Loss)
- Wormface (Death Blight)
- Fort: 2x Blue+ Armaments
- Abducator Virgin (Swinging Sickle) (No Affinity)
- Crystalians (Magic)
- Guardian Golem (No Affinity)
- Lordsworn Captain (No Affinity)
- Great Church: 2x Blue+ Armaments
- Fire Monk (Flame)
- Guardian Golem (No Affinity)
- Mausoleum Knight (No Affinity)
- Oracle Envoys (Sacred)
- Tunnels Miniboss: 1x Blue+ Armament, 1x Smithing Stone [2]
- Stonedigger Troll Miniboss
Evergaol Bosses
Evergaol Bosses are Bosses tied specifically to the persistent Evergaol locations. These Bosses require you to spend a Stonesword Key on the Imp statue near the Evergaol, at which point the Boss will be spawned. These Bosses come in two tiers, which will determine whether their Dormant Powers contain a Rune of the Strong worth 10,000 Runes or 20,000 Runes and a Blue or Purple upgrade.
- Requires: Stonesword Key
- Dormant Power Rewards:
- 1x Rune of the Strong – 20,000 Runes, 1x Purple+ Upgrade:
- Crucible Knight
- Deaath Rite Bird
- Dragonkin Soldier
- Godskin Noble & Apostle
- 1x Rune of the Strong – 10,000 Runes, 1x Blue+ Upgrade:
- Banished Knights
- Beastly Brigade
- Beastmen of Farum Azula
- Bloodhound Knight
- Godskin Apostle
- Godskin Noble
- Grave Warden Duelist
- Nox Warriors
- Omen
- Stoneskin Lords
Shifting Earth Bosses
There are certain Bosses which are only found as part of the Shifting Earth events. These world events alter a section of Limveld to be more complicated and challenging, pitting you against more aggressive foes and environmental hazards for greater rewards.
There are two tiers of Bosses in Shifting Earth events; those found near at end of the region whose Dormant Powers contain 2 Purple+ Armaments and a Purple+ Upgrade, and those found elsewhere in the event whose Dormant Powers contain 2 Blue+ Armaments and a Blue+ Upgrade. There are also some minibosses whose Dormant Powers contain a Blue+ Armament and a Blue+ Upgrade.
- The Crater:
- 2x Blue+ Armaments, 1x Blue+ Upgrade
- Demi-Human Queen
- Fire Prelates
- 2x Purple+ Armaments, 1x Purple+ Upgrade
- Fallingstar Beast
- Magma Wyrm (End Boss)
- Valiant Gargoyle
- Mountaintop:
- 2x Blue+ Armaments, 1x Blue+ Upgrade
- Demi-Human Swordmaster
- Flying Dragon
- Snowfield Trolls
- End Boss: 1x Gold and 1x Purple+ Armament, 1x Purple+ Upgrade
- The Rootted Woods:Still Awaiting Information
- Noklateo, the Shrouded City: Still Awaiting Information
Remembrance Bosses
Remembrance Bosses are those which are associated with specific Nightfarer Remembrances. Full details will be available in our Remembrance Guides for each Nightfarer character, but Remembrance Bosses include the following. Each of these either drops or enables the collection of a unique Relic, Vessel, or Garb for the relevant Nightfarer:
- Duchess
- Guardians of the Dew – Golden Dew
- Fallen Mercenaries – Duchess’ Chalice
- Revenant – Crown Medal
- Executor
- Stray Bloodhound Knight – Blessed Flower
- Erdtree Avatar – Executor’s Chalice
- Executor’s Cry – Golden Sprout, Garb
- Guardian
- Cracked Golem – Stone Stake
- Ironeye
- Night Huntsman – Ironeye’s Chalice, Cracked Sealing Wax
- Raider
- Onestrike Gladiator – Torn Braided Corn
- Blinding Elder Lion – Raider’s Chalice
- White Horn – Black Claw Necklace, Garb
- Recluse
- Night-Swallowed Golden Hippopotamus – Recluse’s Chalice
- Revenant
- Corrosion – Revenant’s Chalice
- Contaminant – Old Portrait, Garb
- Wylder
- Tunnel Crystalian – Mended Earring
- Mimic Troll – Silver Tear, Garb
Invasions
While travelling through Limveld, there is a chance for you to be invaded by one or several NPC invaders, which will drop 12,000 Runes and a Dormant Power that contains a Purple+ Armament and a Blue+ Armament. Possible versions of these invaders include:
- Night Assassin
- Night Executor
- Night Fallen
- Night Raider
- Night Thief
Additionally, there are several bosses who can attempt to ambush you as you are going through Limveld, including while you are fighting other bosses. These include the following, and each drops a unique Power upon defeat:
- Fell Omen – Favor of the Night Power
Curse Merchants
Lastly, there are some events that will permanently curse the players, leading to consequences like reduced maximum health. In order to undo those curses, you will need to find a merchant, marked on your map, which will offer you a deal: by spending a certain amount of runes, you can undo the curse.
Alternatively, you can attack the merchant, which will lead to you needing to fight a weaker version of the final Night Lord for your Expedition. These Curse Merchants drop a unique Power upon defeat:
- Tricephalos
- Gaping Jaw
- Sentient Pest
- Augur
- Equilibrious Beast
- Darkdrift Knight
- Fissure in the Fog
- Night Aspect
Other Bosses
There are two unusual bosses that do not easily fit into the other categories. They include the following:
- Fell Omen (Tutorial)
- Night Idol (Nightfarer Unlock)